Get Your Character “OVERPOWERED” Early On
Written by - Codiak
Updated: September 10, 2023
|
Posted: September 9, 2023

There are a million tips and tricks flying around, too many in my opinion. There are a ton of great creators that have tips and tricks that’ll help you in specific scenarios, but as far as we can tell no one has helped connect all of those dots and put together a video that will put you on a path for success, until today.
Between myself, Livid, and Shmo we’ve put in over 300 hours and think we have a really firm handle on how best to guide you through the early and mid-game. Remember, Starfield is massive and while this is a linear guide, you can, at any point in time, do something entirely different, it’s all about player choice.
New Game Plus
A word of warning as far as NG+ is concerned, while we won’t go into any specific details on the story, completing the main quest, or what happens after but be warned stepping into NG+ I do want to caution, it will leave you naked and afraid once more. If you are a player looking to do everything the game has to offer, waiting to complete the campaign is probably in your best interest as you’re looking at a near-complete wipe of your progression if you venture into a new playthrough. That being said, we’re getting ahead of ourselves so strap in and lets take to the stars.
Focus On Key Skills
It makes sense to talk quickly about skills first. Before you do anything in the game you’re going to have to go through a few introductory quests, and throughout each step of your progression through this guide you’ll gain skill points.
The headline…don’t waste these on skills that won’t be immediately valuable to you. You have to think about the here and now, as well as the near future and if you pick skills that are aimed more towards the end game, well then, you’ll have a harder time catching back up.
We do have a full article breaking down each skill tree, as well as our personal favorite picks in each category, but to give you a snapshot I think it’s safe to say these are a few solid early-game picks:
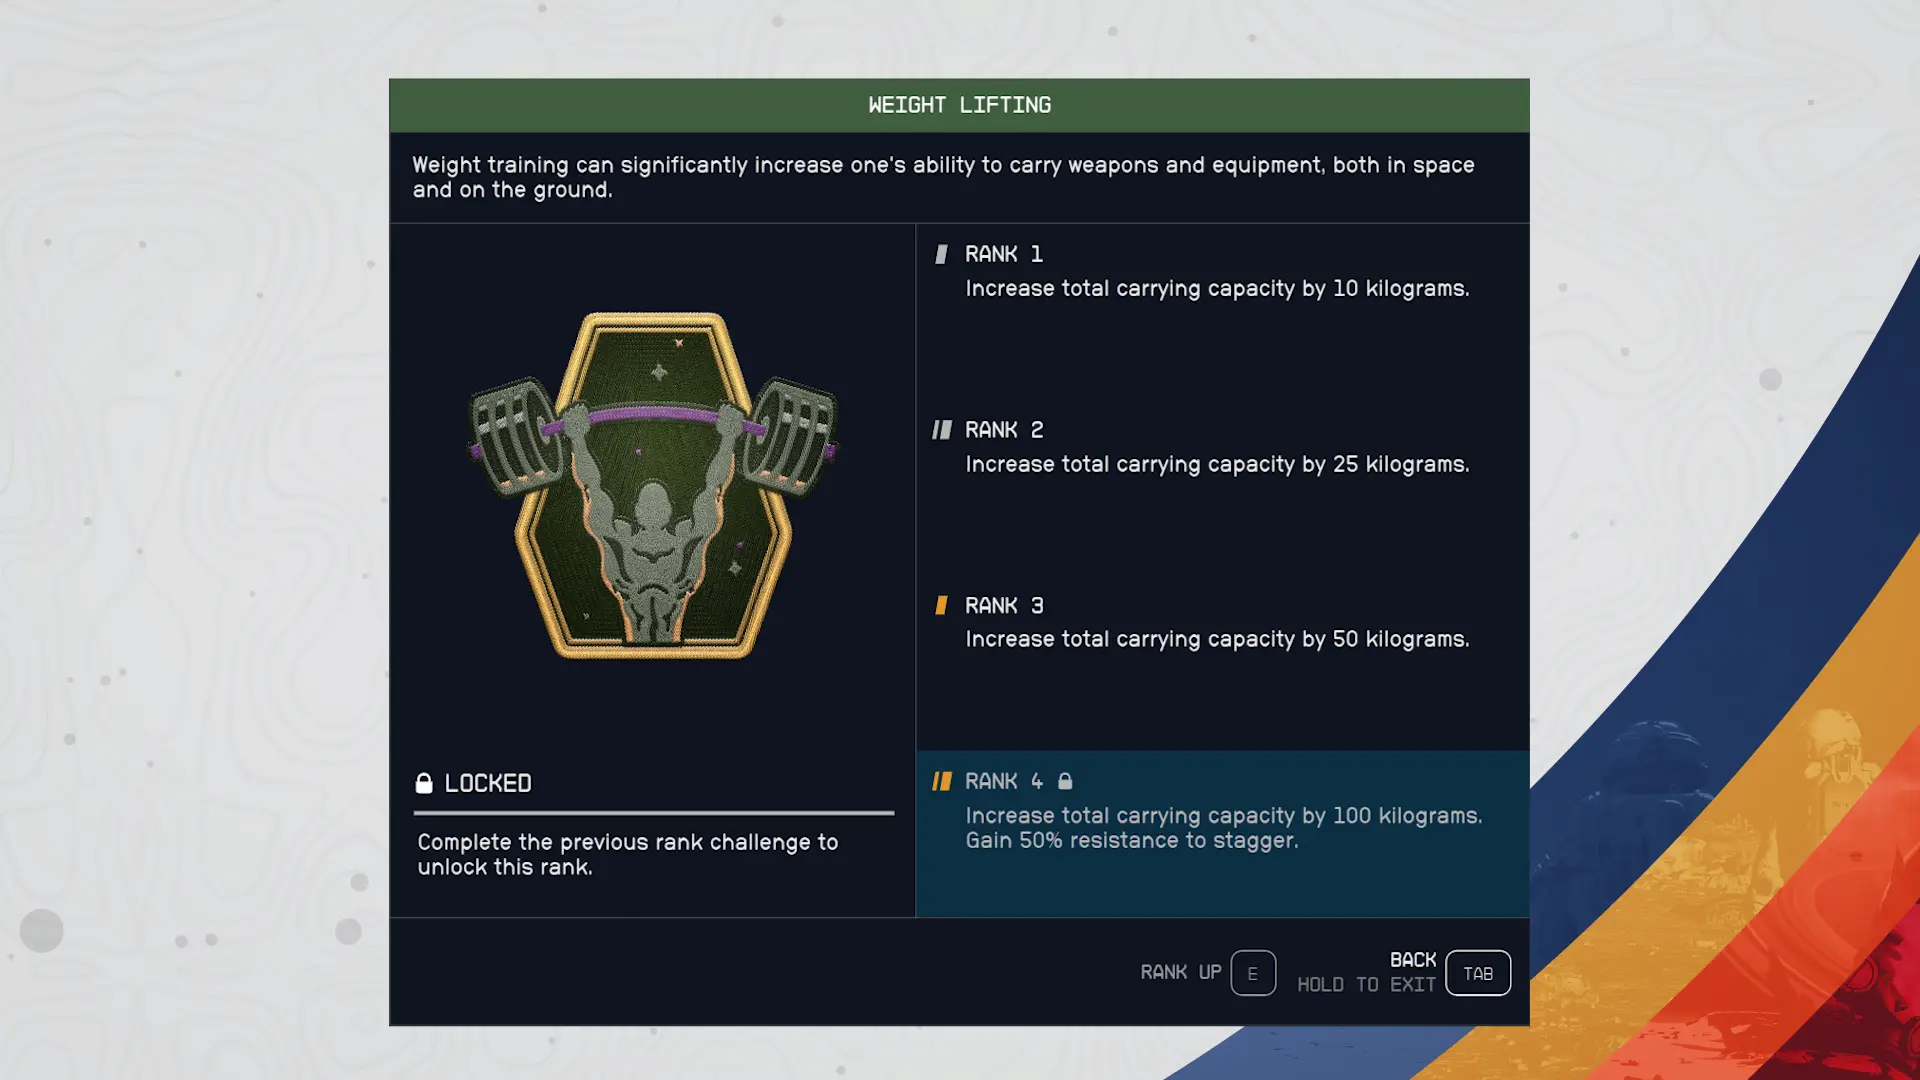
- Weight Lifting so you can carry extra loot
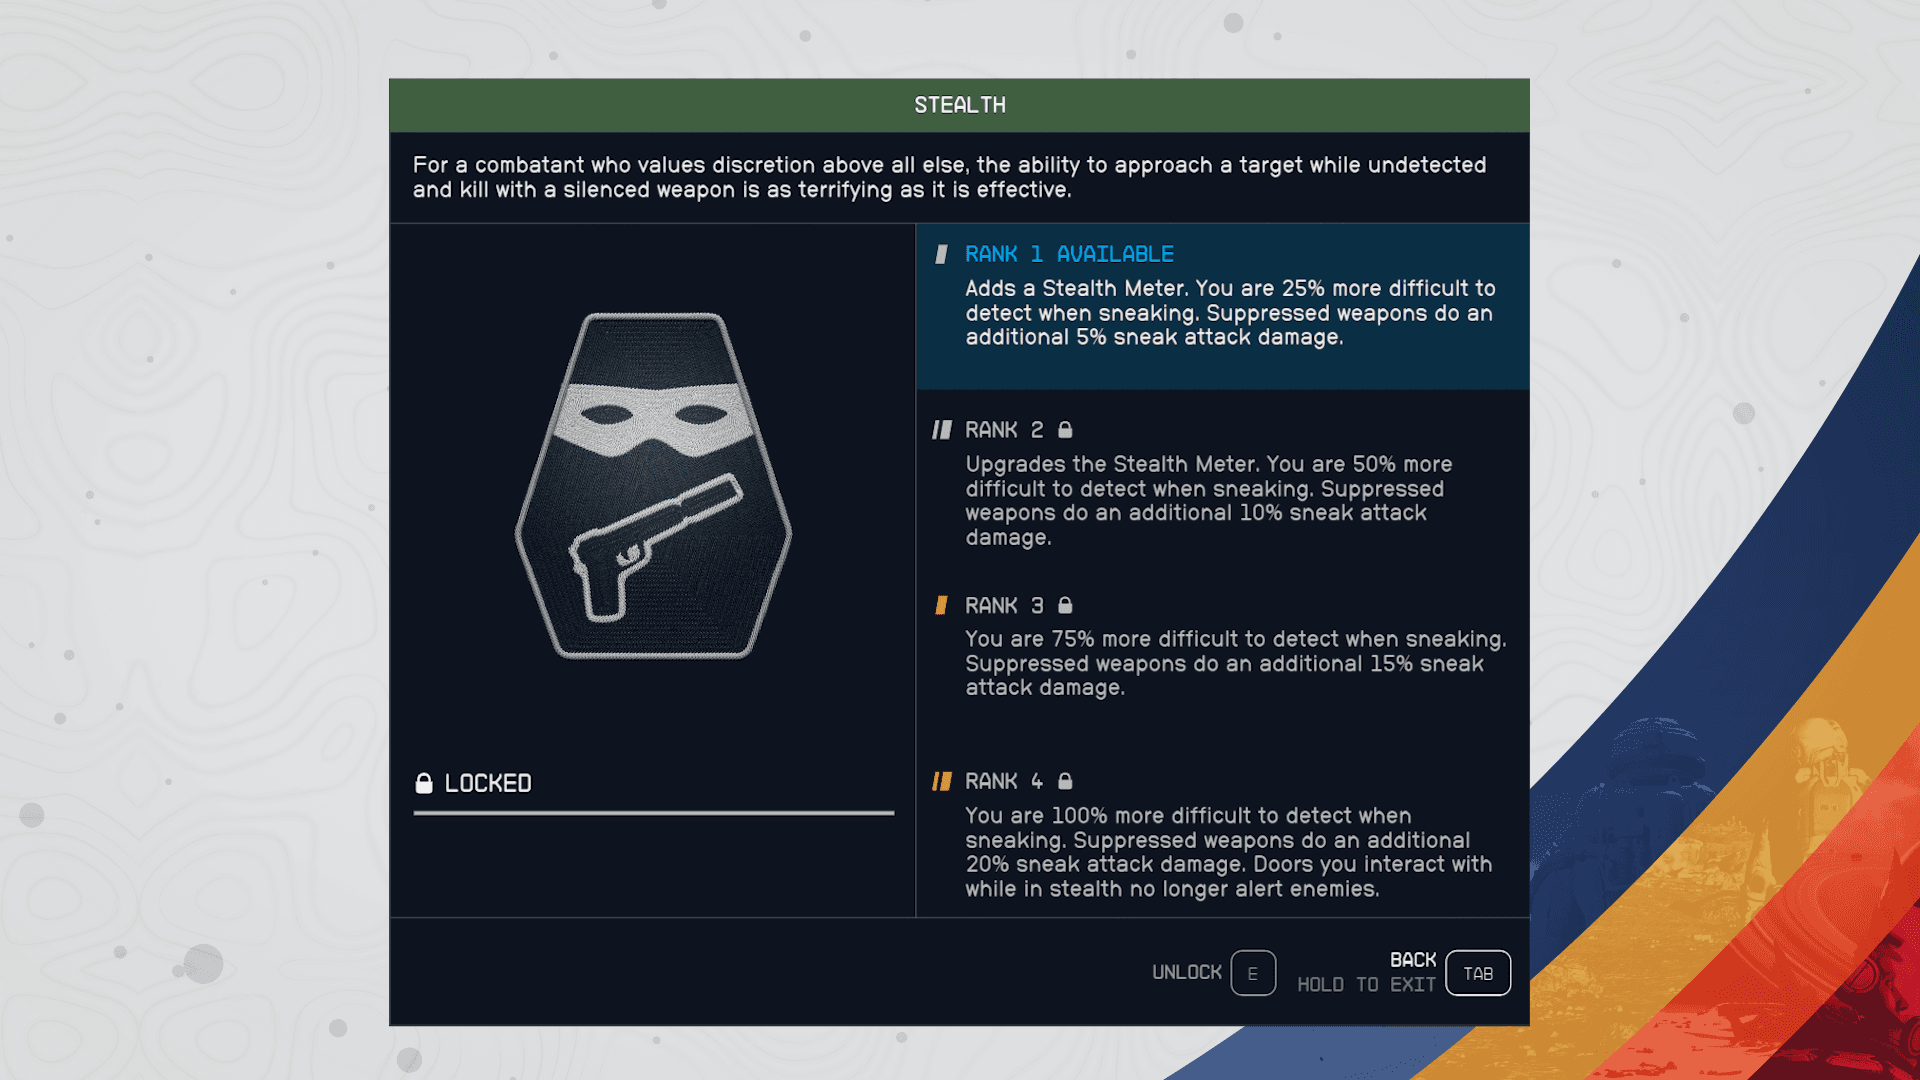
- Stealth so you can be sneaky sneaky
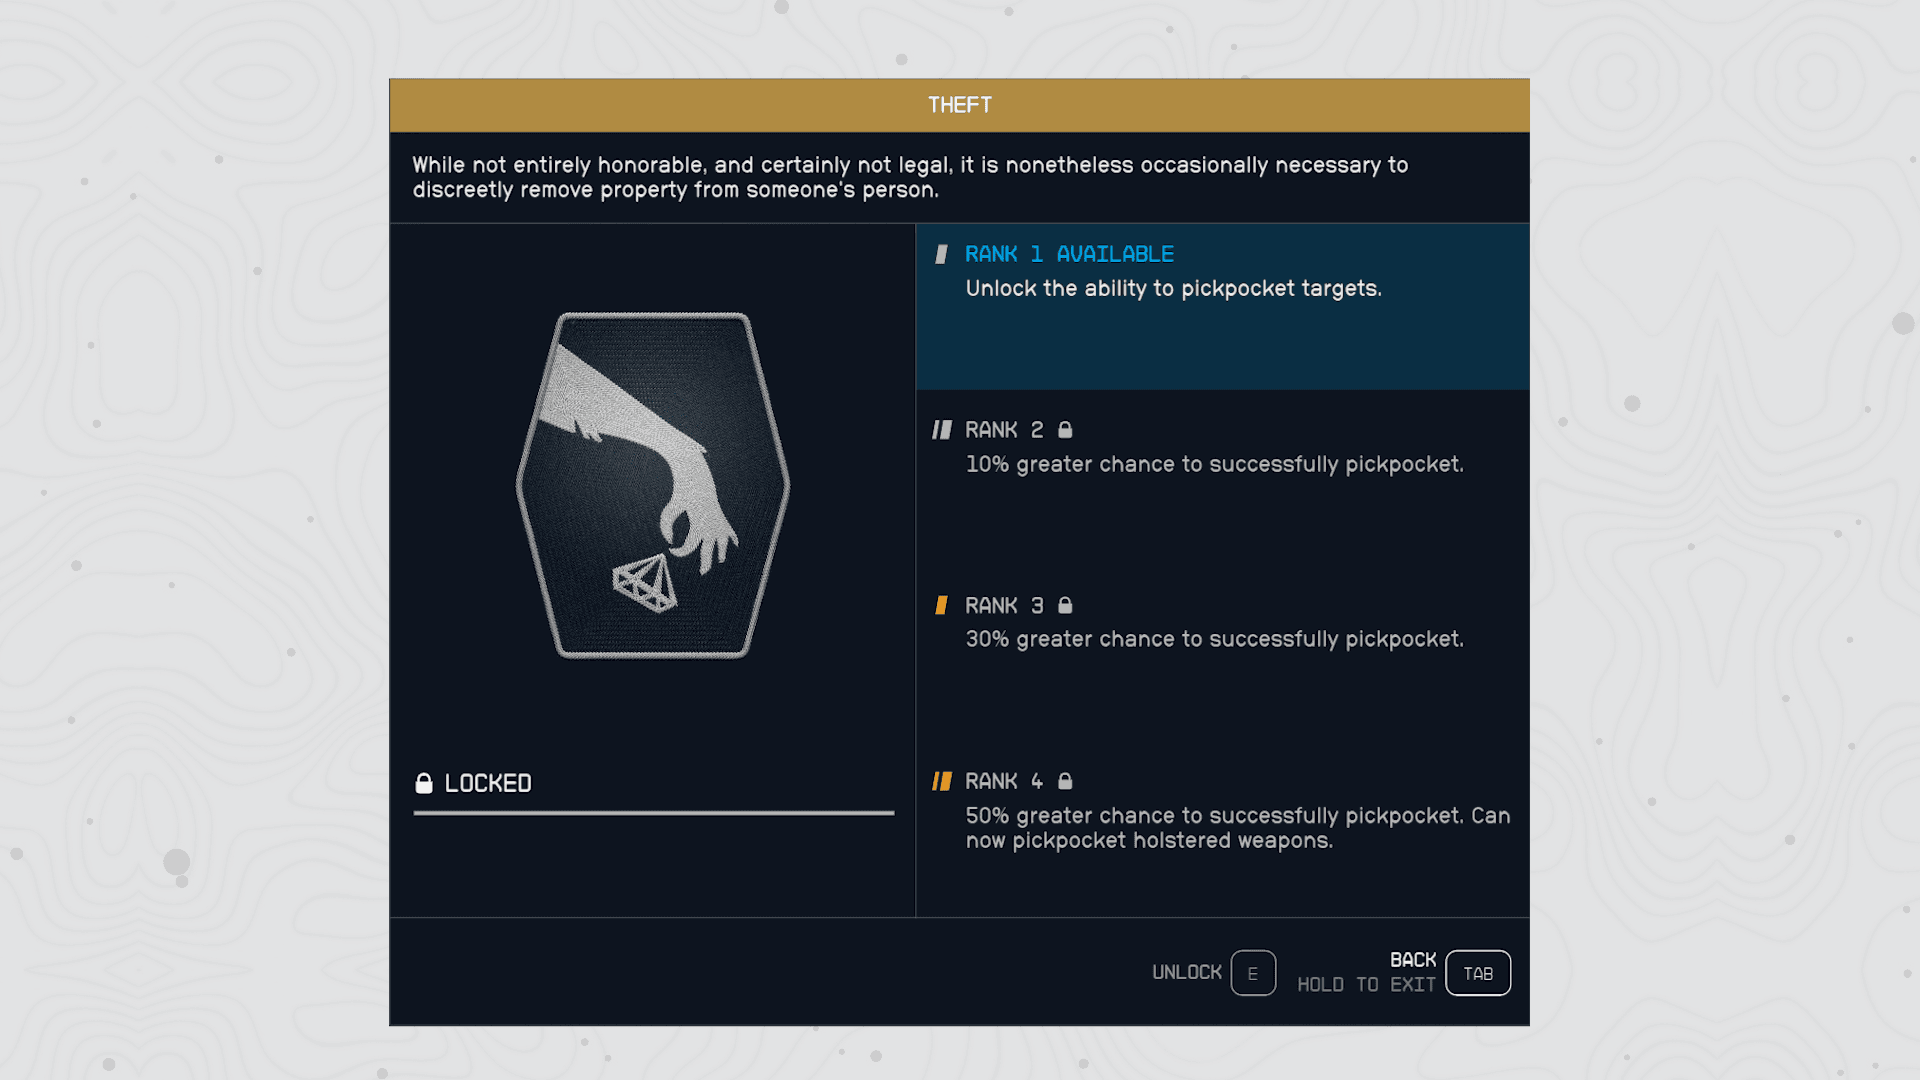
- Theft so you can take advantage of being sneaky sneaky
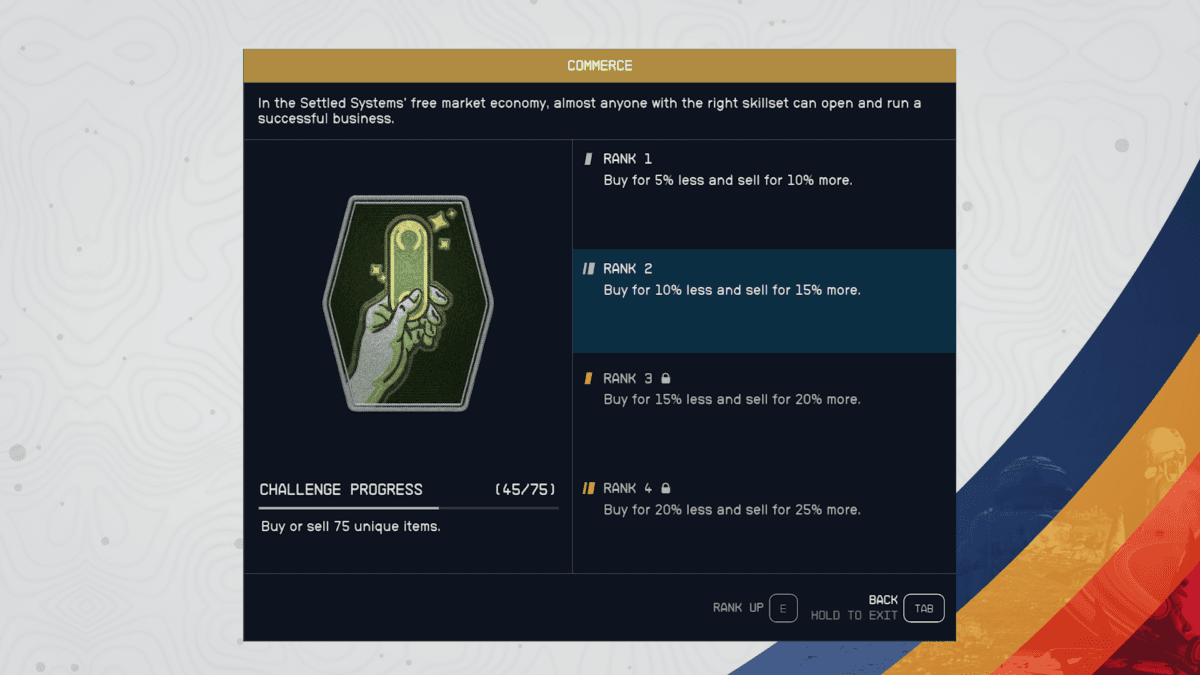
- Commerce so your buy and sell rates are better
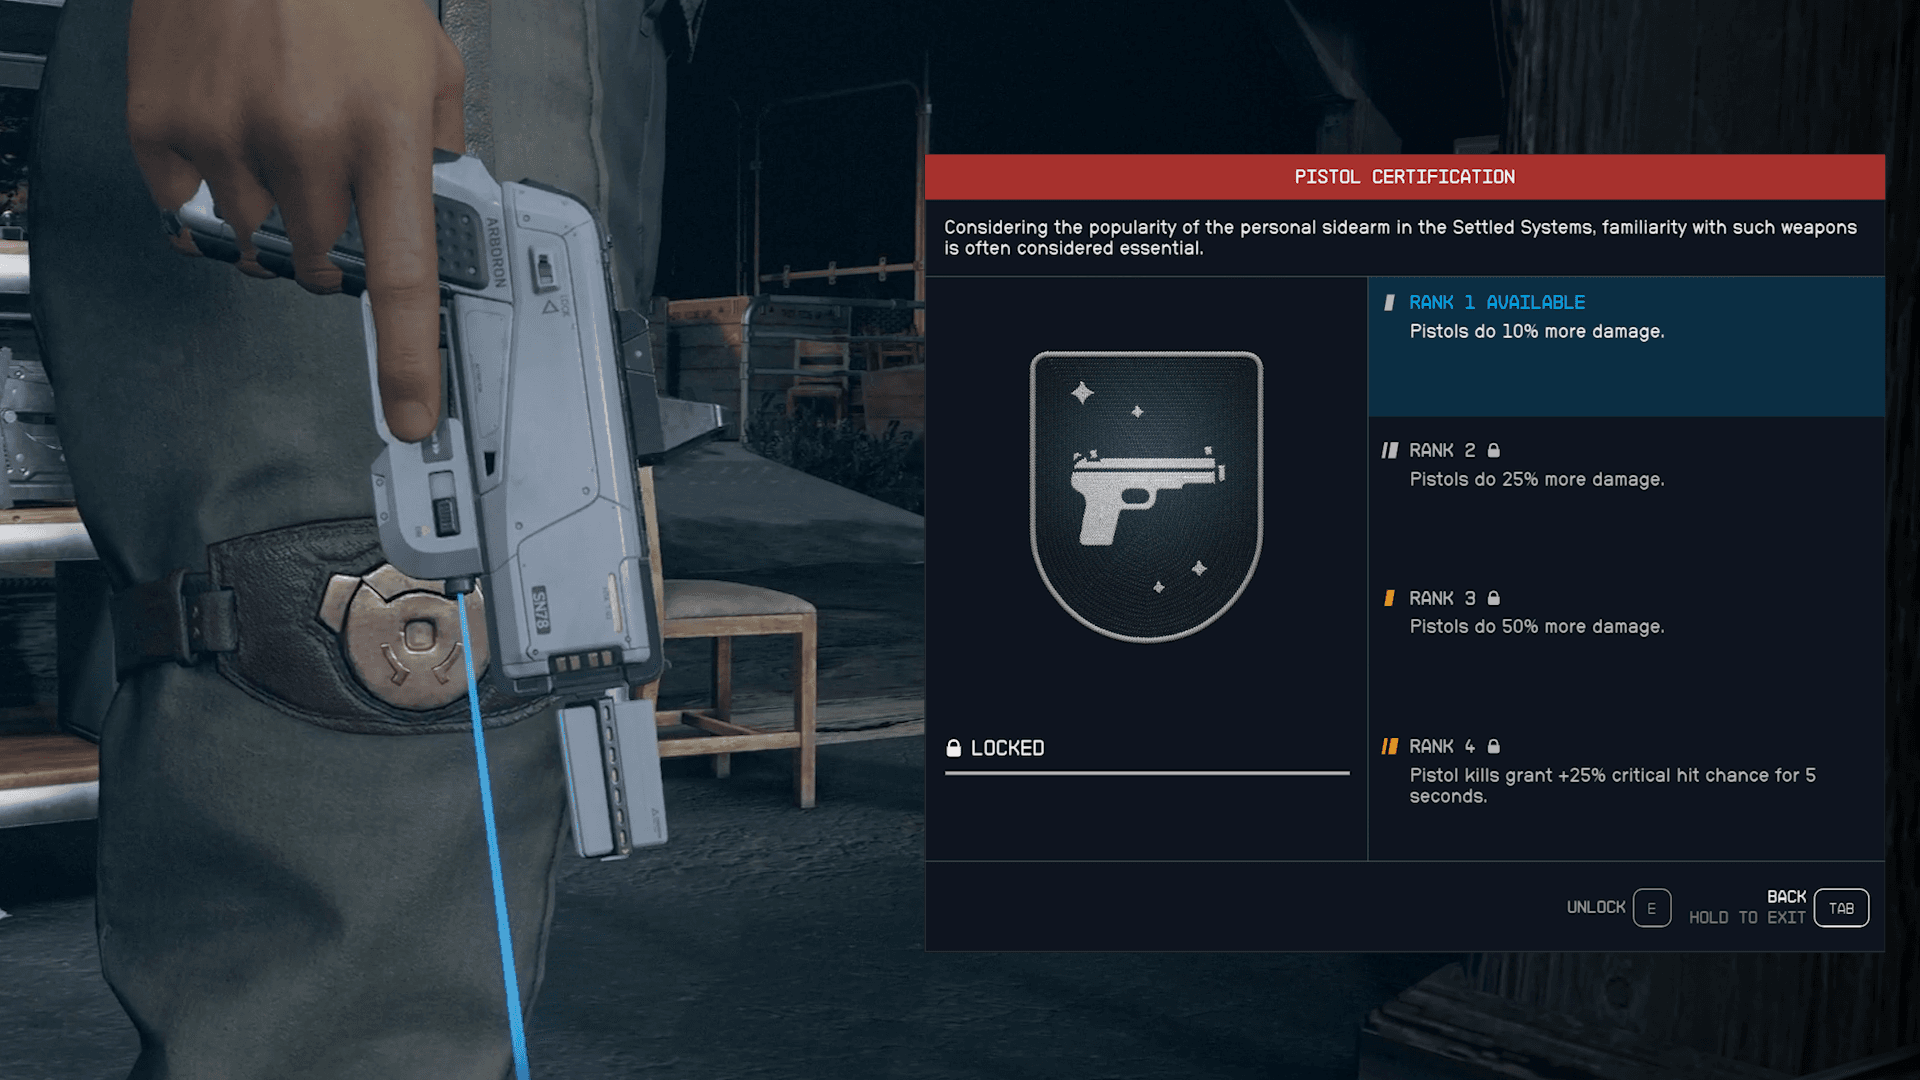
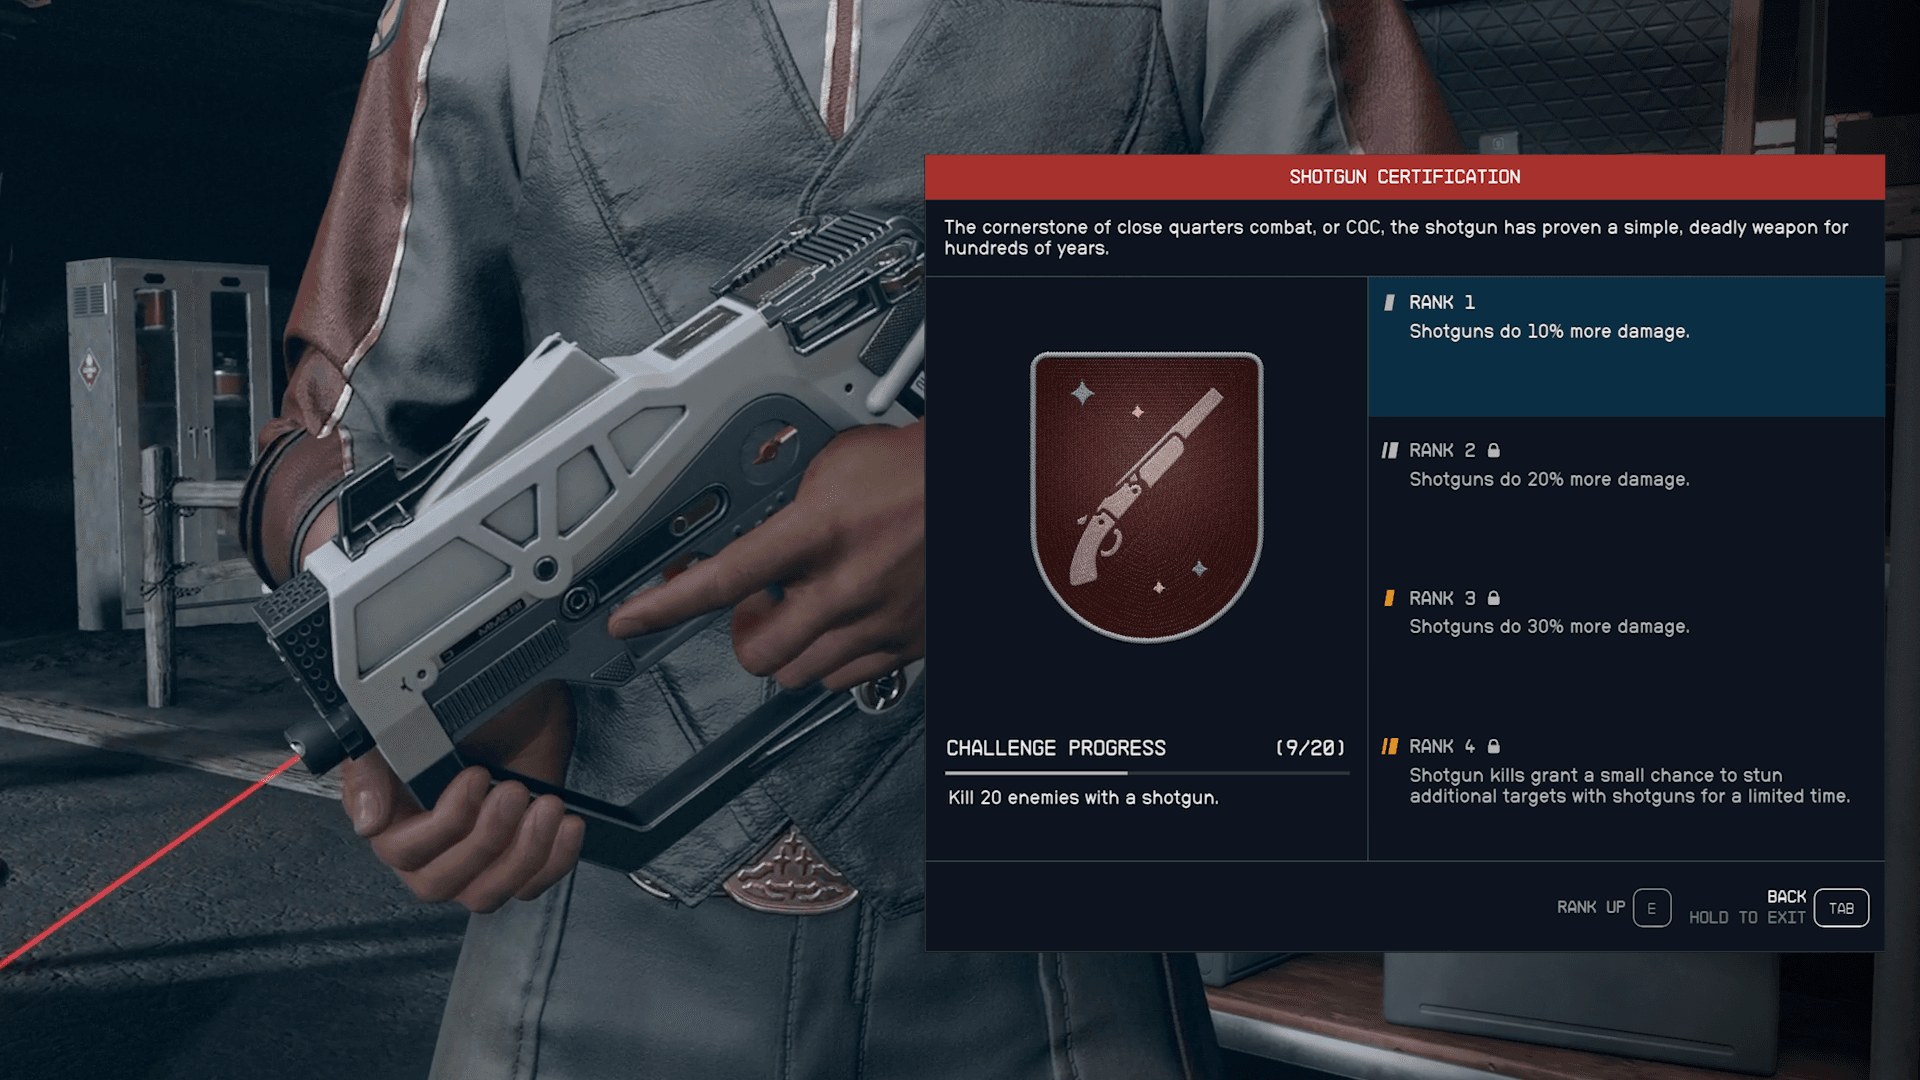
- A combat skill that matches your playstyle and weapon of choice…more on this in a bit
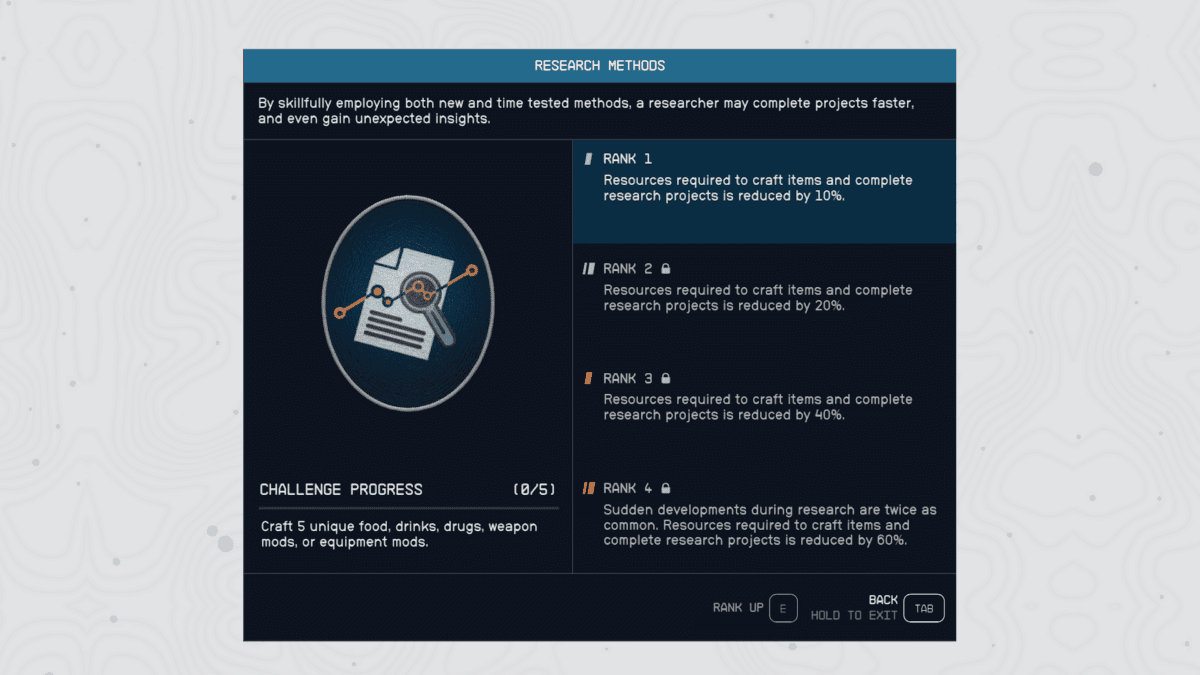
- Research Method for it’s unique perk ‘sudden development’

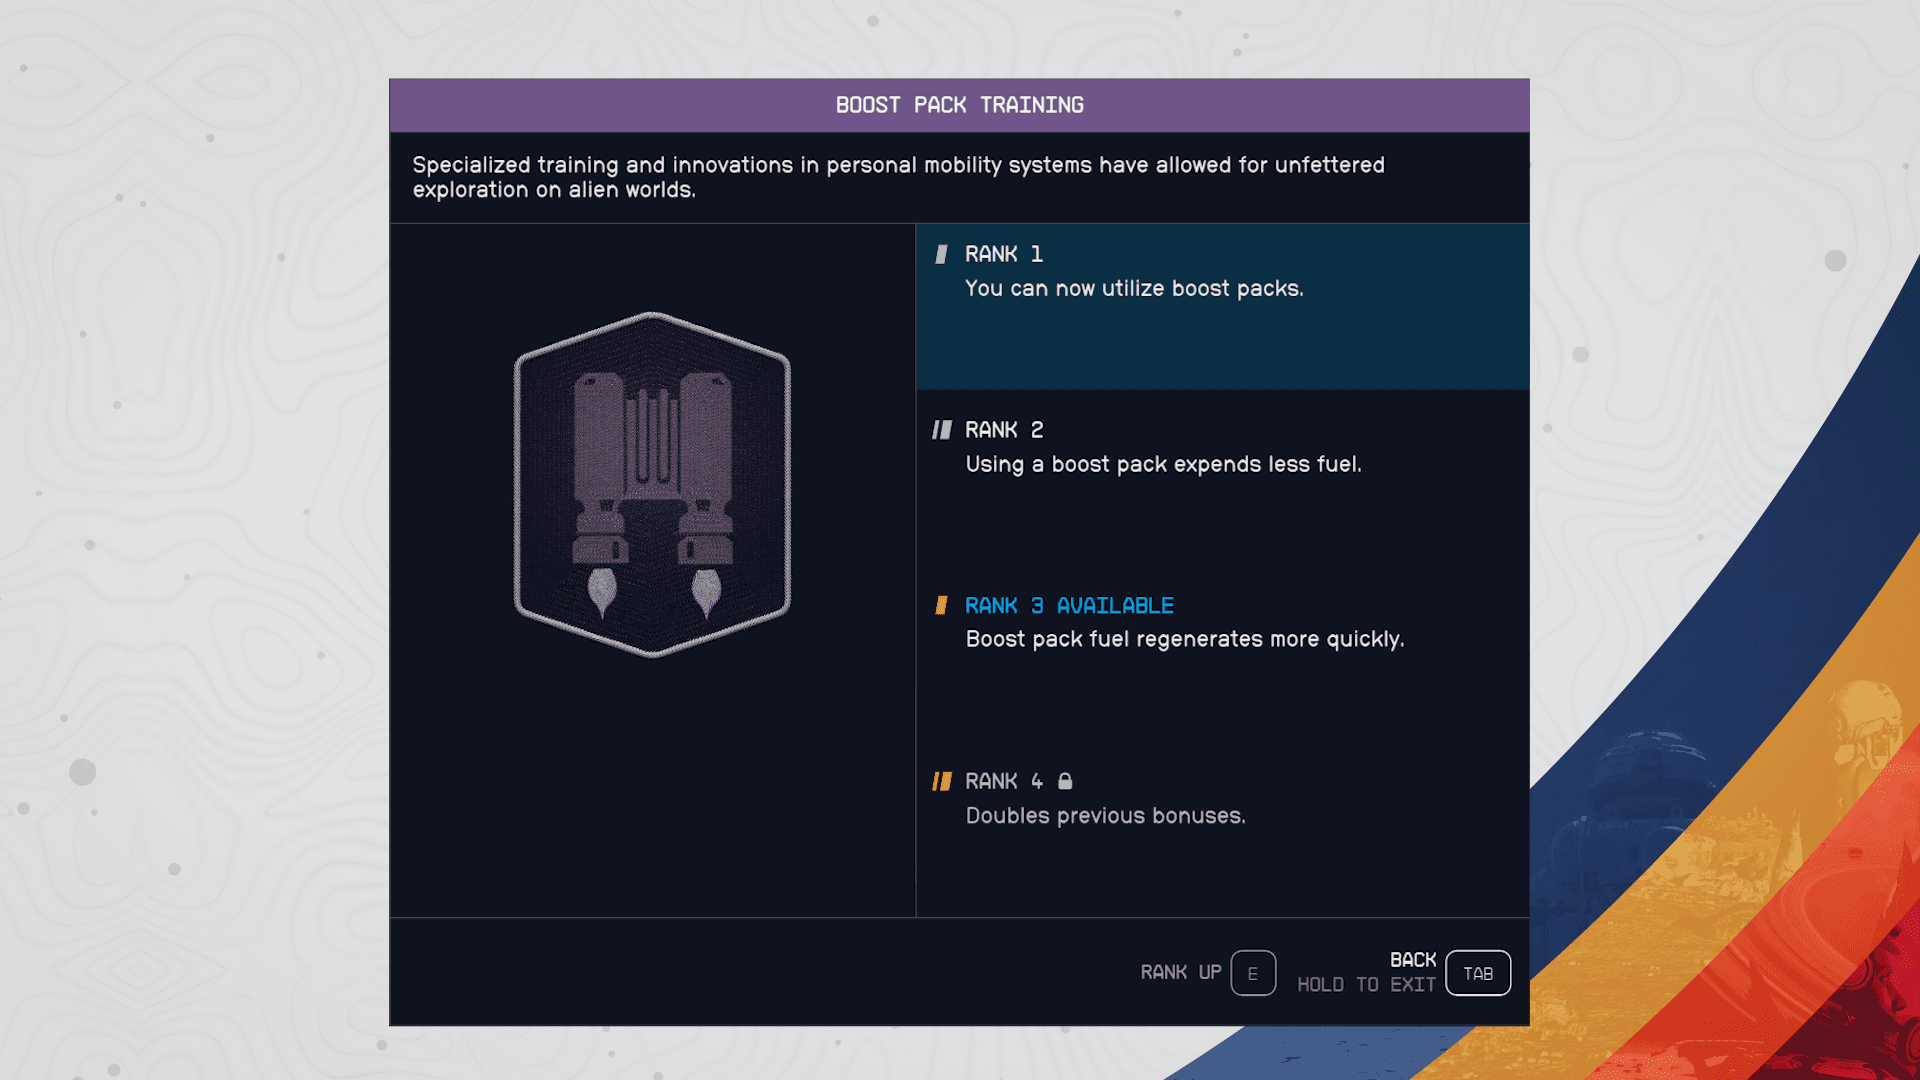
- Boost Pack Training for easier traversal
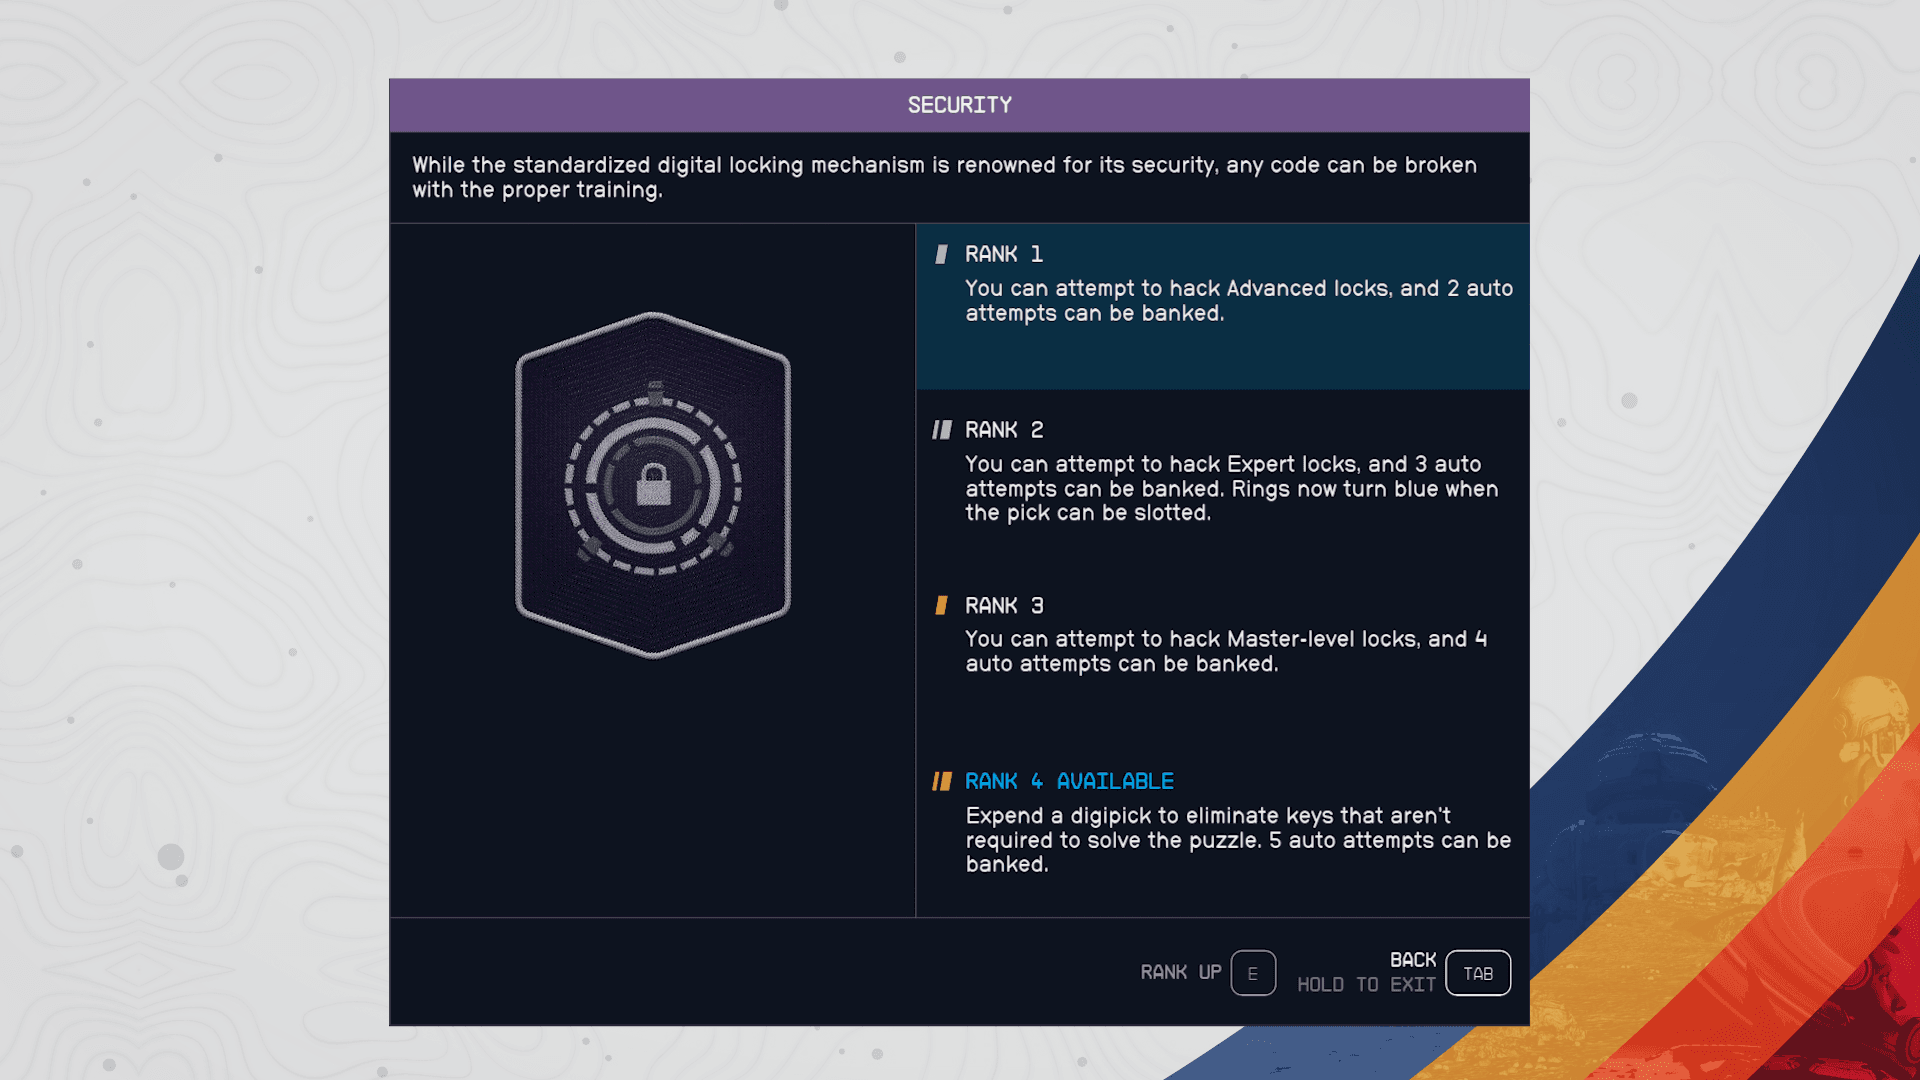
- Security so you gain access to even more loot
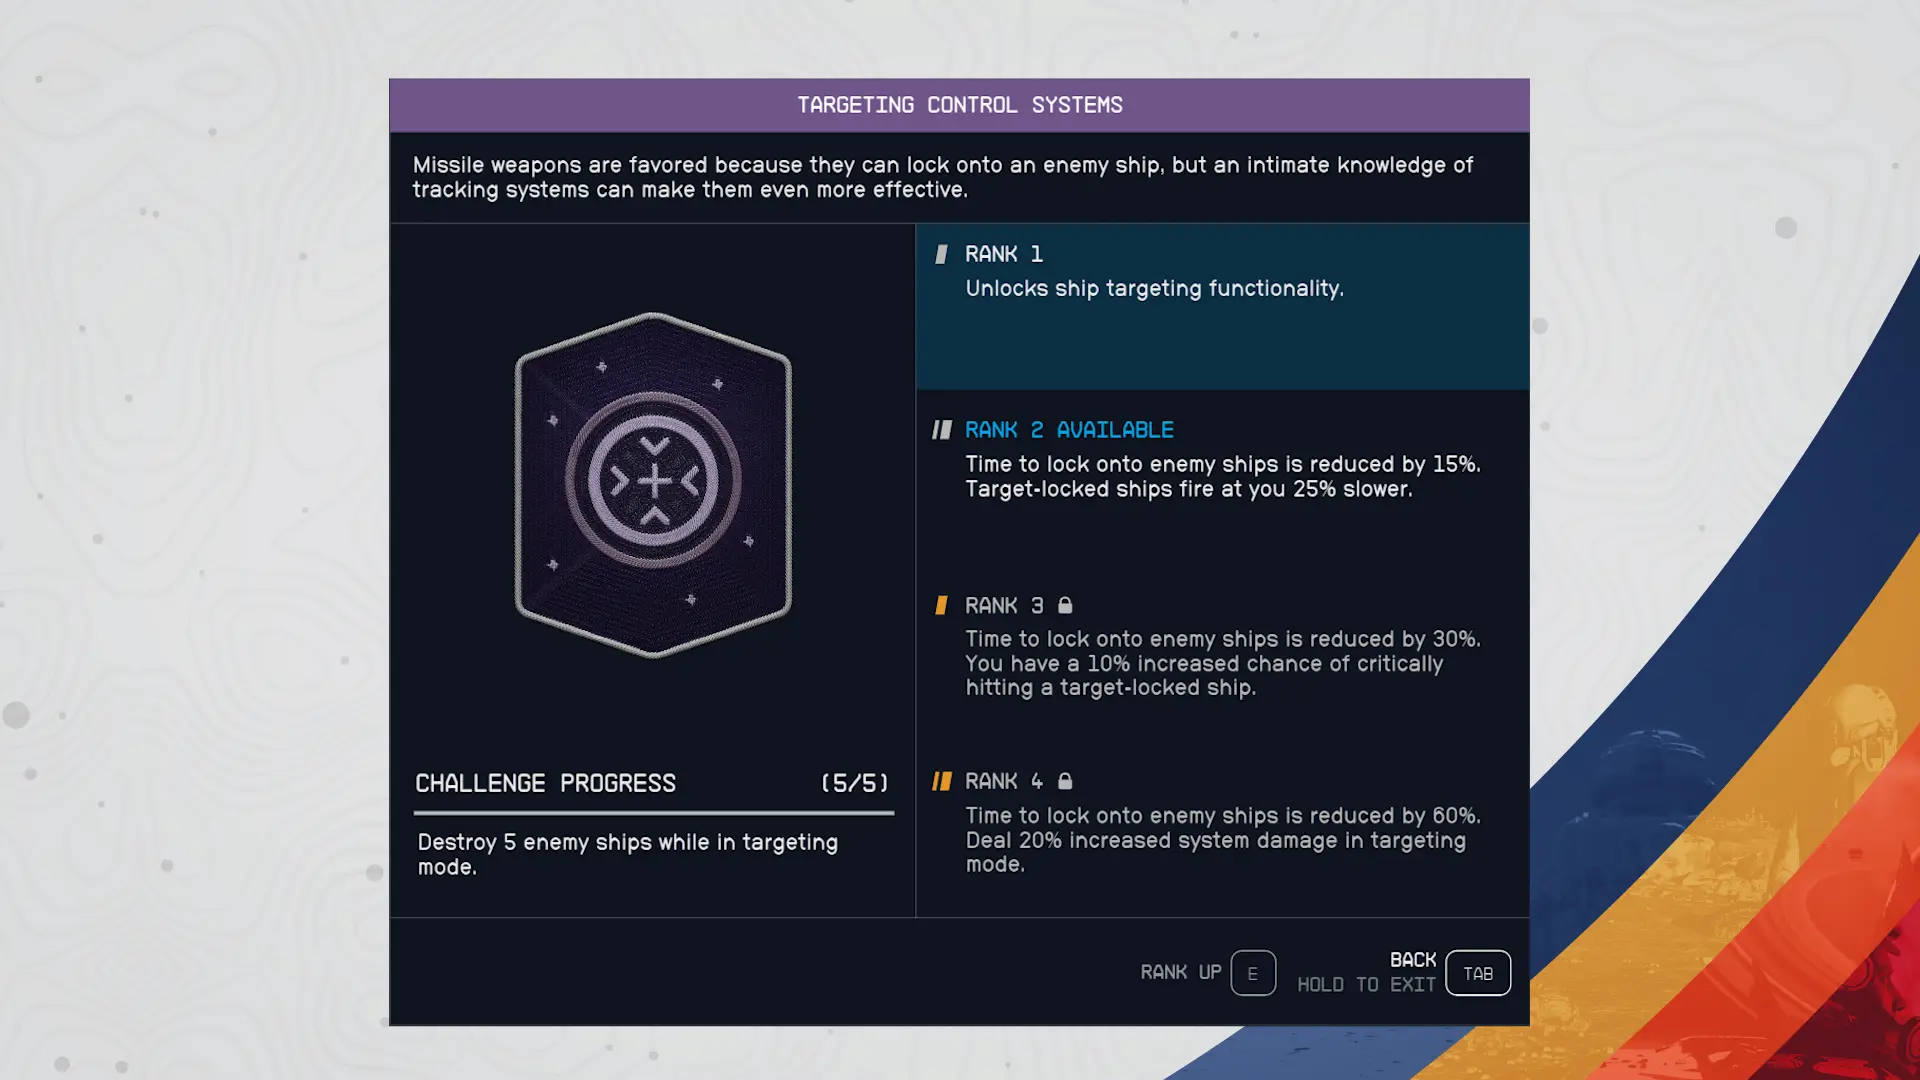
- Targeting Control System so you can disable and ultimately steal ships
It sounds like a lot, but all of it will come in handy as we work through each step of this guide. Remember we’re not saying you need to get everything at once, but the skills I outlined all feed into the overall process of getting OP quickly.
Mission Board Quests
Once the great beyond opens up it’s hard, almost impossible really to figure out what to do first. Do you tackle the main story, maybe join a faction, or better yet start tweaking your space ship. All of these are great, but in order to get OP early we really need to due a little legwork and set ourselves up for success. Enter the mission board, a great little kiosk that offers us up simple quests in exchange for credits.
It can seem mundane, but each of these quests will reward you with a few thousand credits, and at this point in the game that’s quite the windfall. The real goal here is to scrap together enough coin to buy yourself a new weapon, but not just any old weapon.
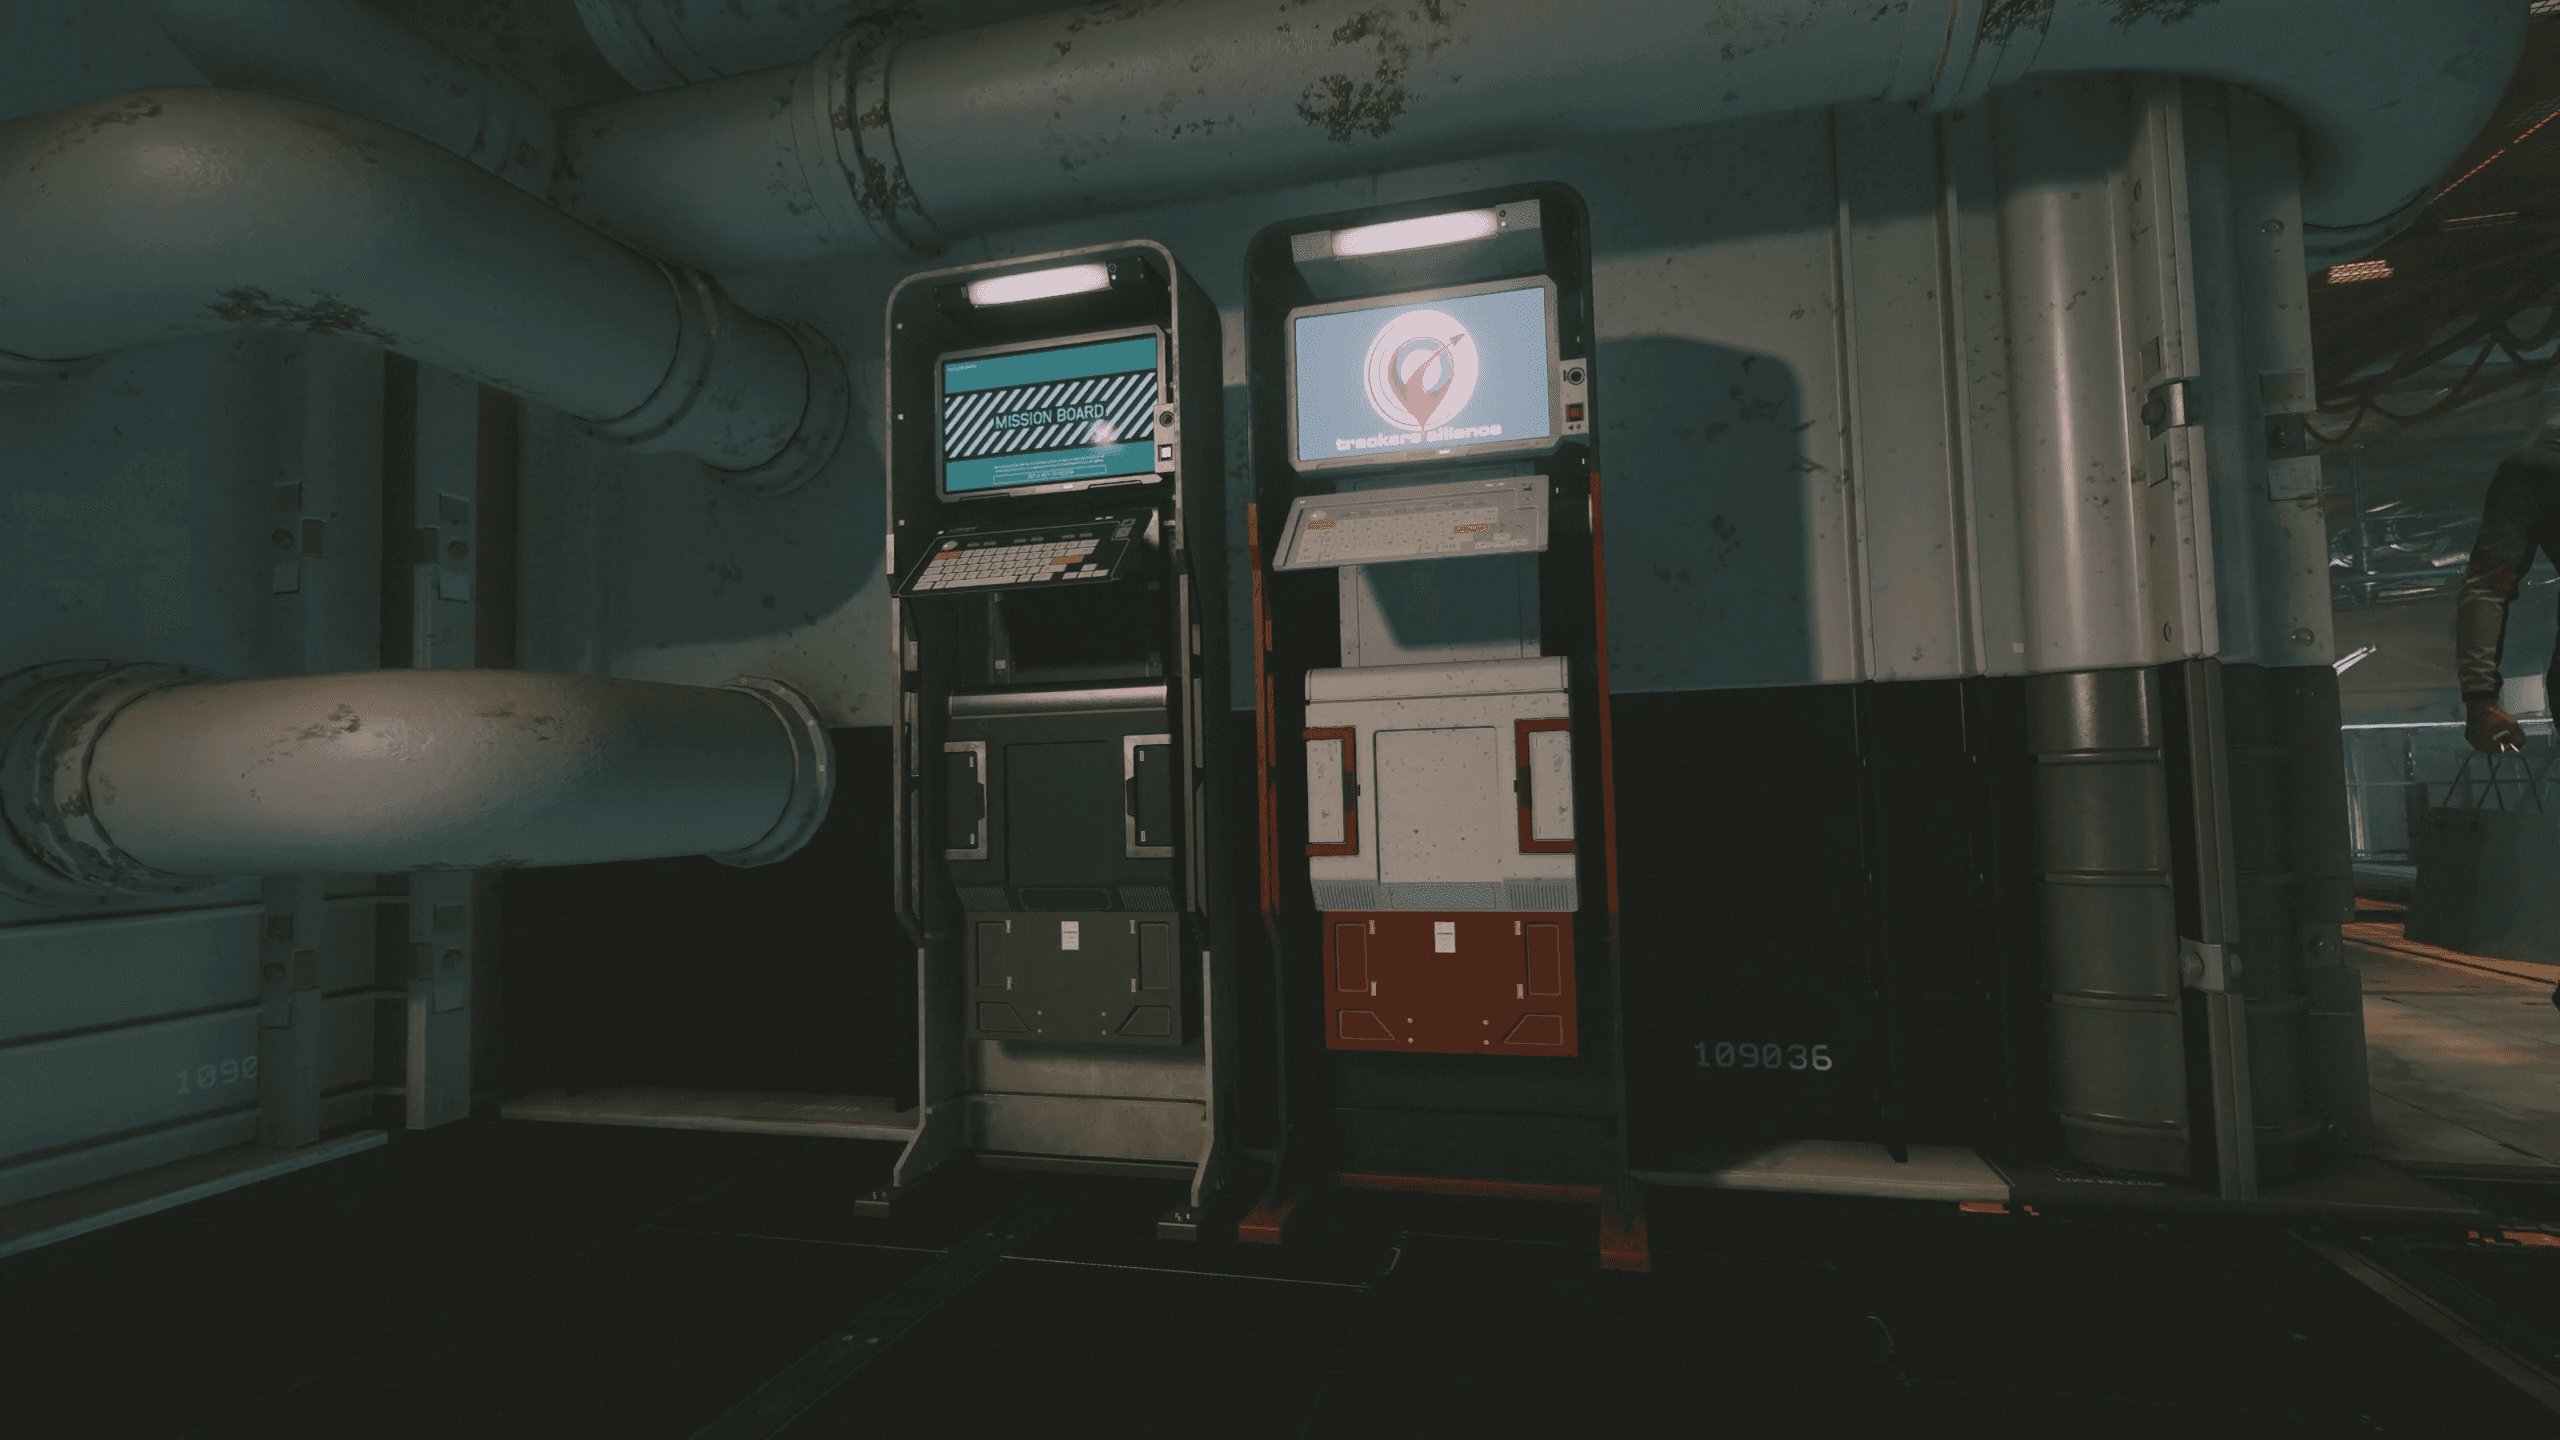
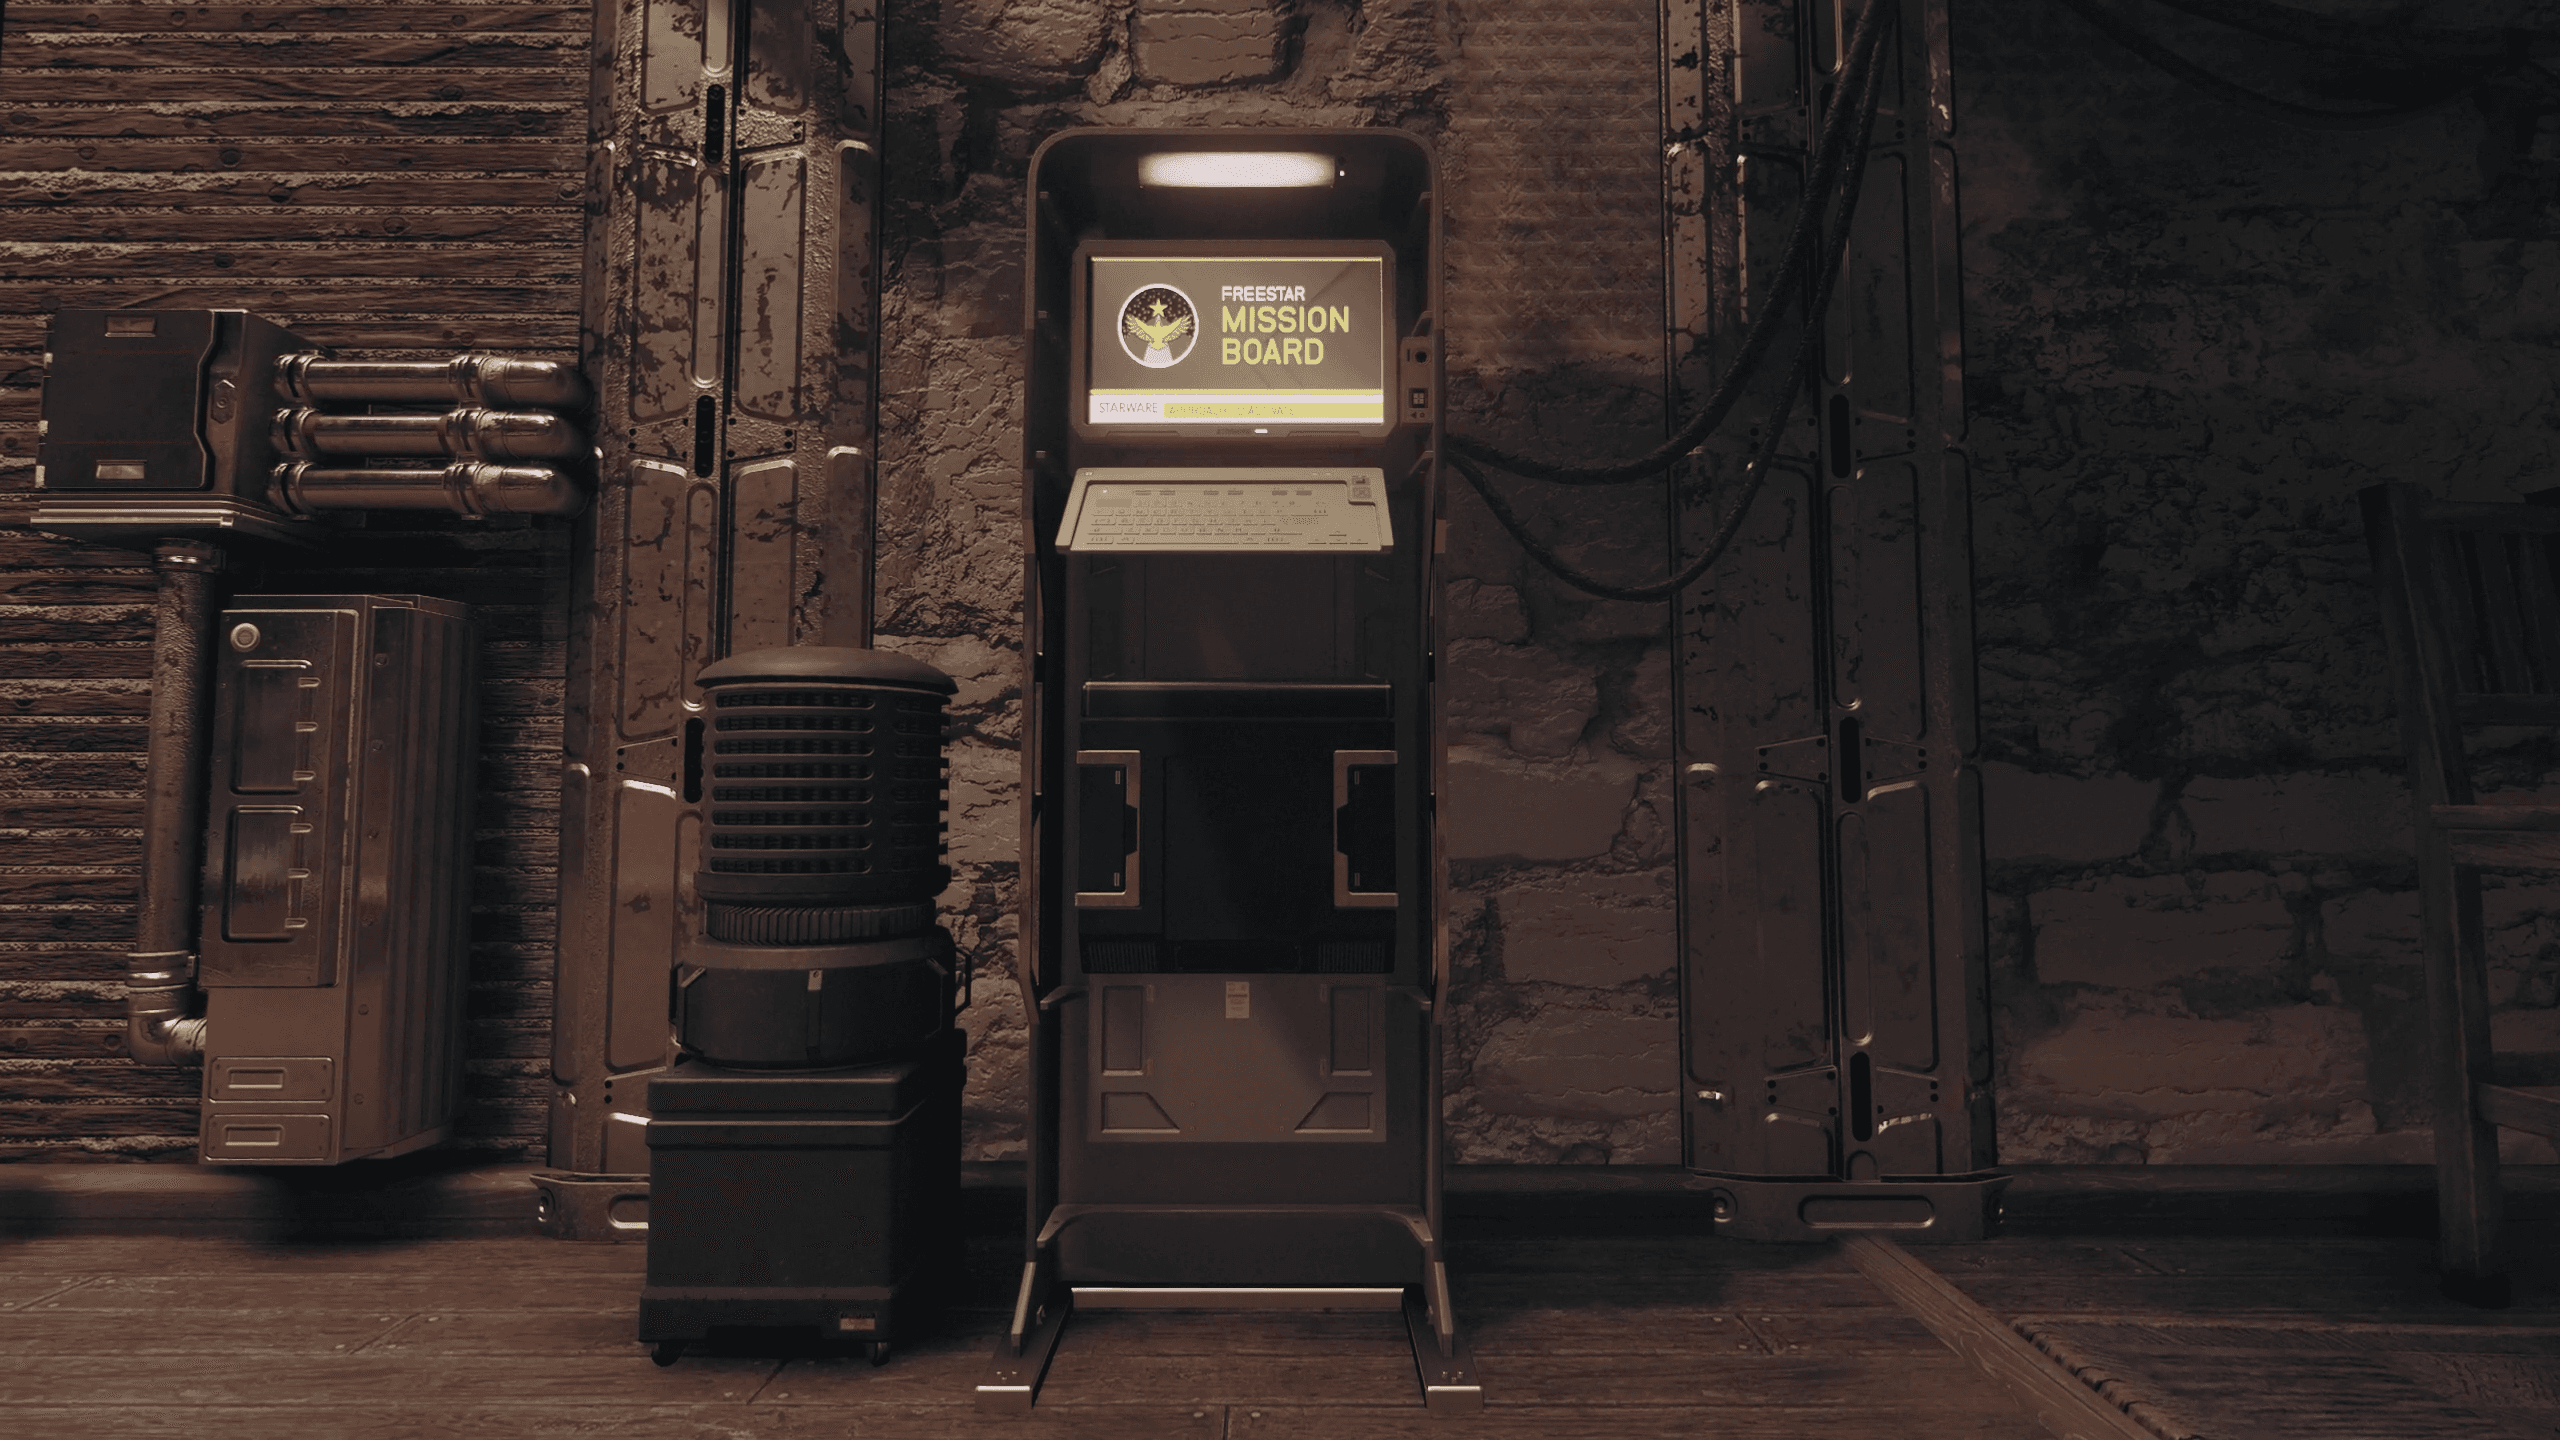
A quick note about the mission board. You can find these in most major cities or even craft one to place in your Outposts. For example, there’s one in New Atlantis right inside the Viewport, right off to the left side of the main drag when you’re first walking into the city. Likewise there is a terminal specifically for the Freestar Collective inside The Rock in Akila city, up the stairs against the right side of the wall.
For now the main mission board will do just fine. Grab any and all missions and knock them out one after the other. To refresh the board simply leave the galaxy and come back, or wait 24 hours, which will trigger a refresh. Do enough missions until you’re close to 30,000 credits and you can move on to the next step.
Buy A Unique Weapon
With credits in hand, it’s time to pick up that unique weapon I mentioned earlier. Lucky for you vendors all around the settled system have one or two special items worth picking up. What you choose really depends on your playstyle so I’ll let you make the decision, but here are a few weapons you might be interested in.
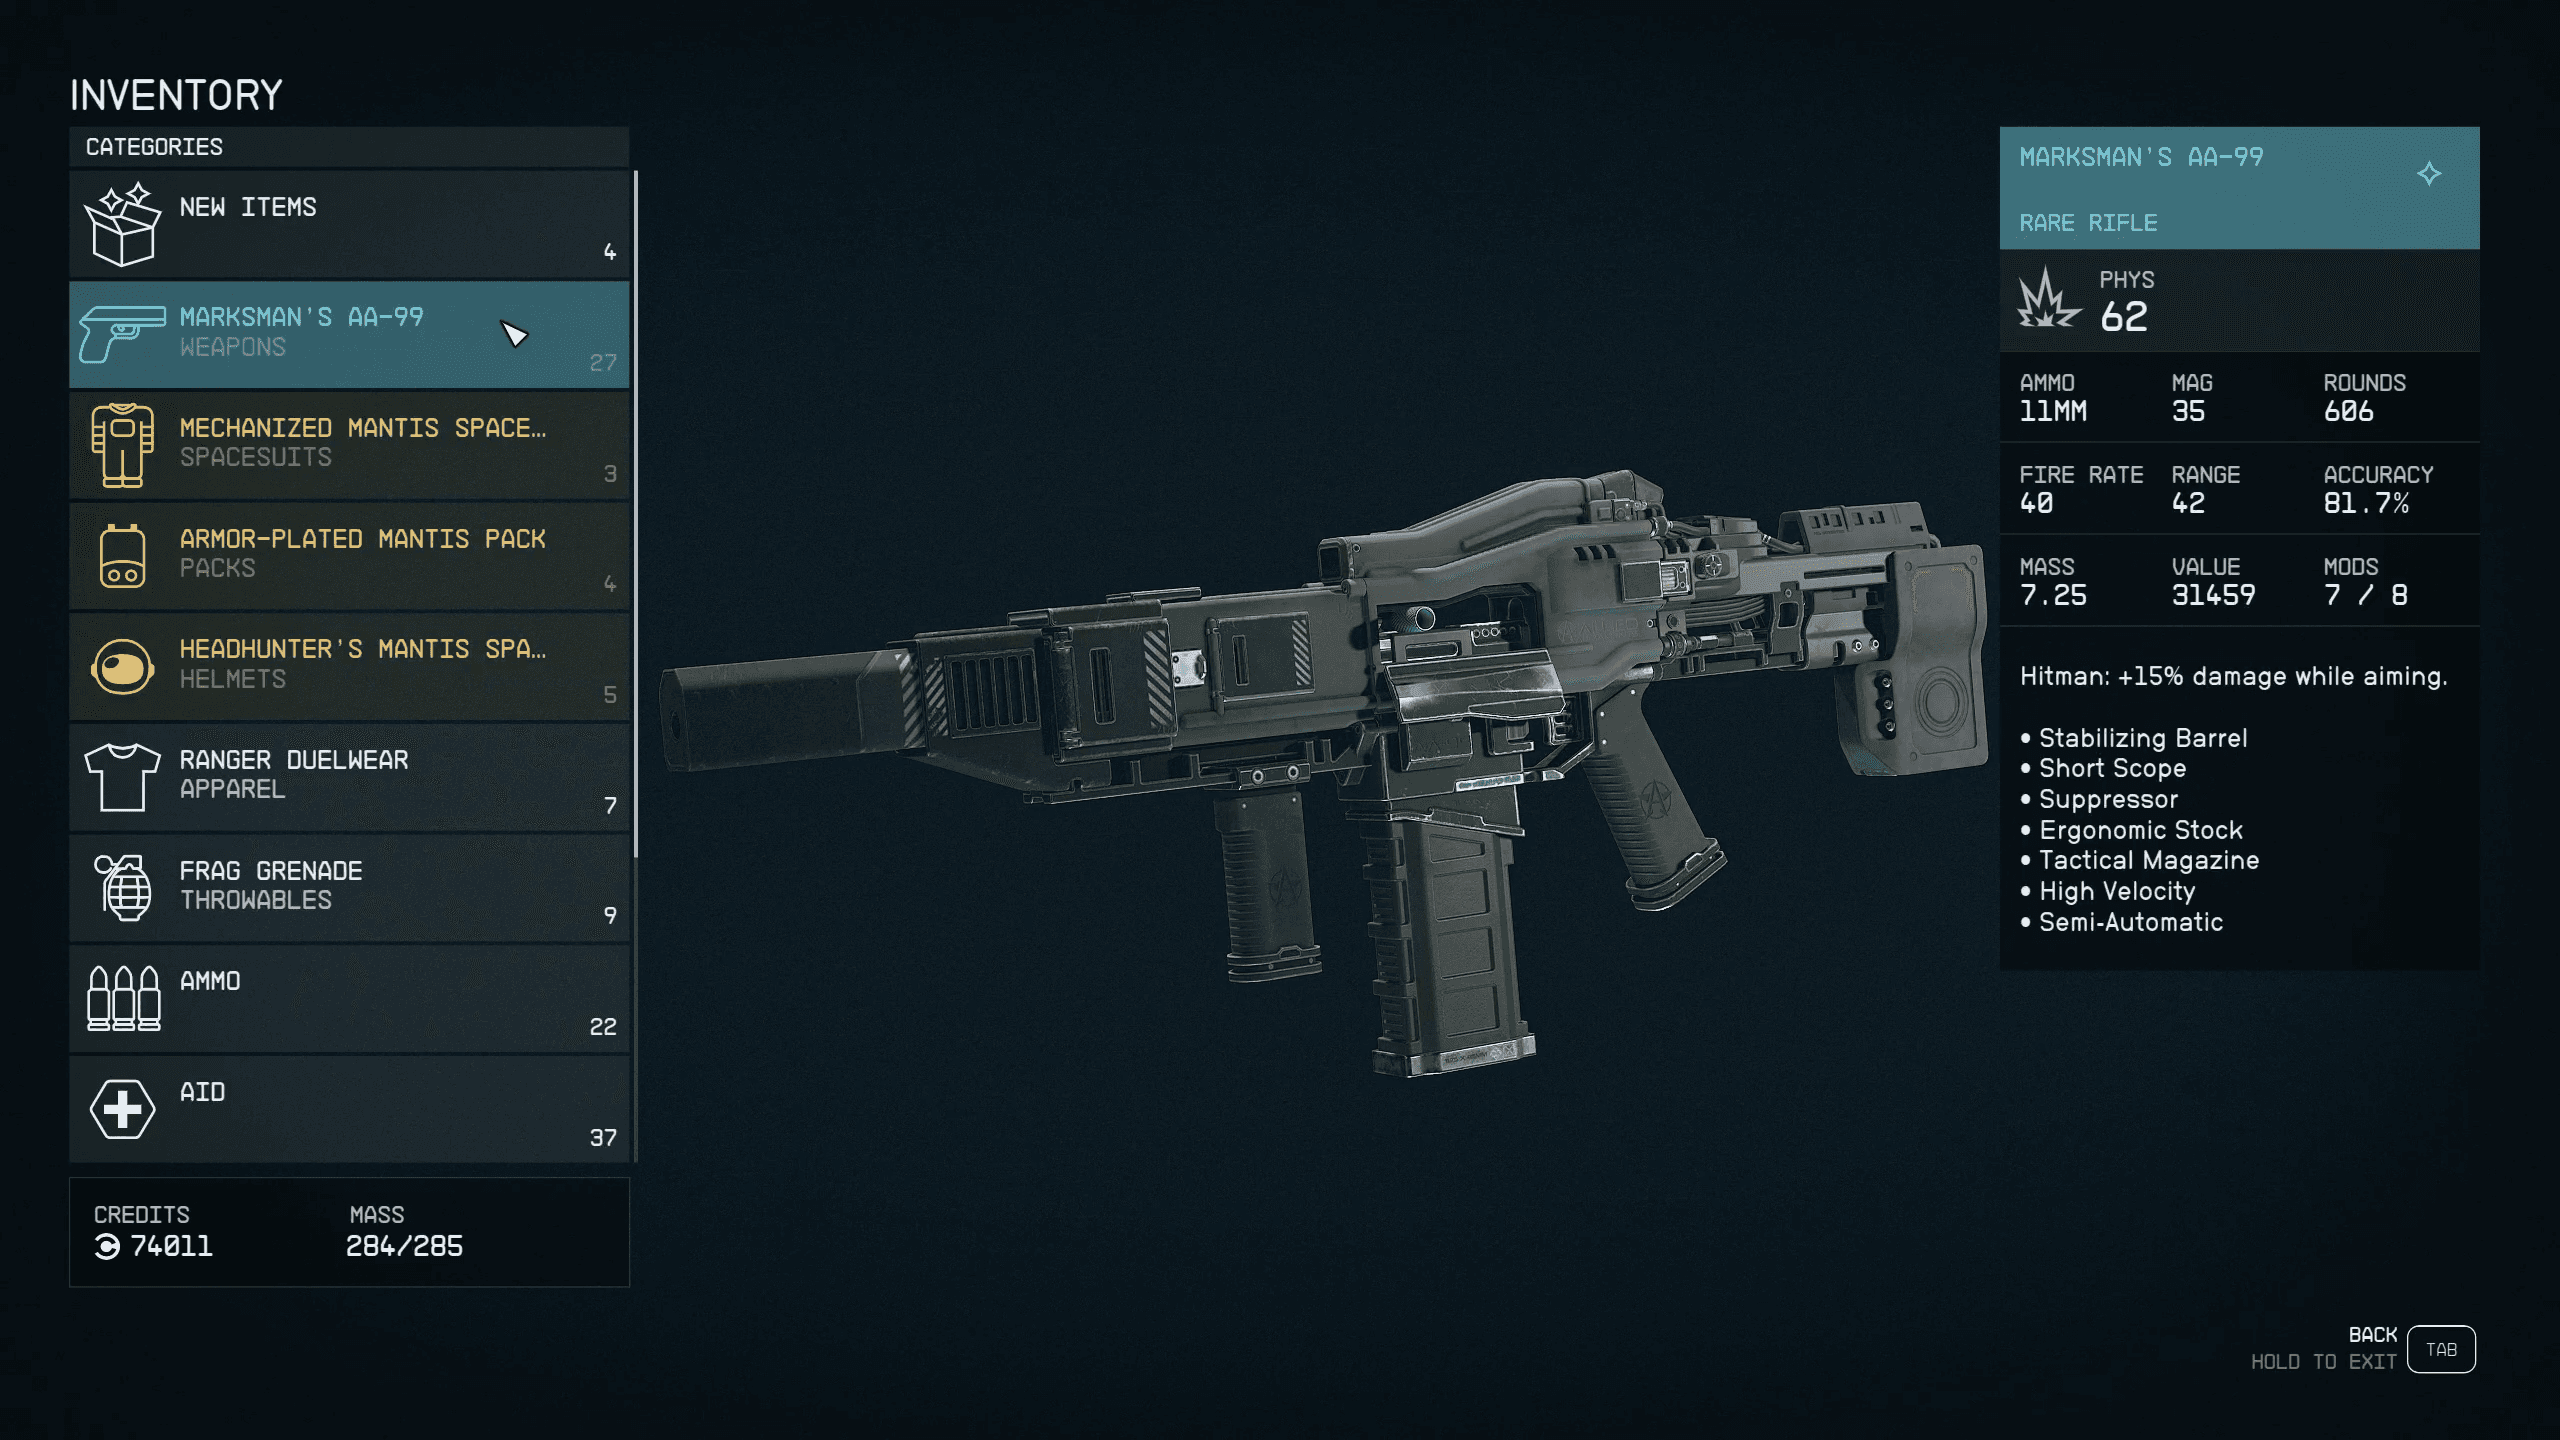
In the residential district of New Atlantis is Centurian Arsenal. Inside, at the vendor, you can pick up the Marksman’s AA-99. This isn’t technically a unique weapon, but it’s damn powerful providing you with deadly long-range effectiveness right out of the gate.
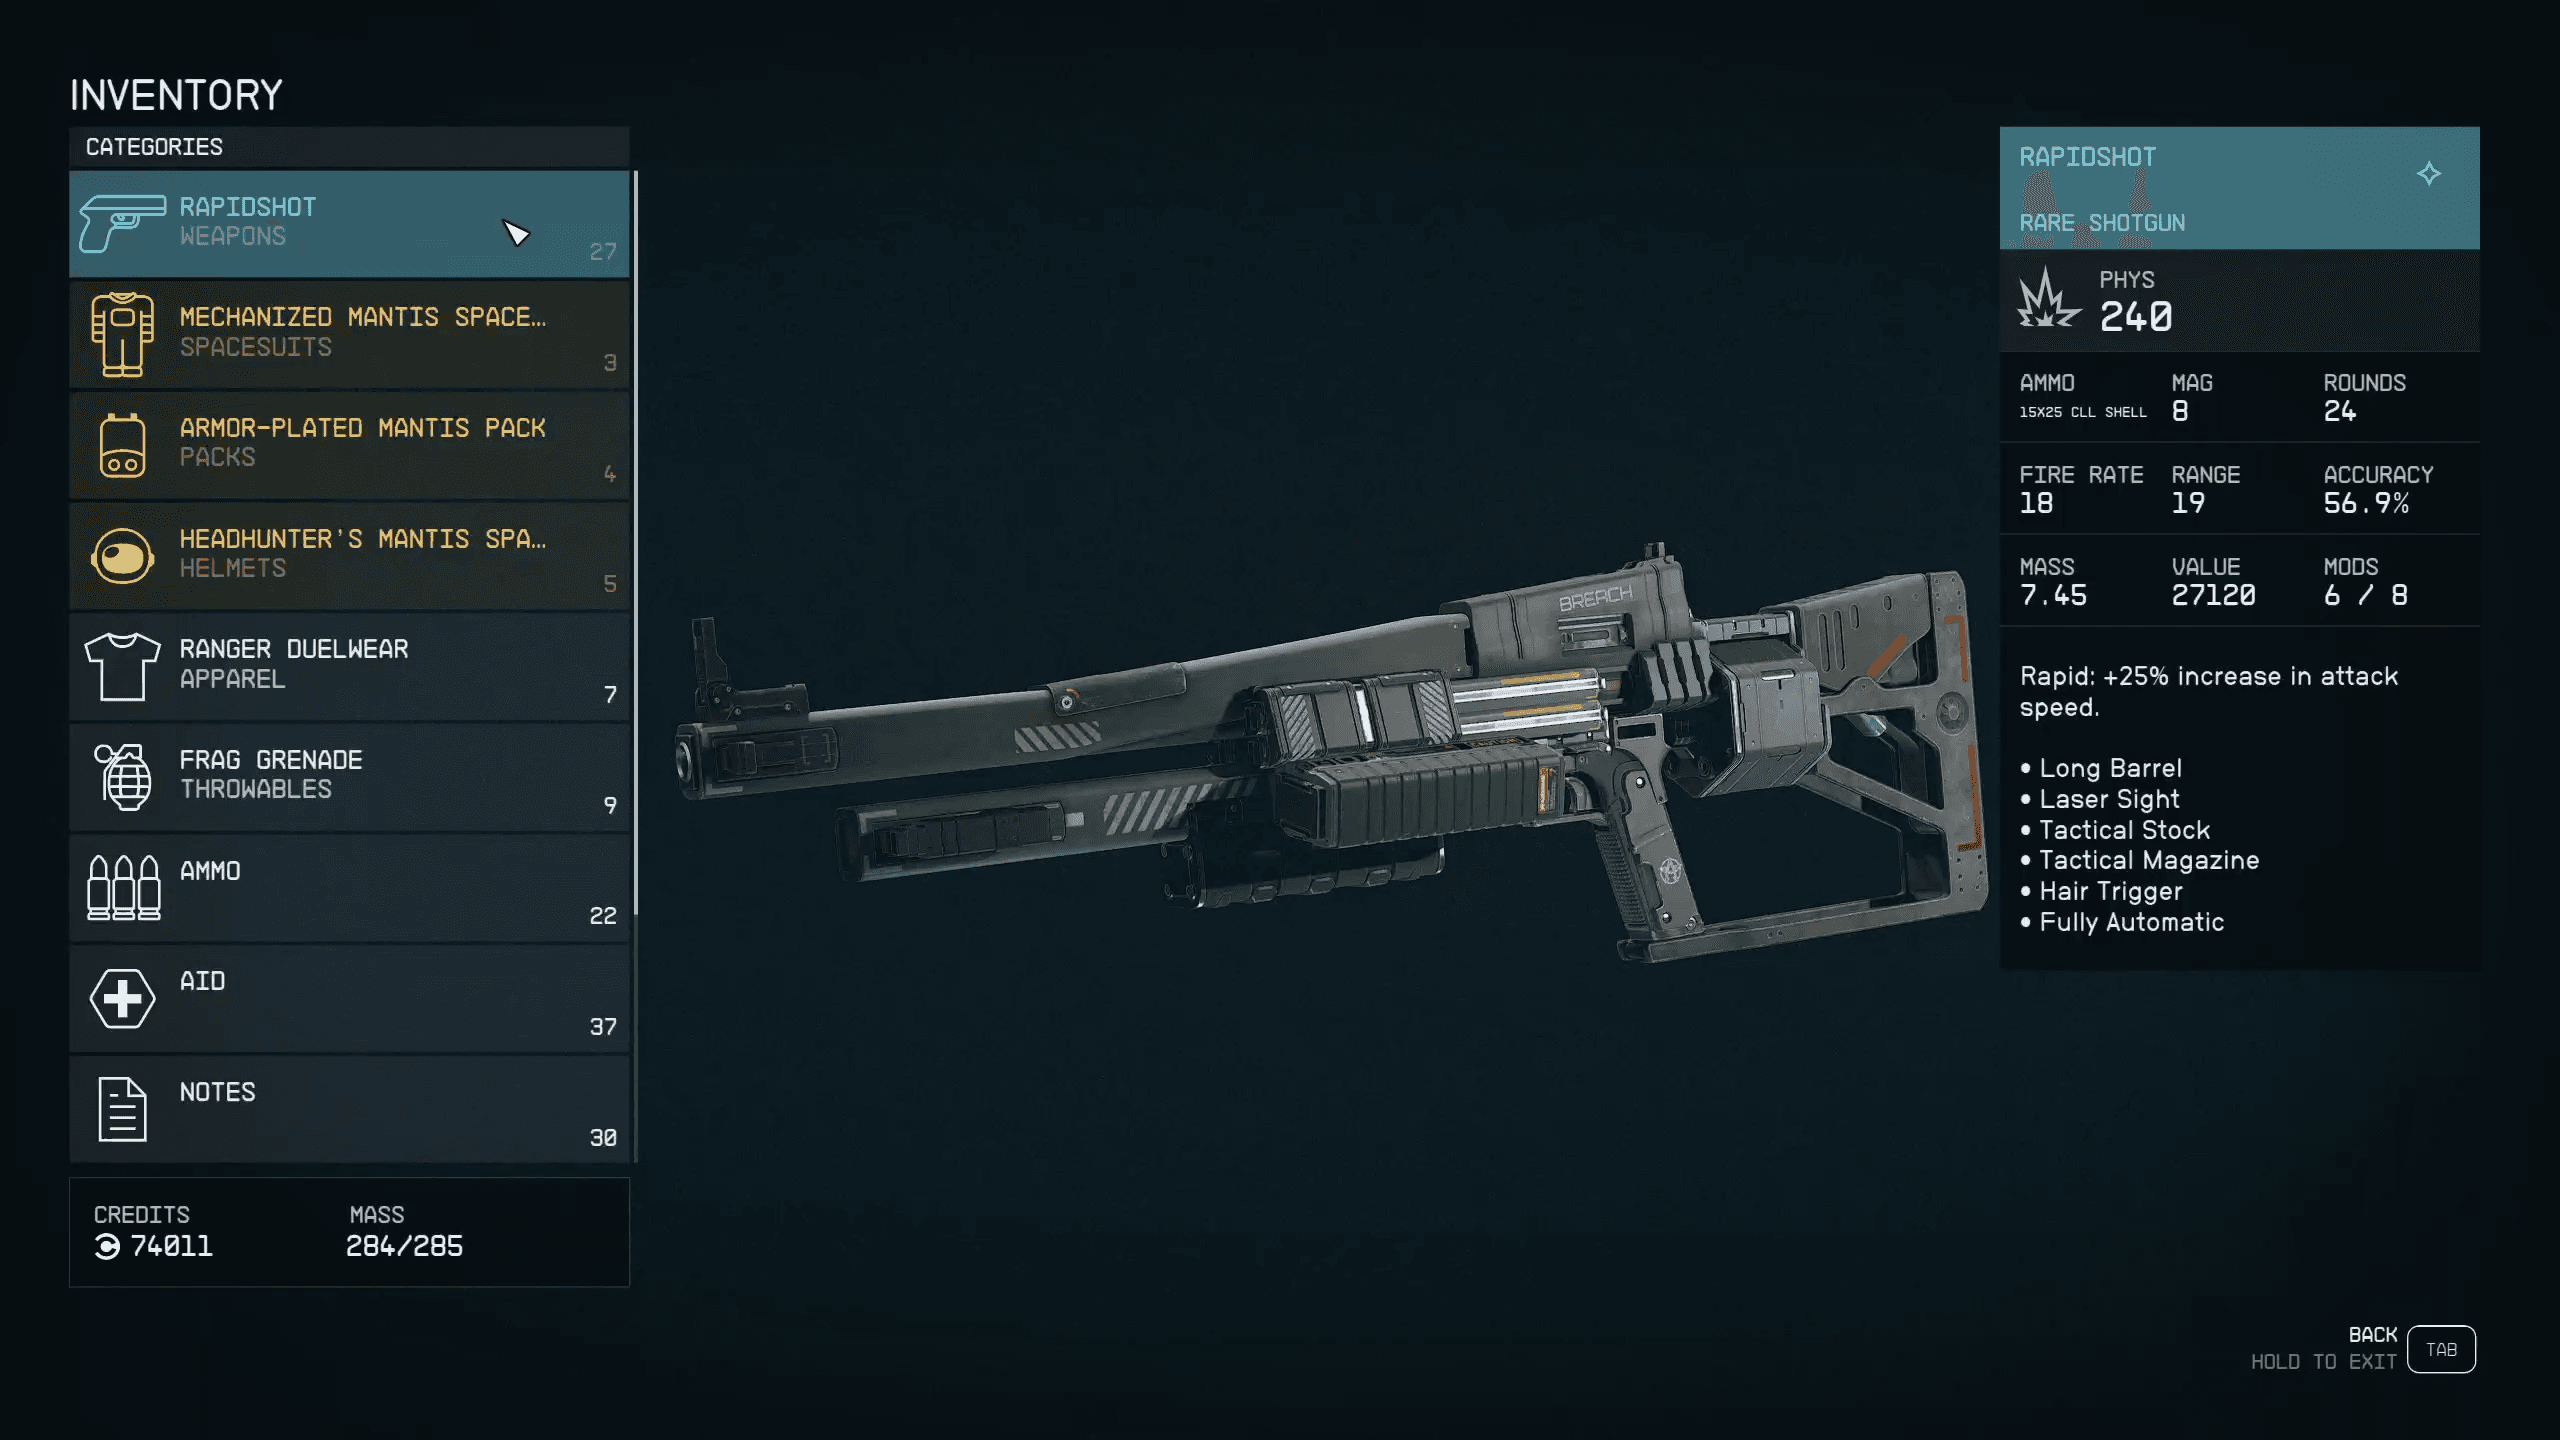
If you’re more of a shotgun player you can head down to the Commercial District and stop into the UC Distribution center. There you can purchase the Rapidshot, a powerful early game shotgun that can clear most points of interest with ease.
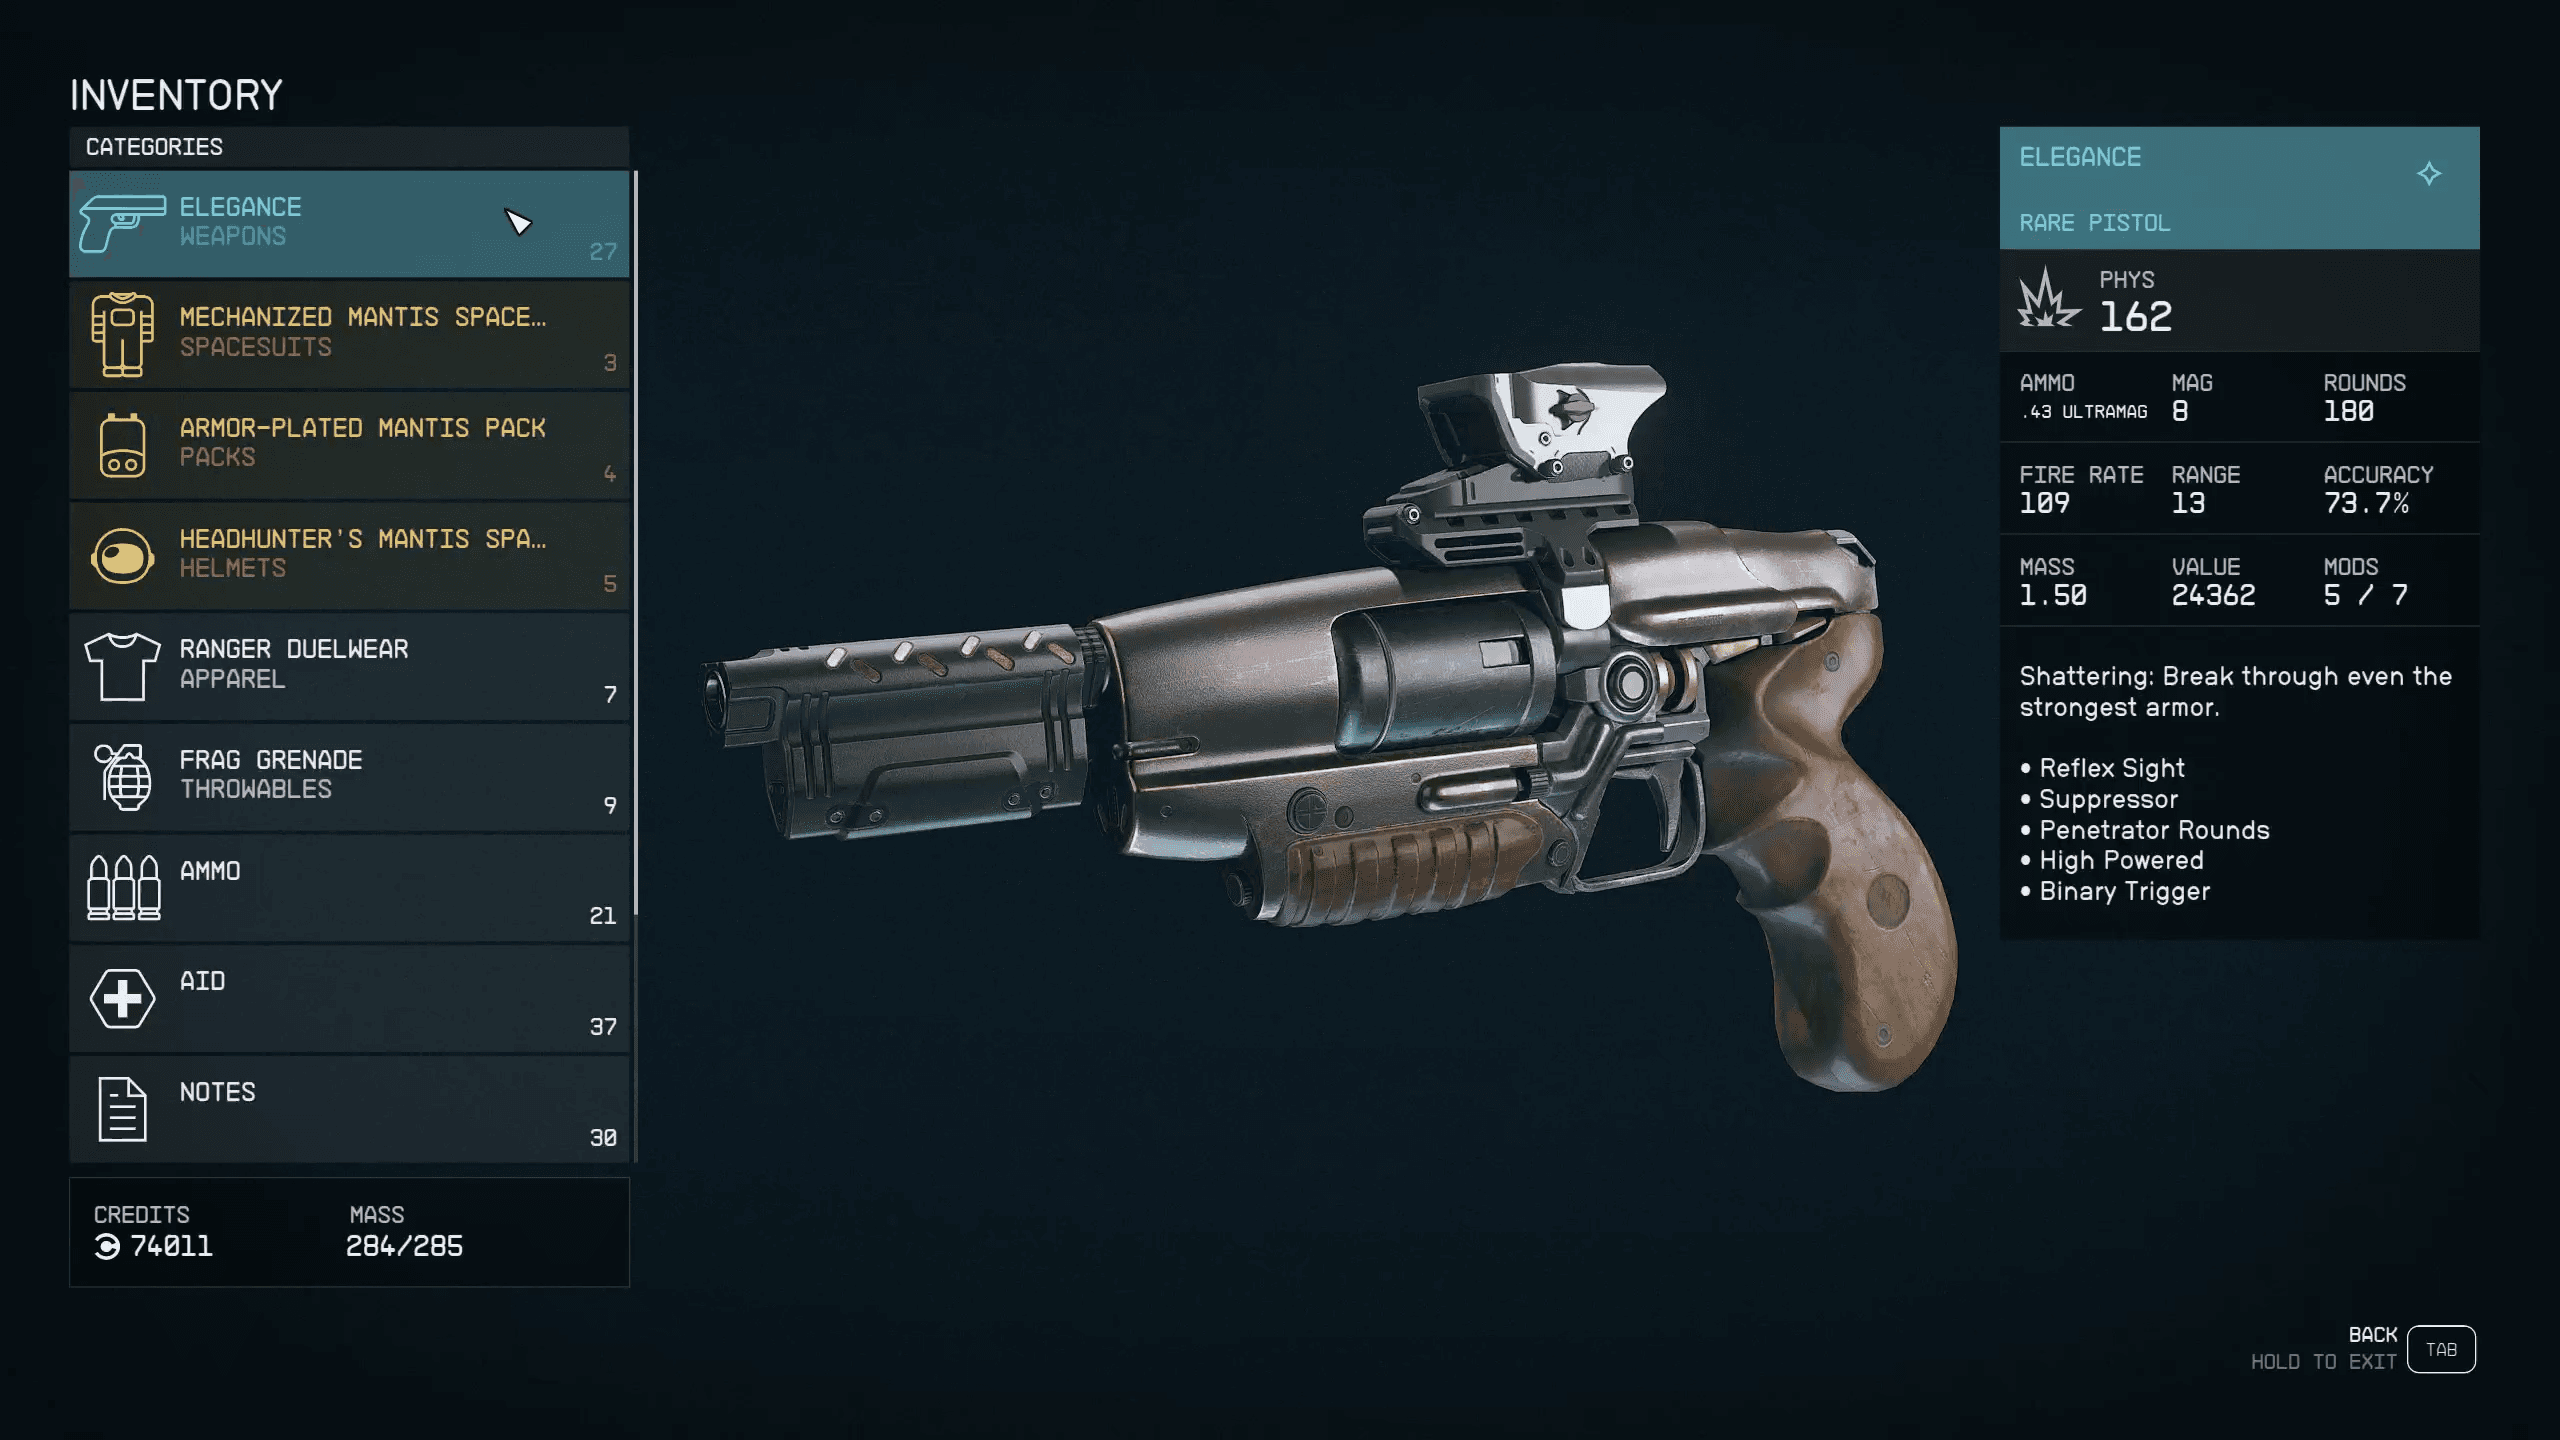
If you’re looking for something a little more sophisticated, you can head to Akila City and the weapons vendor there. She’ll sell you a neat little pistol called Elegance, which really does live up to the name. It’s a burst shot weapon with insane armor pen and a suppressor…go figure.
If you’re willing to head to the Volii system and touch down in Neon you can pick up three other options
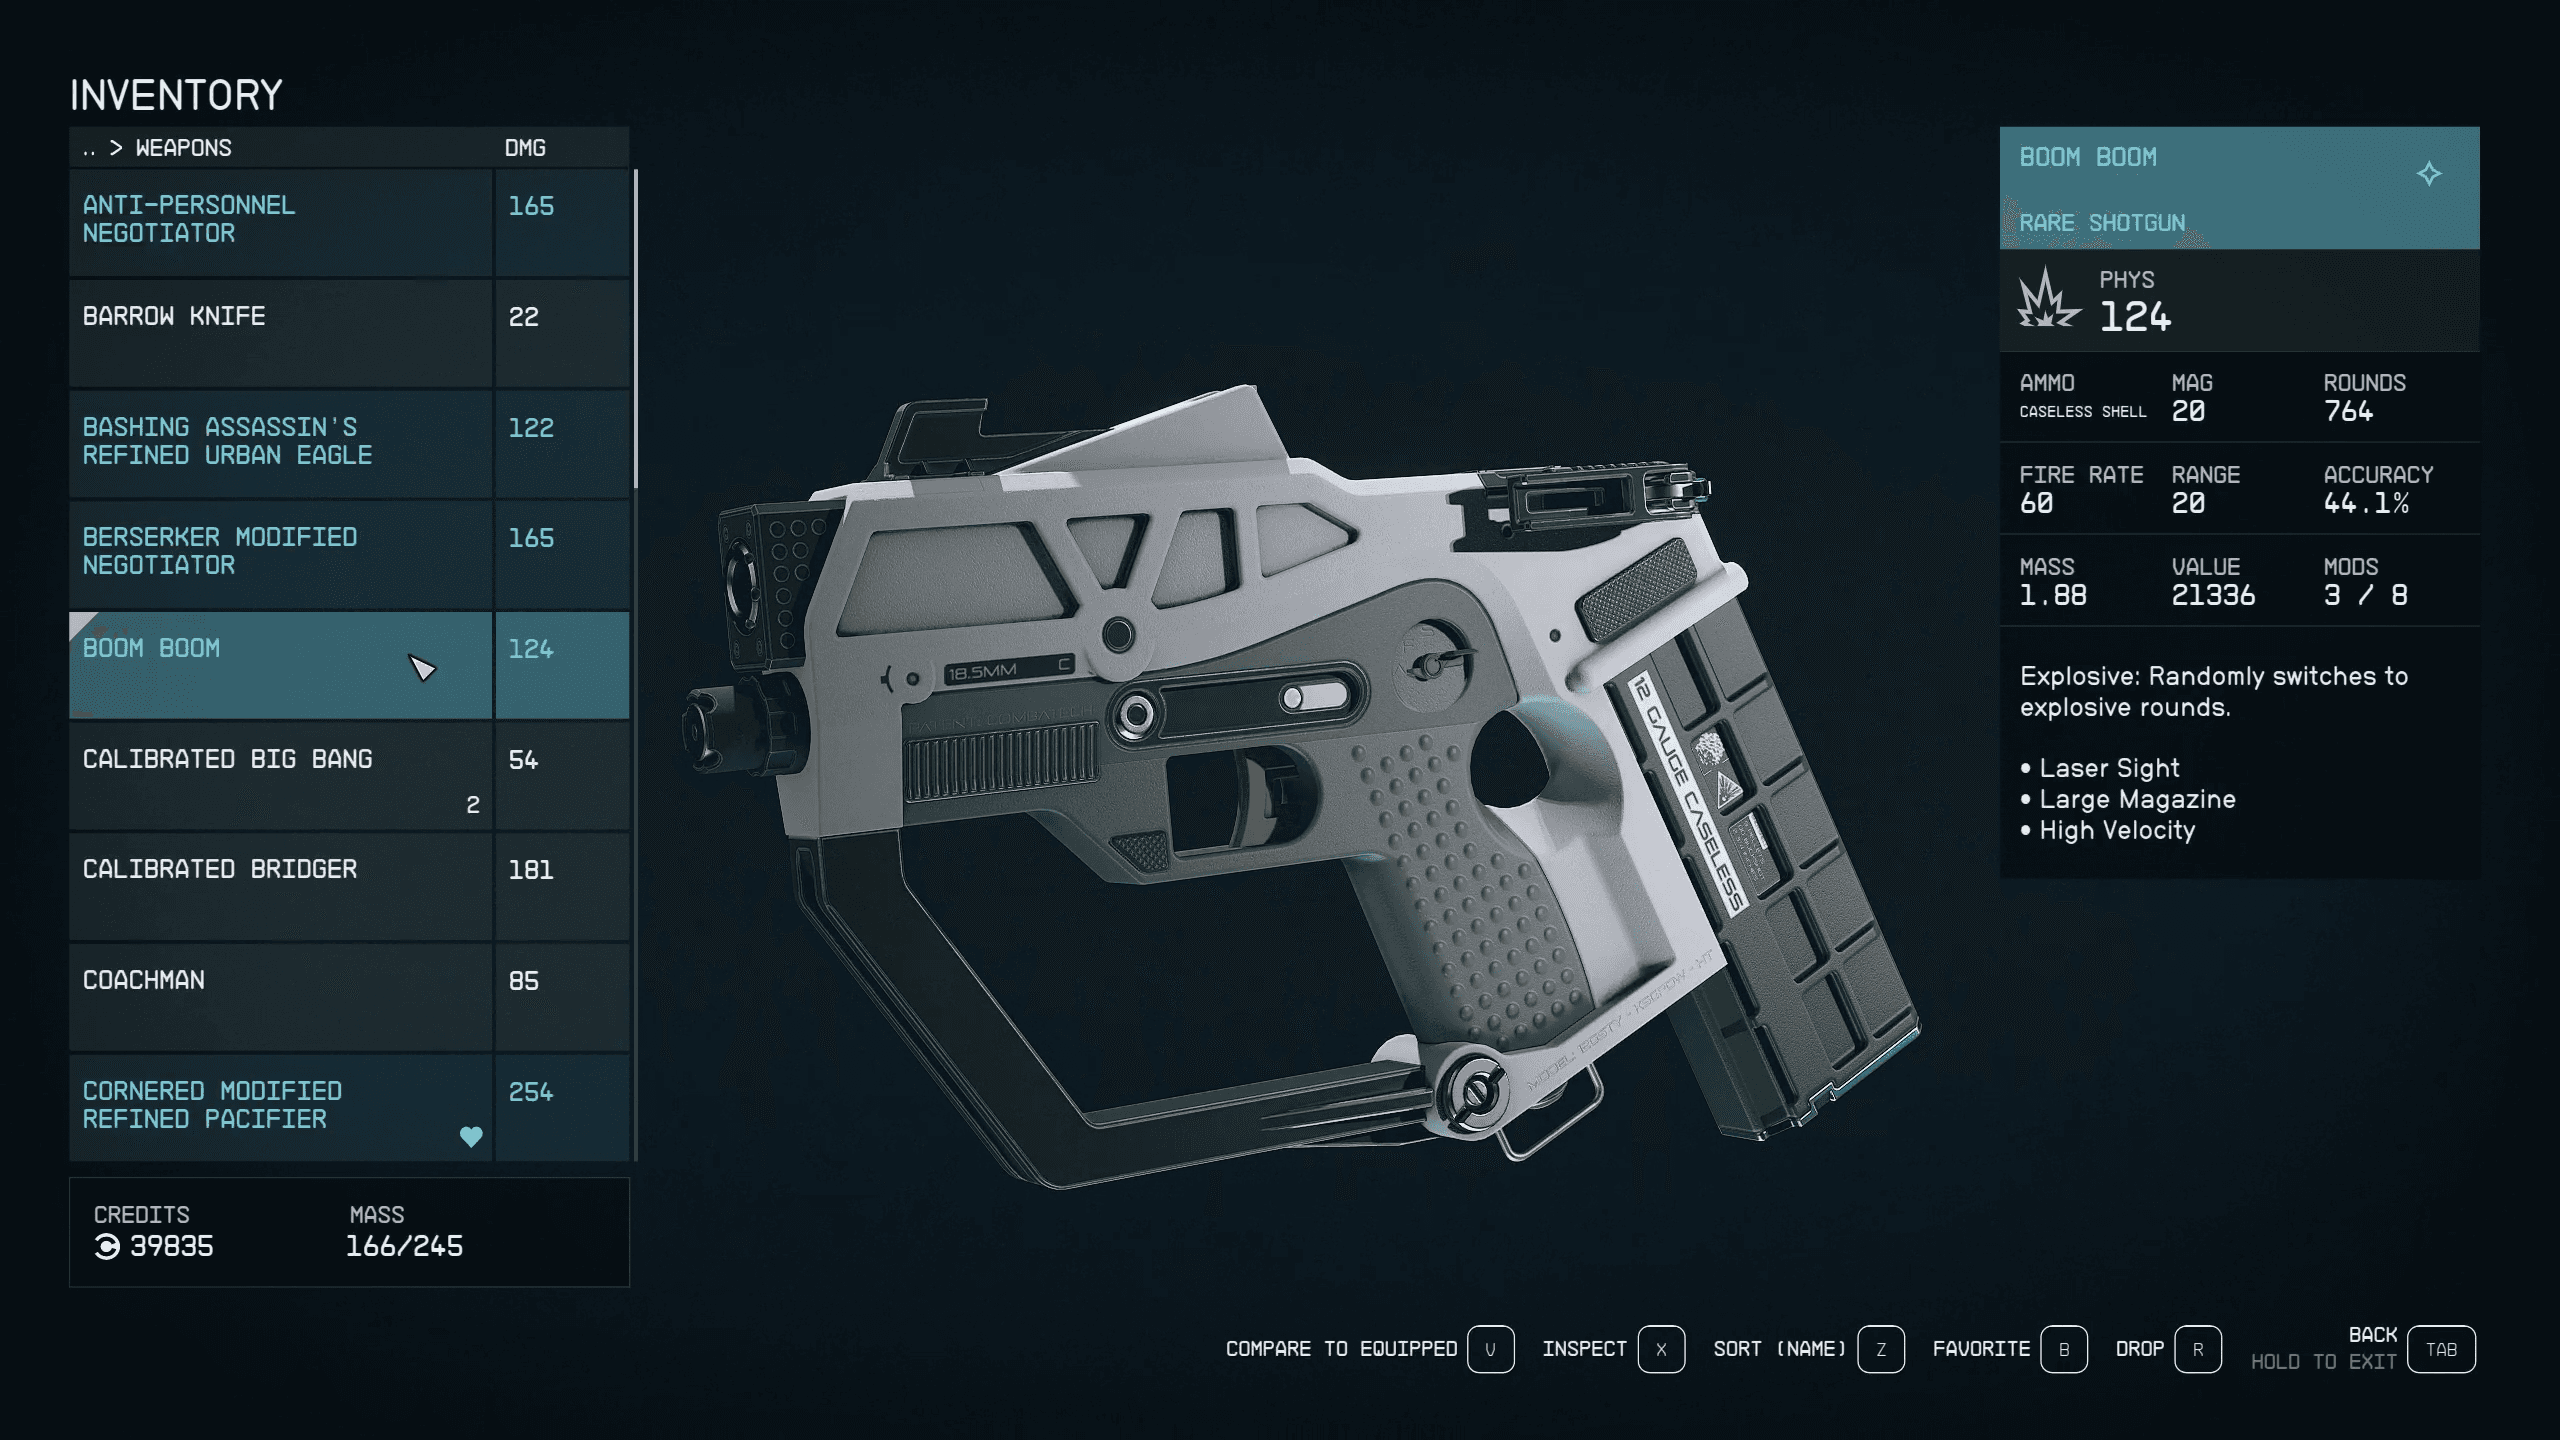
- The Boom Boom is sold at Neon Tactical and features a large magazine, high-damage rounds, and is a decent option if accuracy isn’t really your thing
- That same vendor will also sell you the Buzzcut which I’ll admit I’ve never purchased, mainly because it’s built off the Grendel platform which I don’t particularly like.
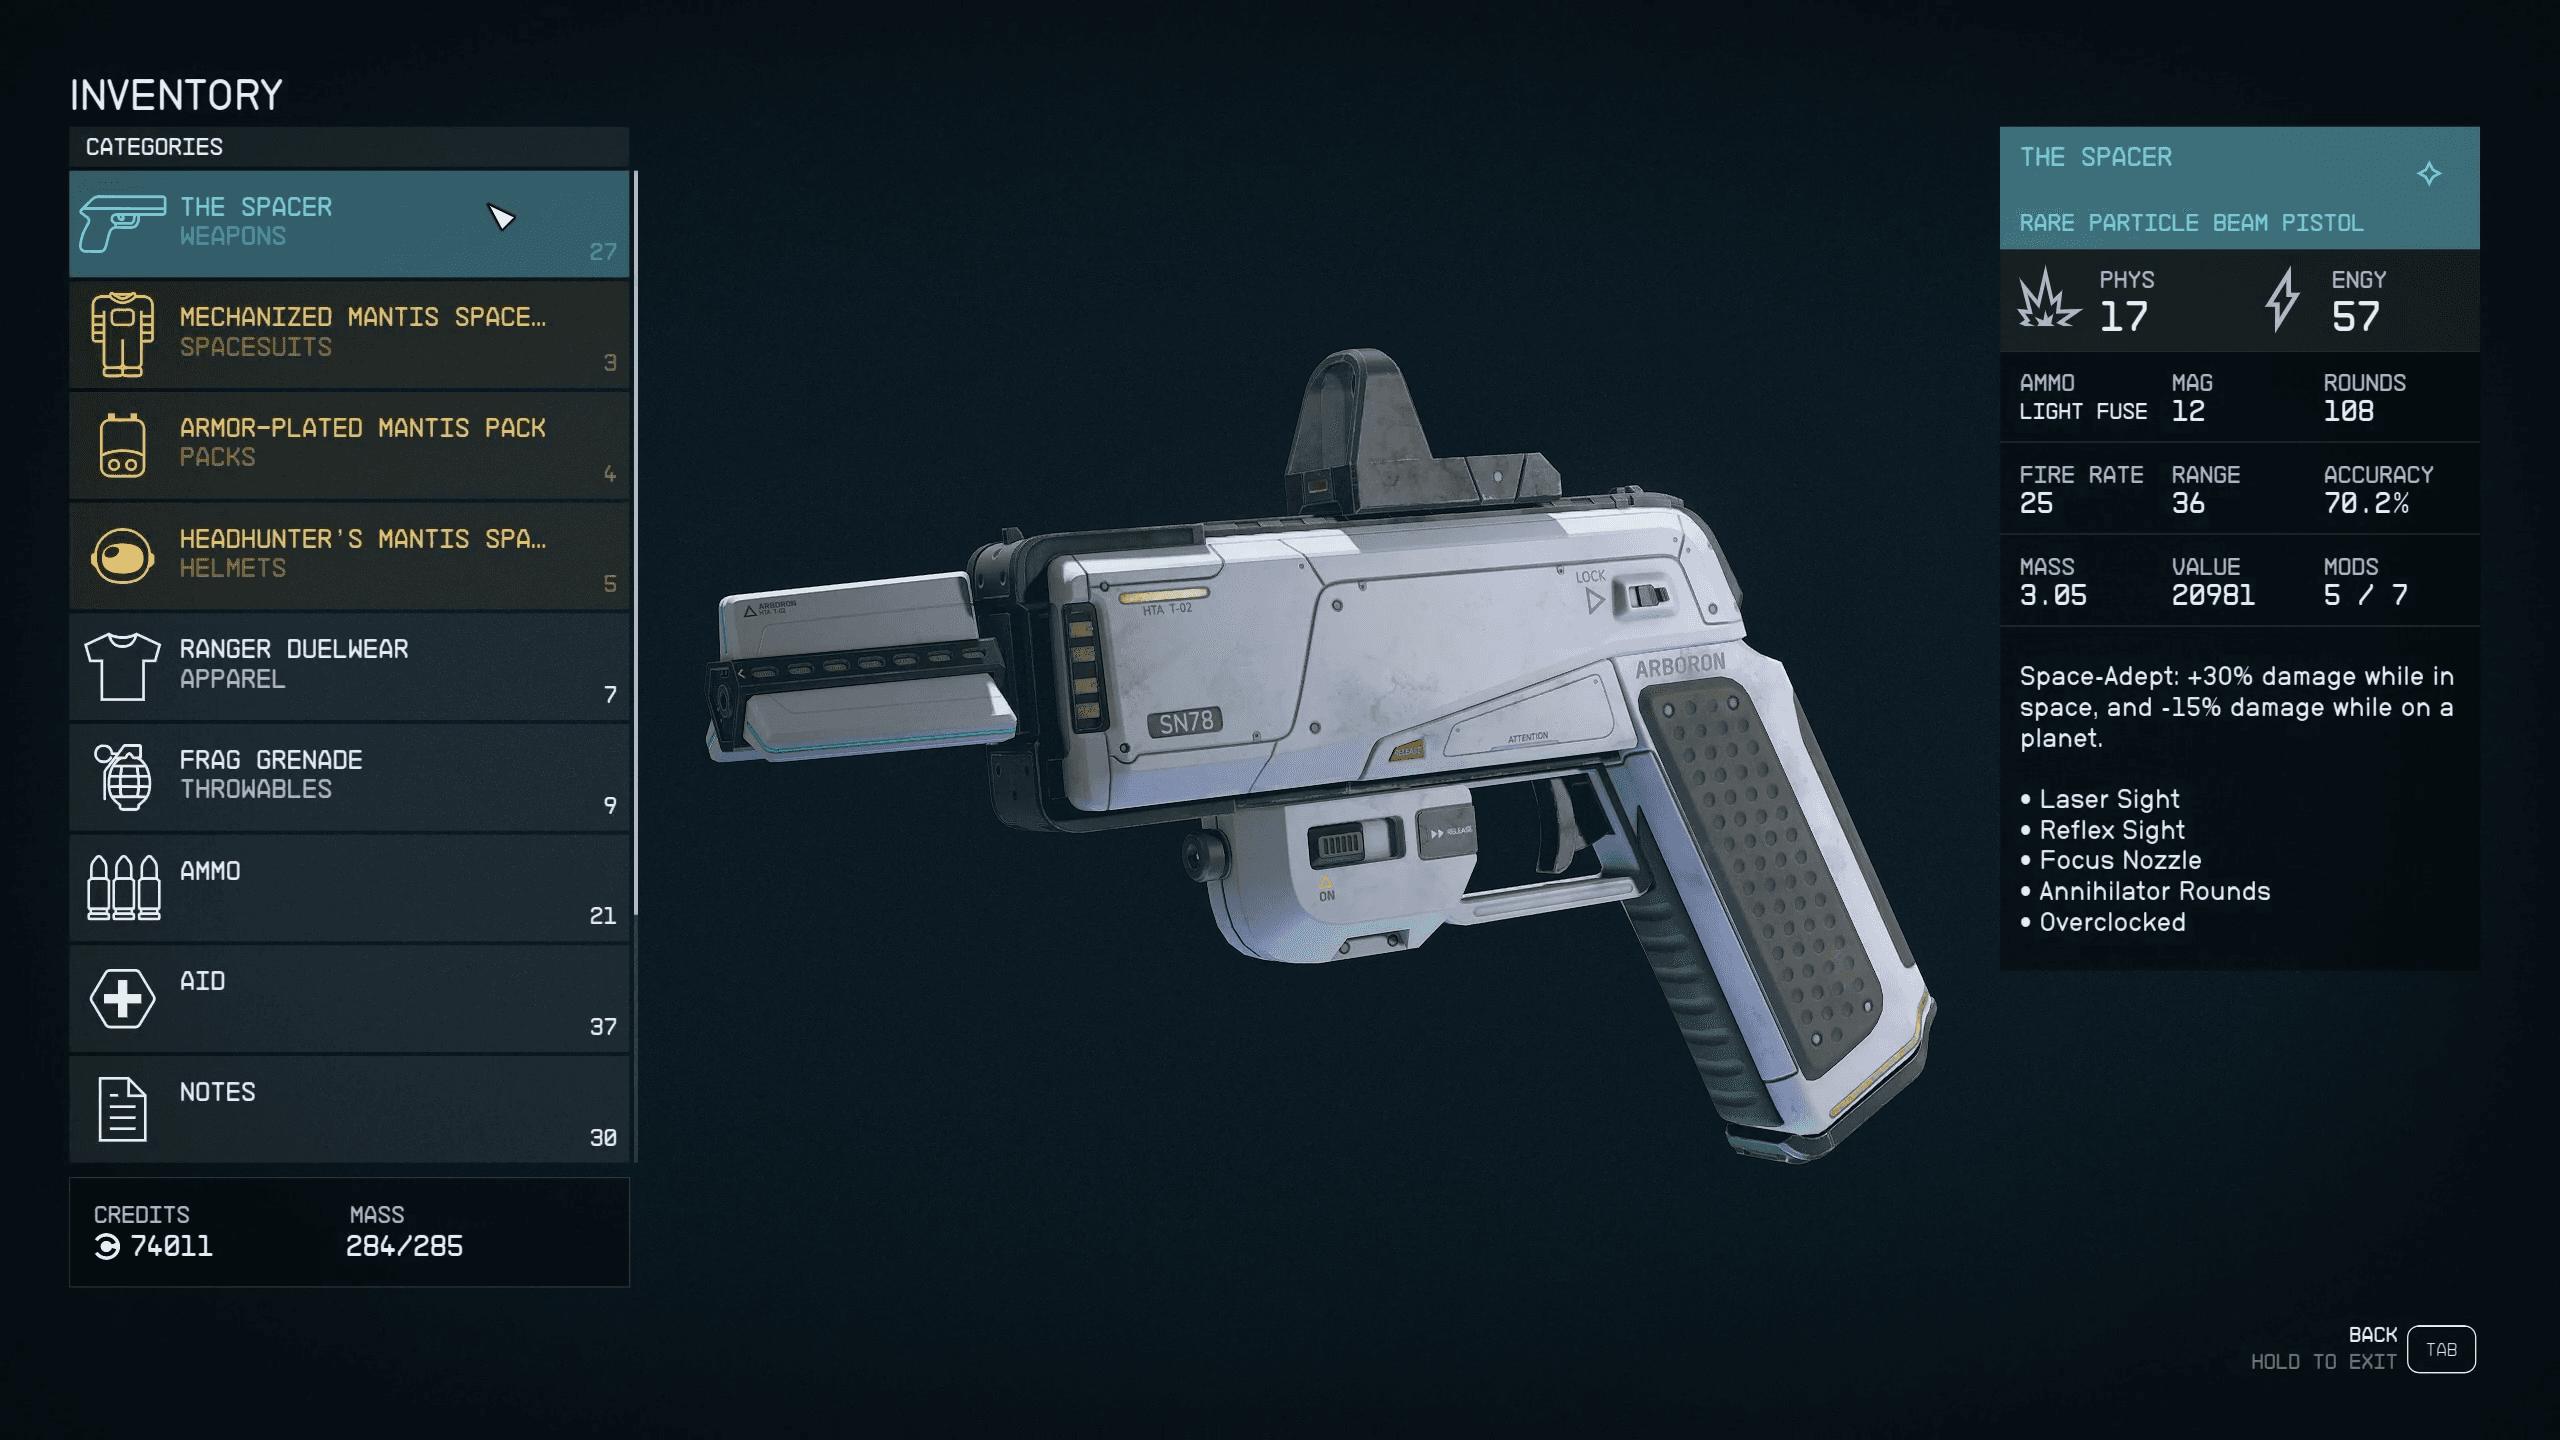
- There’s also another option, The Spacer which you can purchase from the Arboron vendor at the end of the main street. This weapon deals both physical and energy damage, has a load of mods, and deals increased damage while in space, but reduced damage while on the surface. Even still it’s a solid weapon.

Those are just a few options, and really any arms vendor you meet at any of the major cities or hubs will have at least one unique weapon. The choice is up to you, and just like a parent giving their kid an allowance, what you choose to do with credits falls squarely on you.
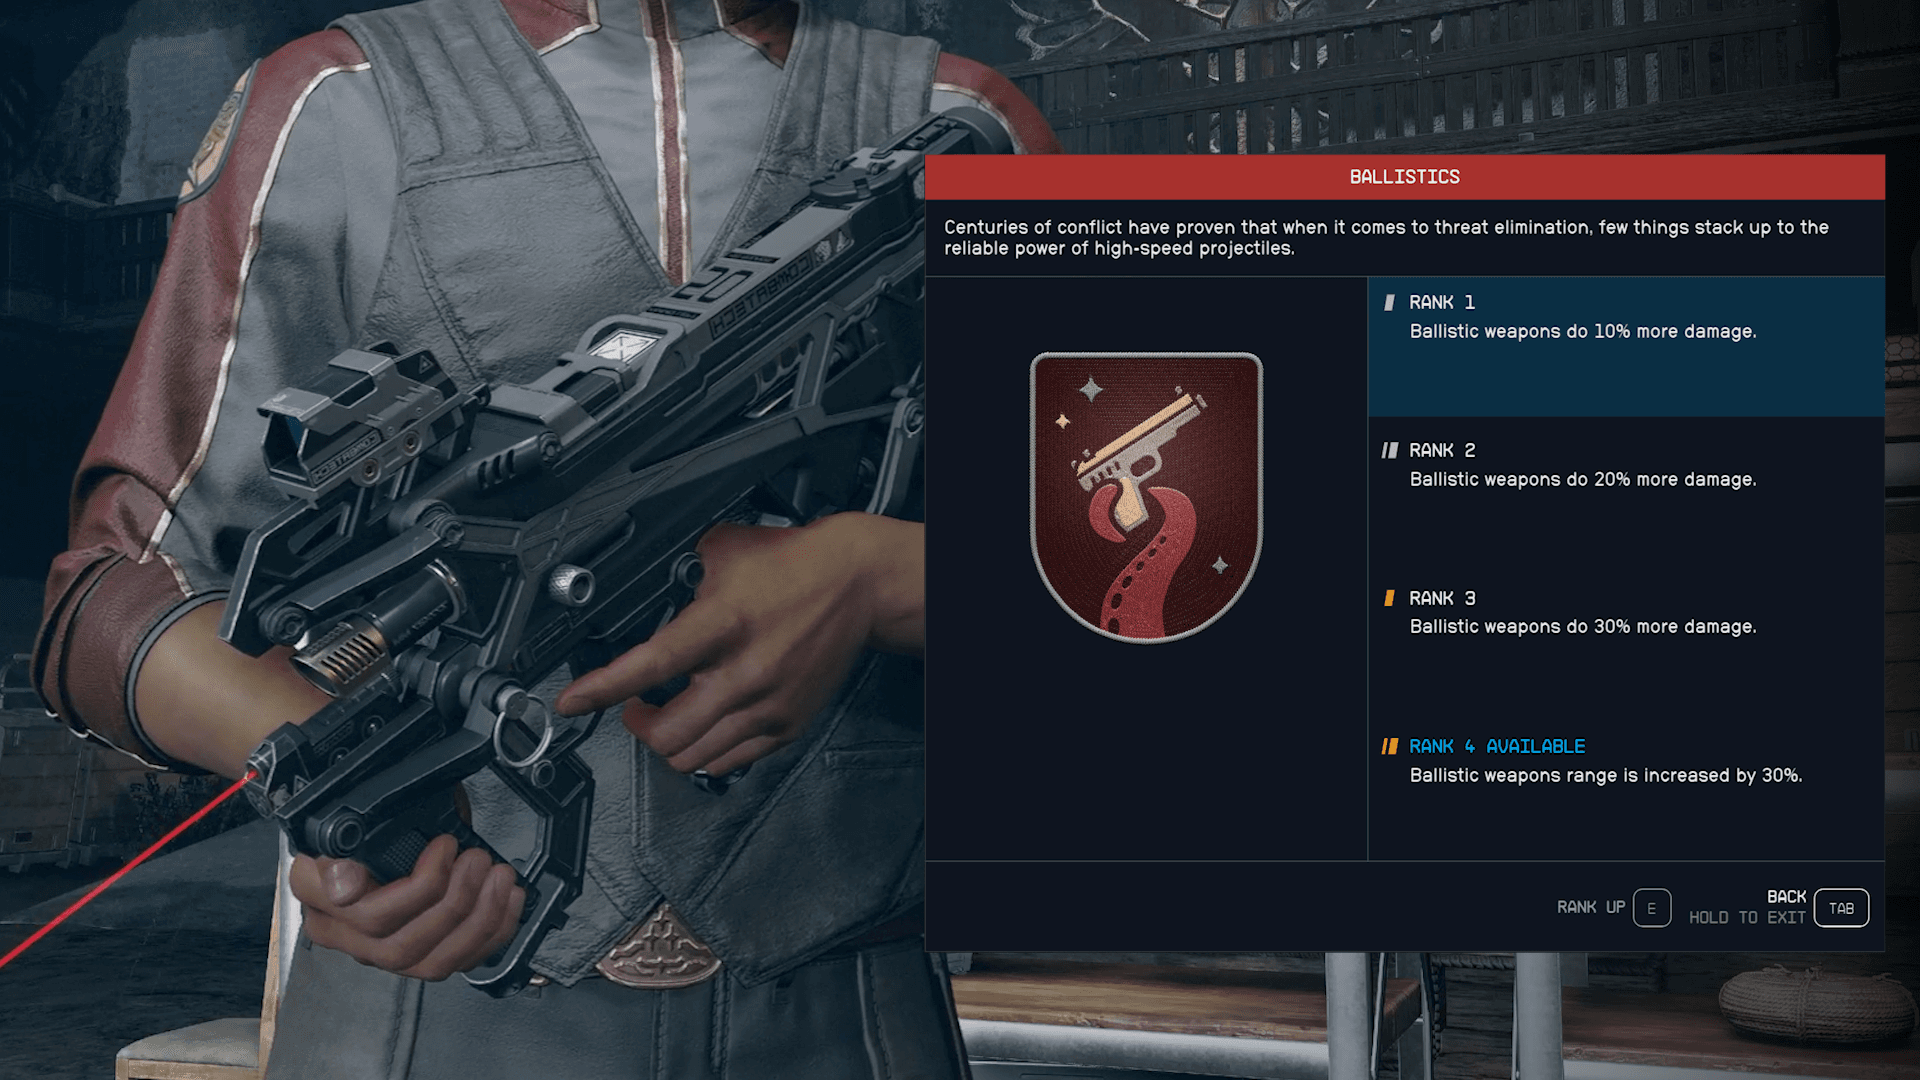
Remember we need to draw a line between the weapons we use and any combat skills we pick up so if you chose something like Ballistics as a skill upgrade you might want to choose something that deals physical damage. Connecting those dots is going to make for a much smoother gameplay experience early on.
Groundpounder Quest
With your first unique weapon in-hand it’s time to head out into space to stir up some trouble. We recommend heading to the Altair system. As soon as you jump in you’ll receive a quest called Groundpounder, which will take you down to the surface of one of the system’s planets. This is a long quest chain that will have you helping both the UC and the Freestar Collective fend off attacks from the Spacers.
Not only is this quest line a great way to gain some XP, but the base you liberate is chock full of loot, and at the end you’ll also be able to loot one of those hexagonal loot chests that offer up some of the game’s best rewards.
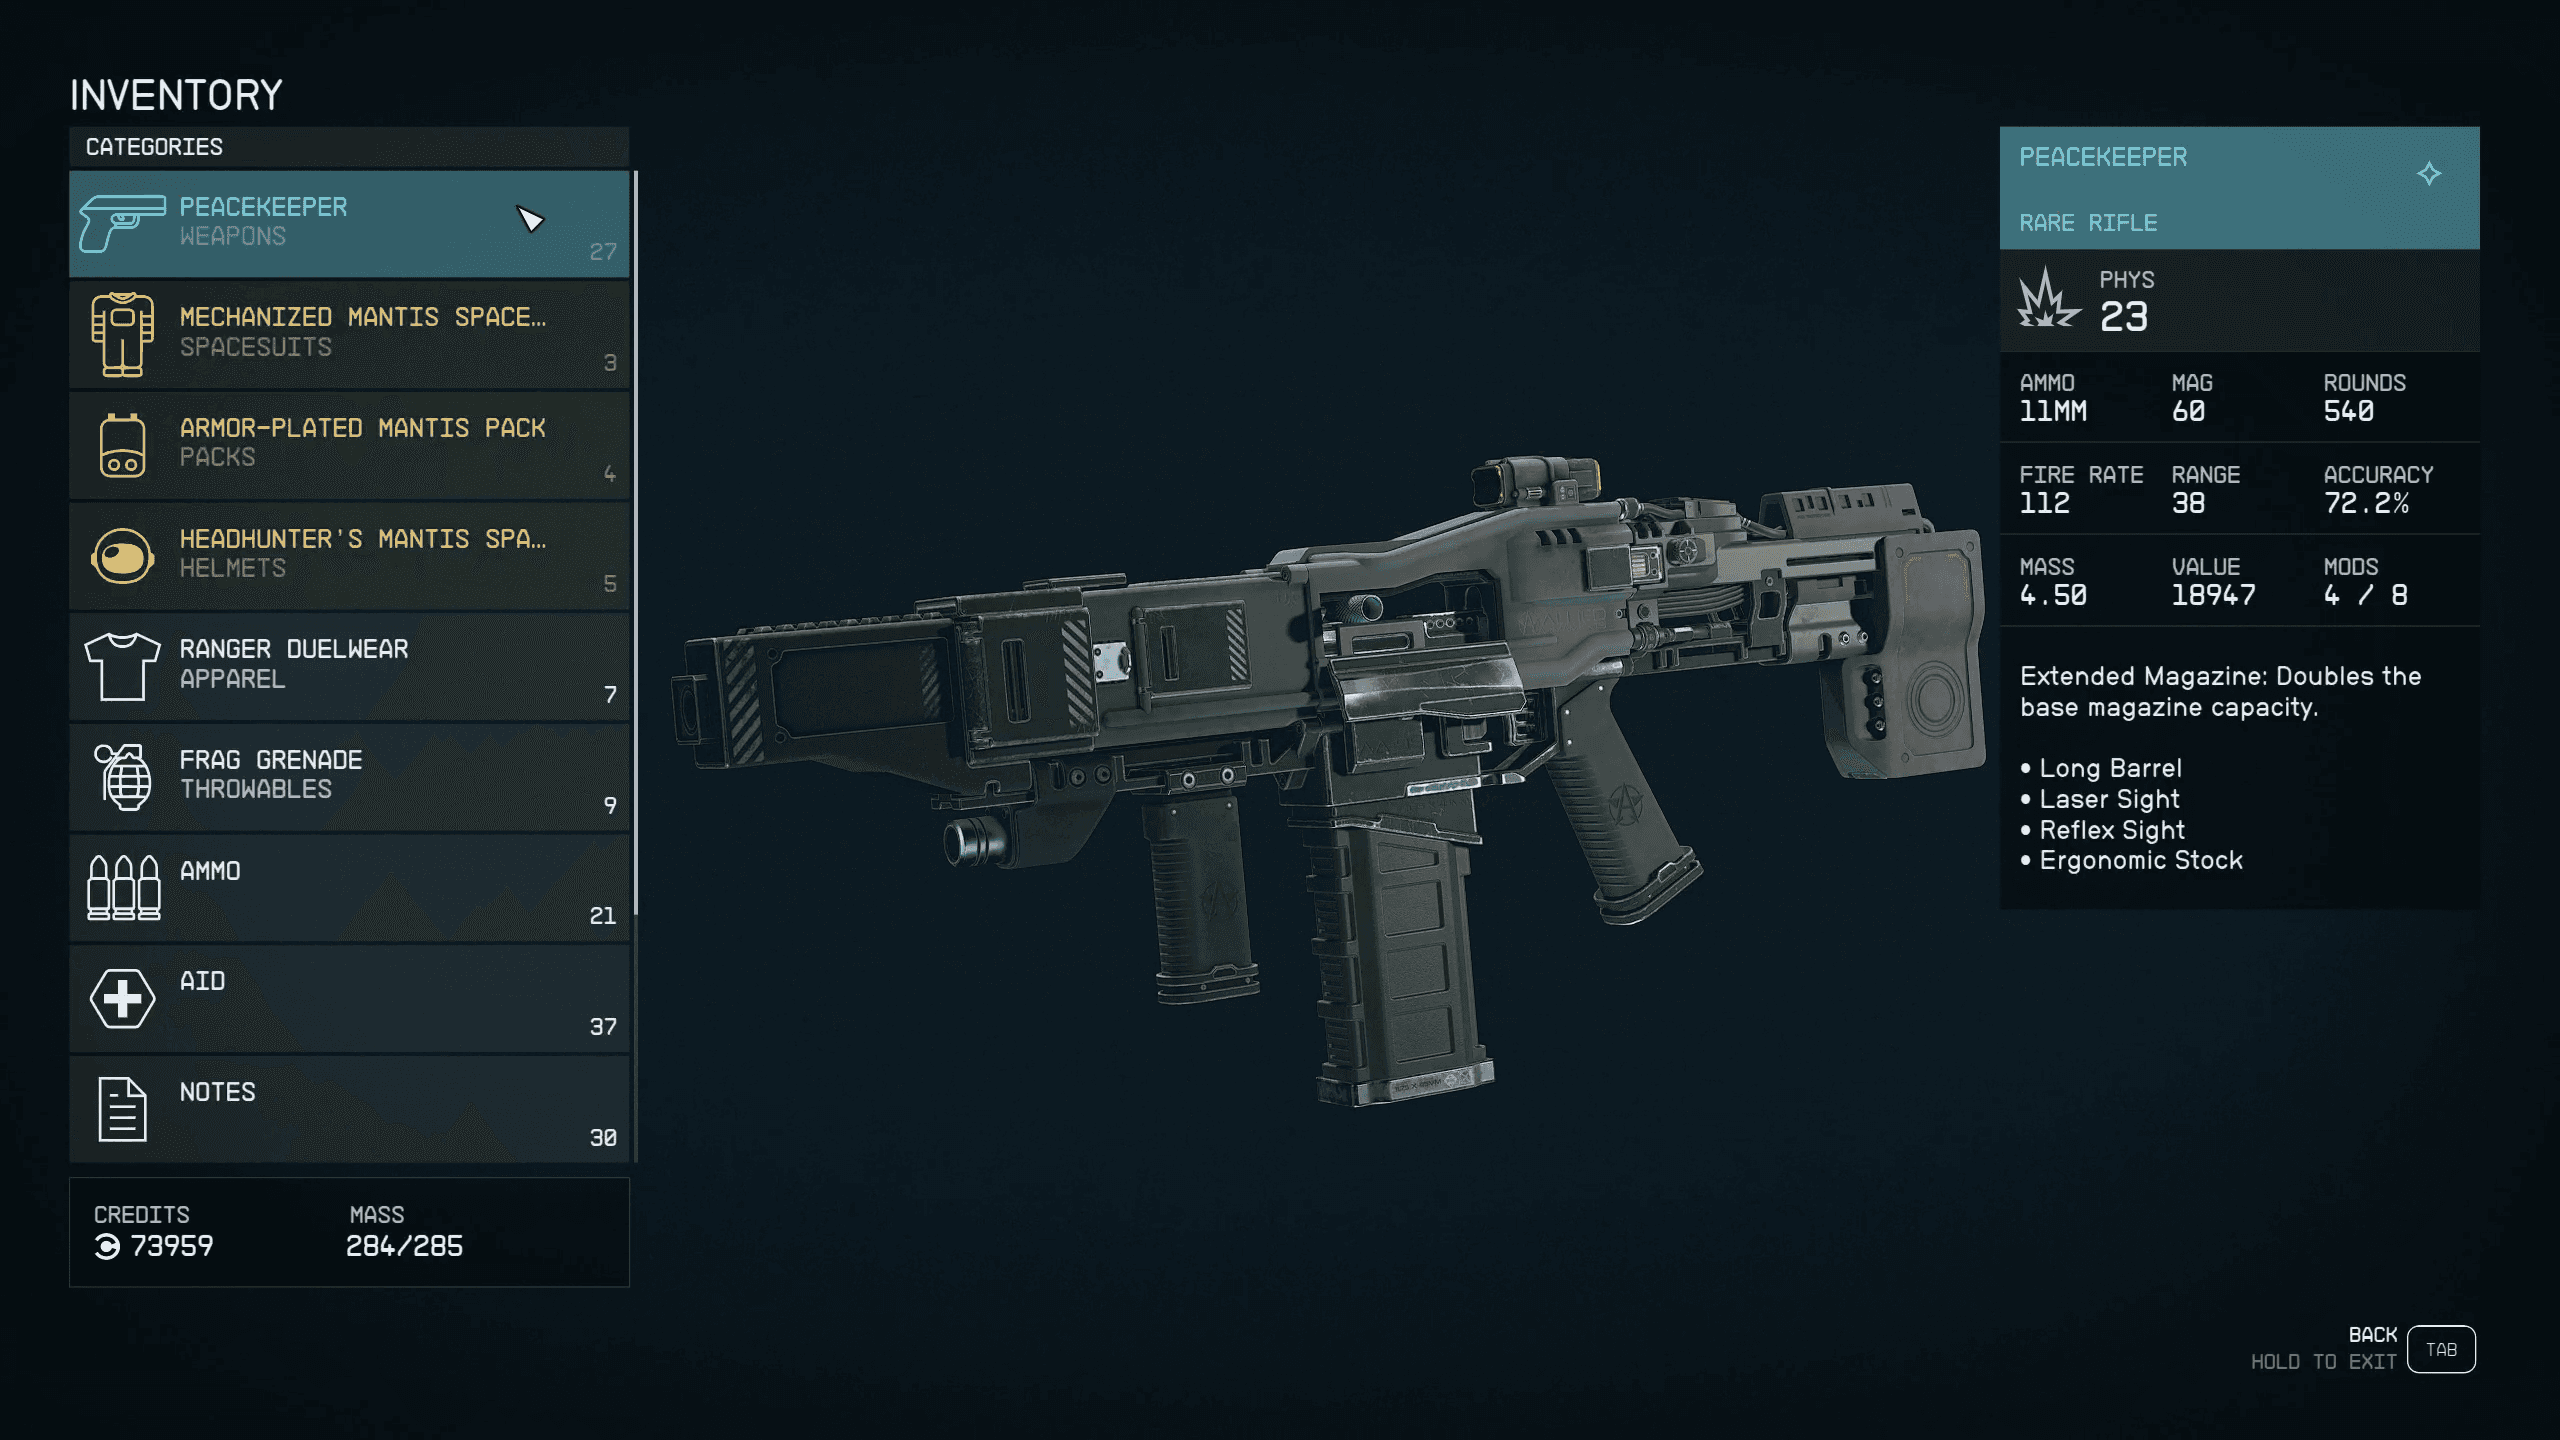
If you b-line it through this entire quest, skipping all the dialogue you can probably get through it in 30-minutes or less, but if you take your time and loot everything, which we recommend, you’re looking at substantially longer. It’s a huge facility with a load of enemies and you’ll want to check every corpse along the way so take your time. Once you complete the quest you’ll be rewarded with a unique rifle, the Peacekeeper.
This thing will keep you going for a healthy portion of the game and is easily one of the best weapons you can get your hands on early in your progression. If you were looking for a reliable Starfield AR, the Peacekeeper is the gun for you.
The Mantis Quest
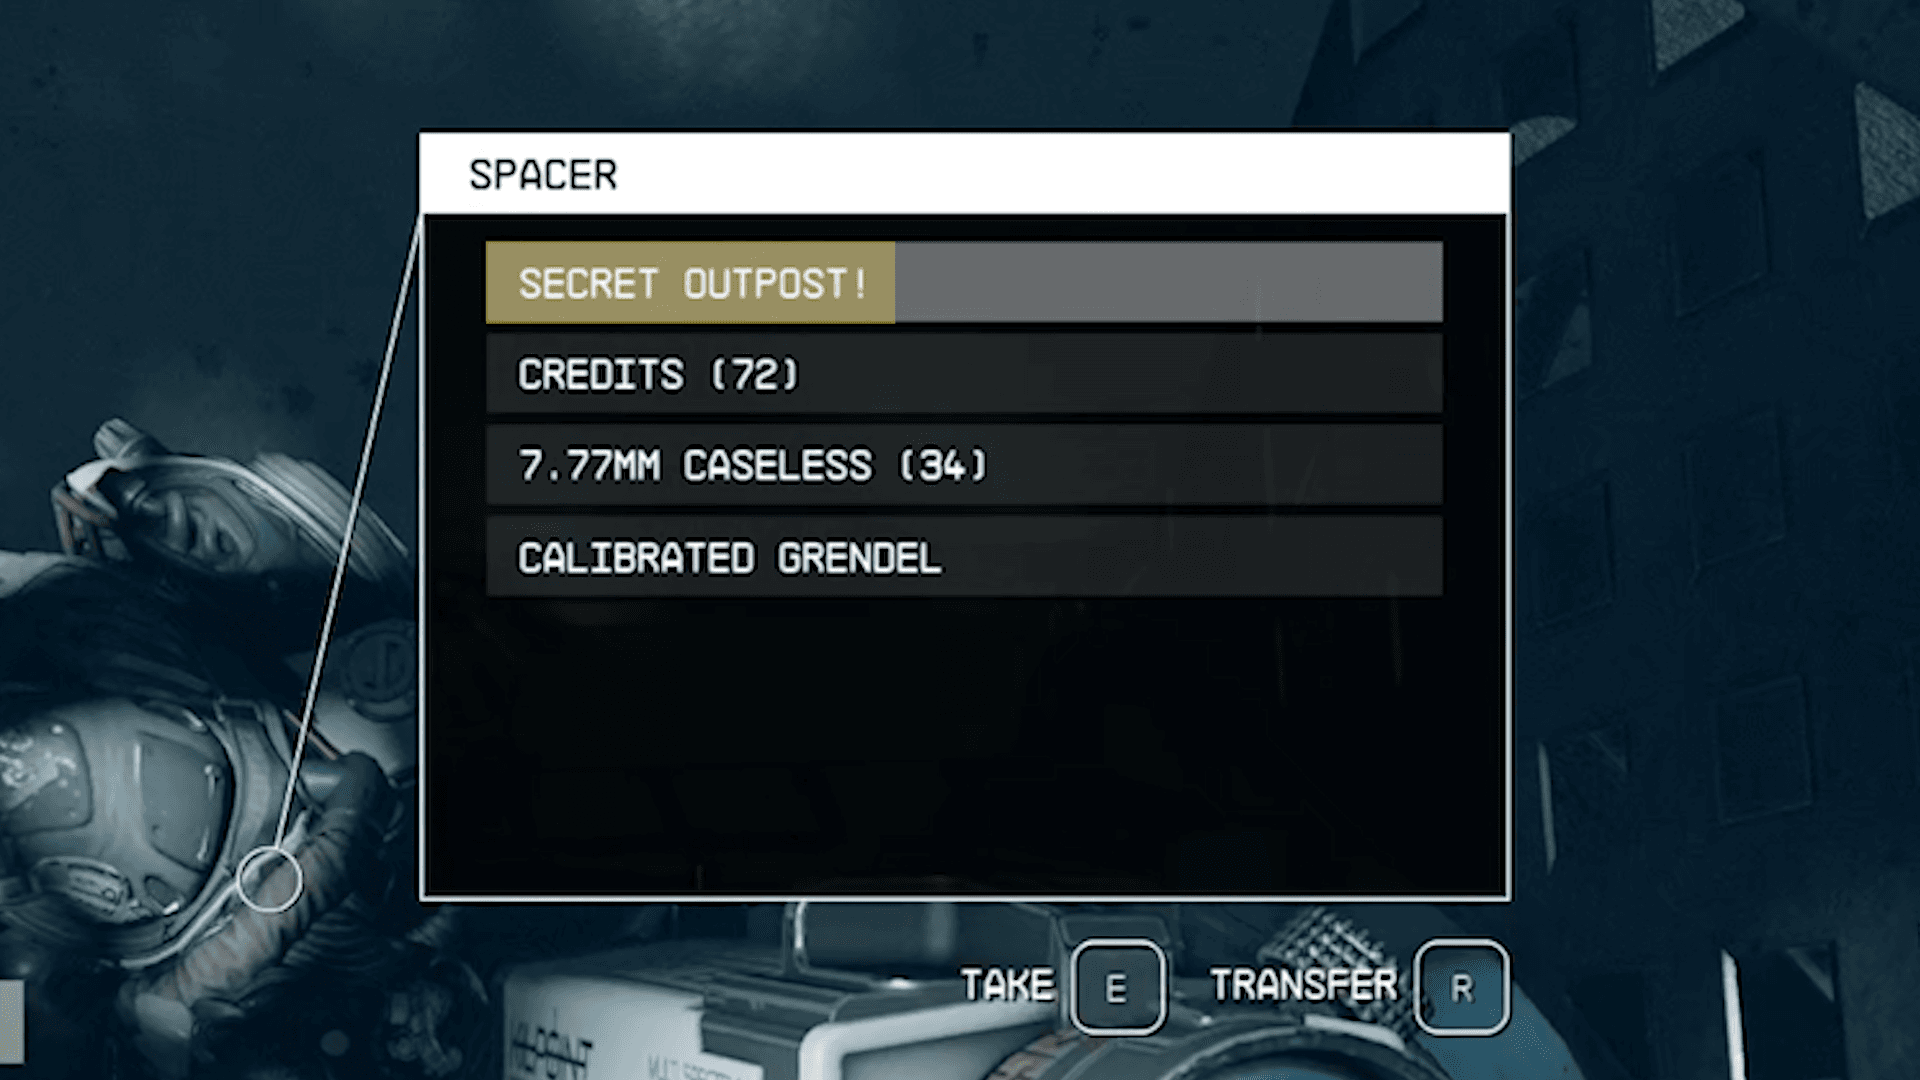
Hopefully luck is on your side and as you’re killing spacers during the Groundpounder quest you’ll pick up the slate titled, ‘Secret Outpost!’. As soon as you pick up the data slate a new quest will populate your log called The Mantis. This is an early game secret that we recommend everyone do as soon as humanly possible, and if you’ve followed all of our steps up until this point, should be easy to do.
The Mantis questline isn’t exactly long, but it does require some combat and some problem-solving, nothing you can’t handle. If you want a full runthrough of that quest check out our recently released article, it breaks down everything you need to know, including how to beat the floor-puzzle.
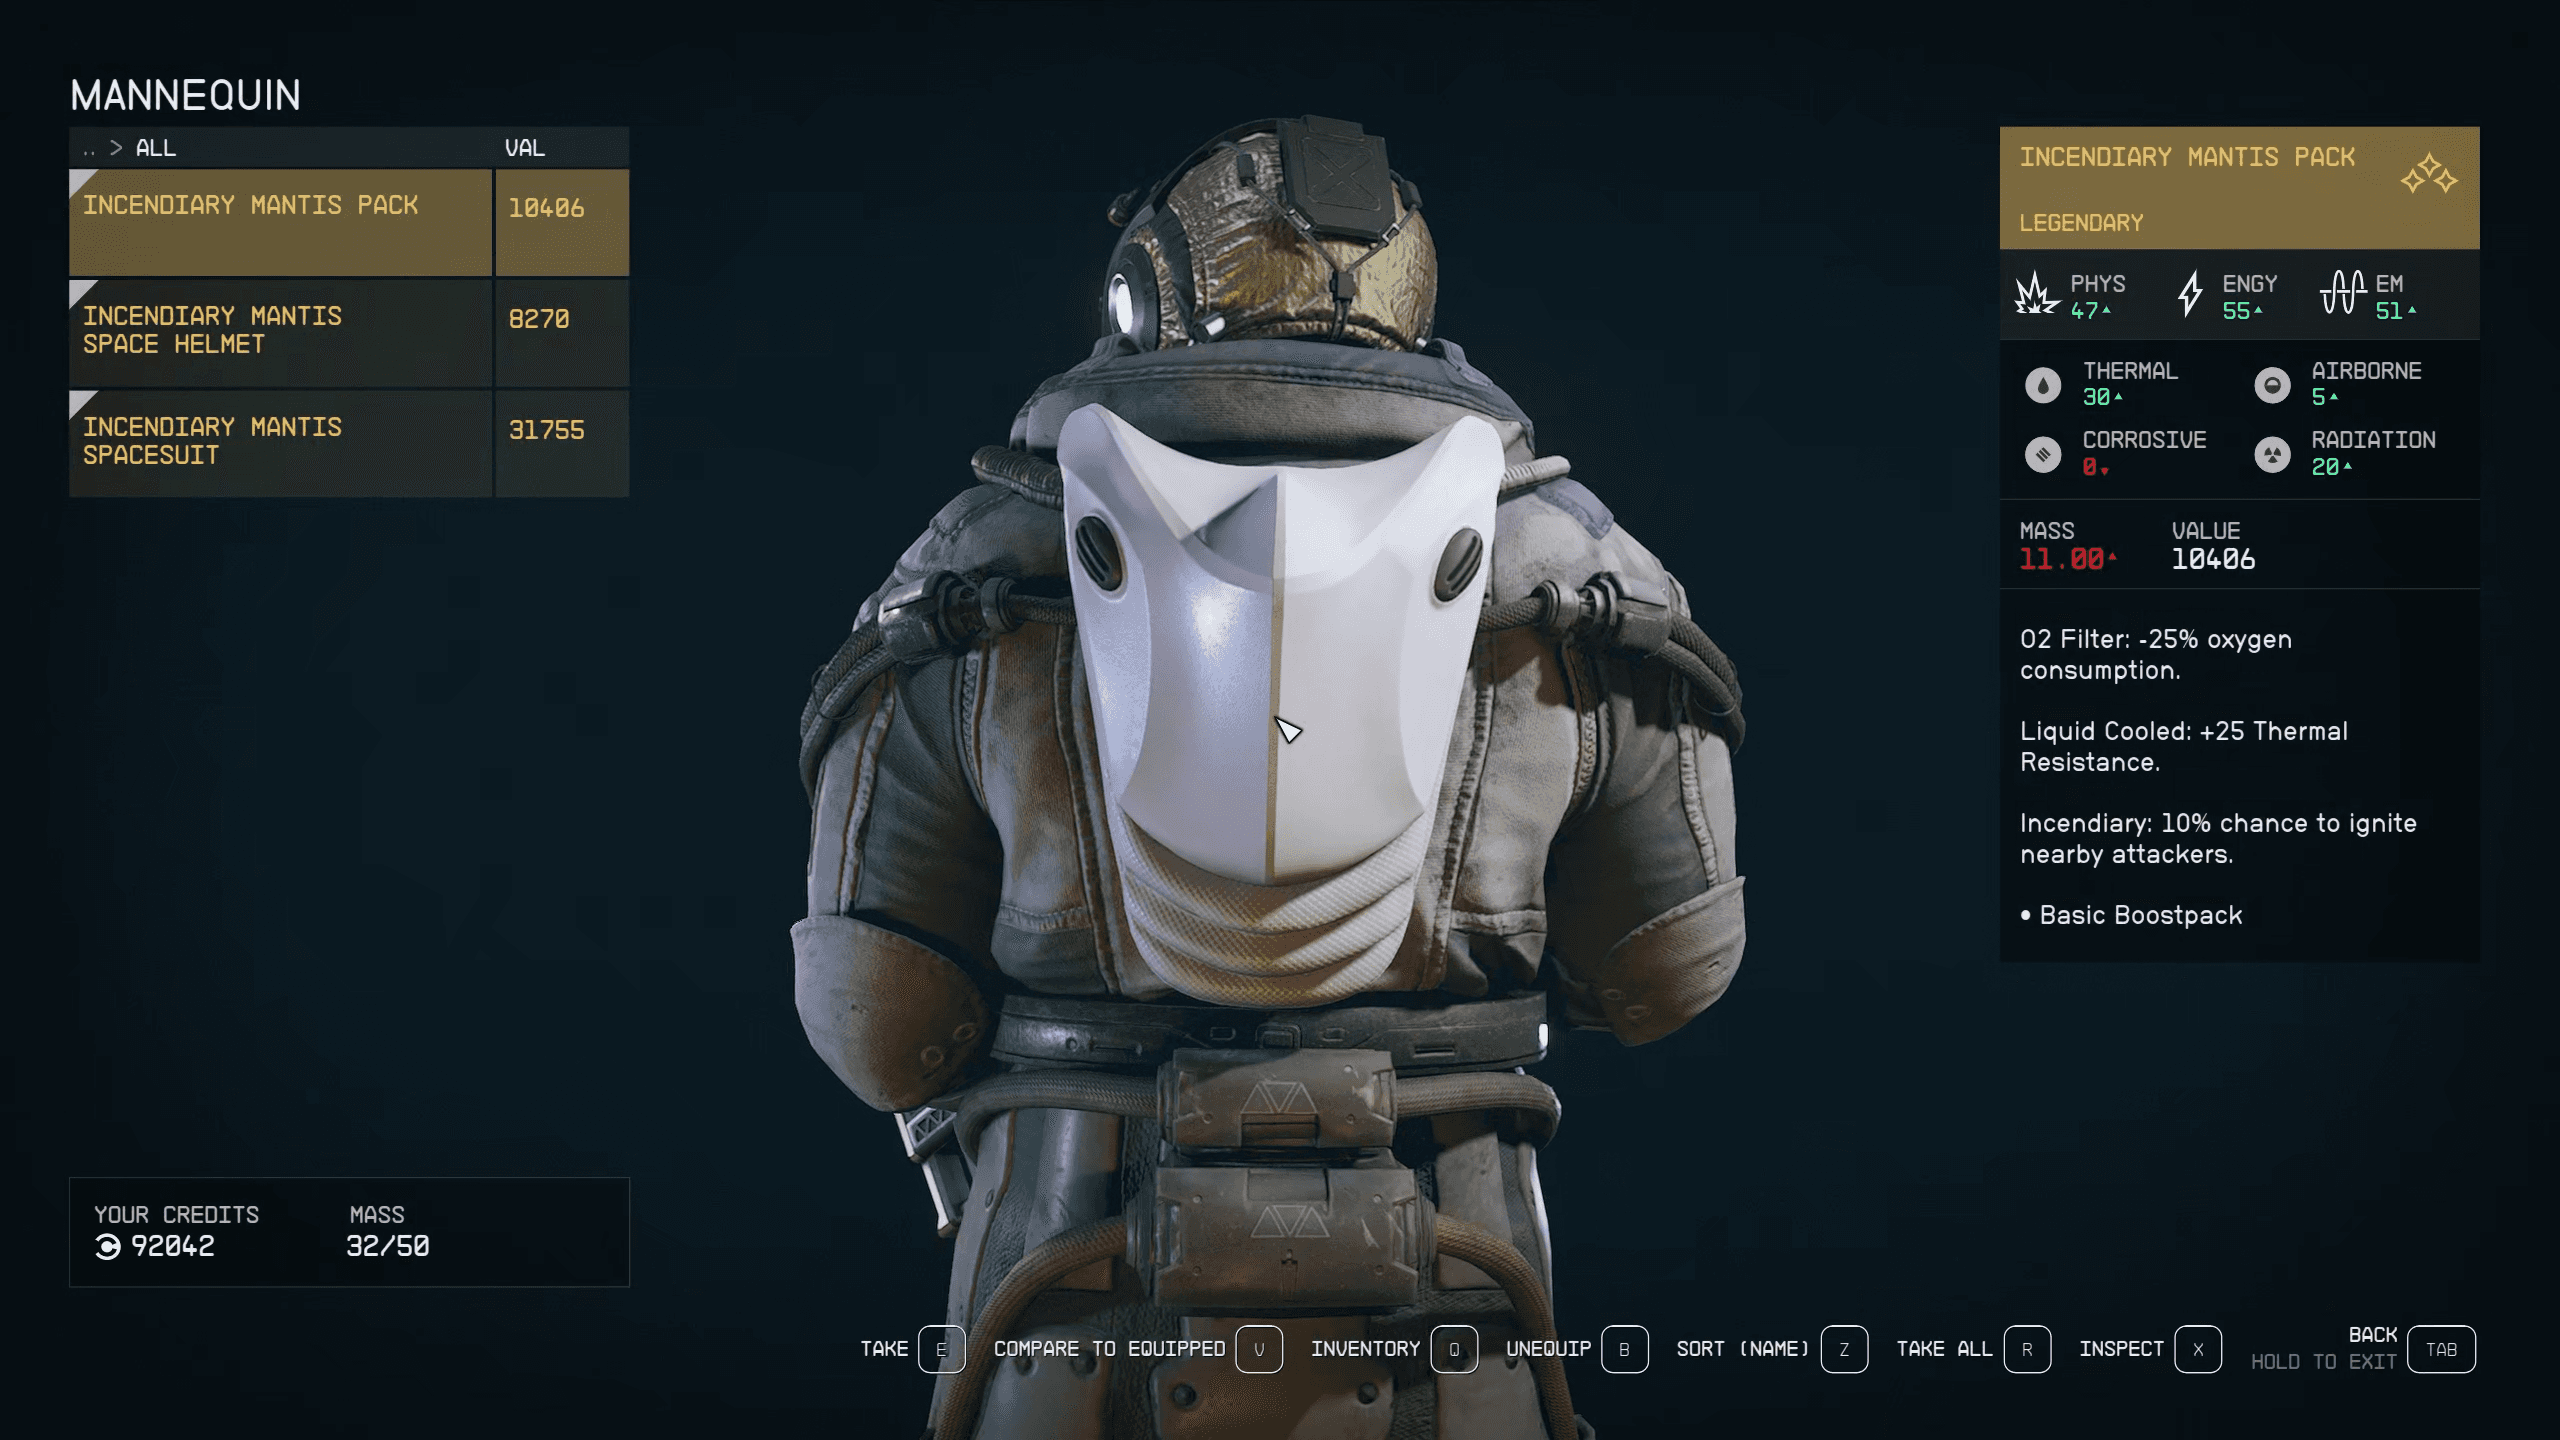
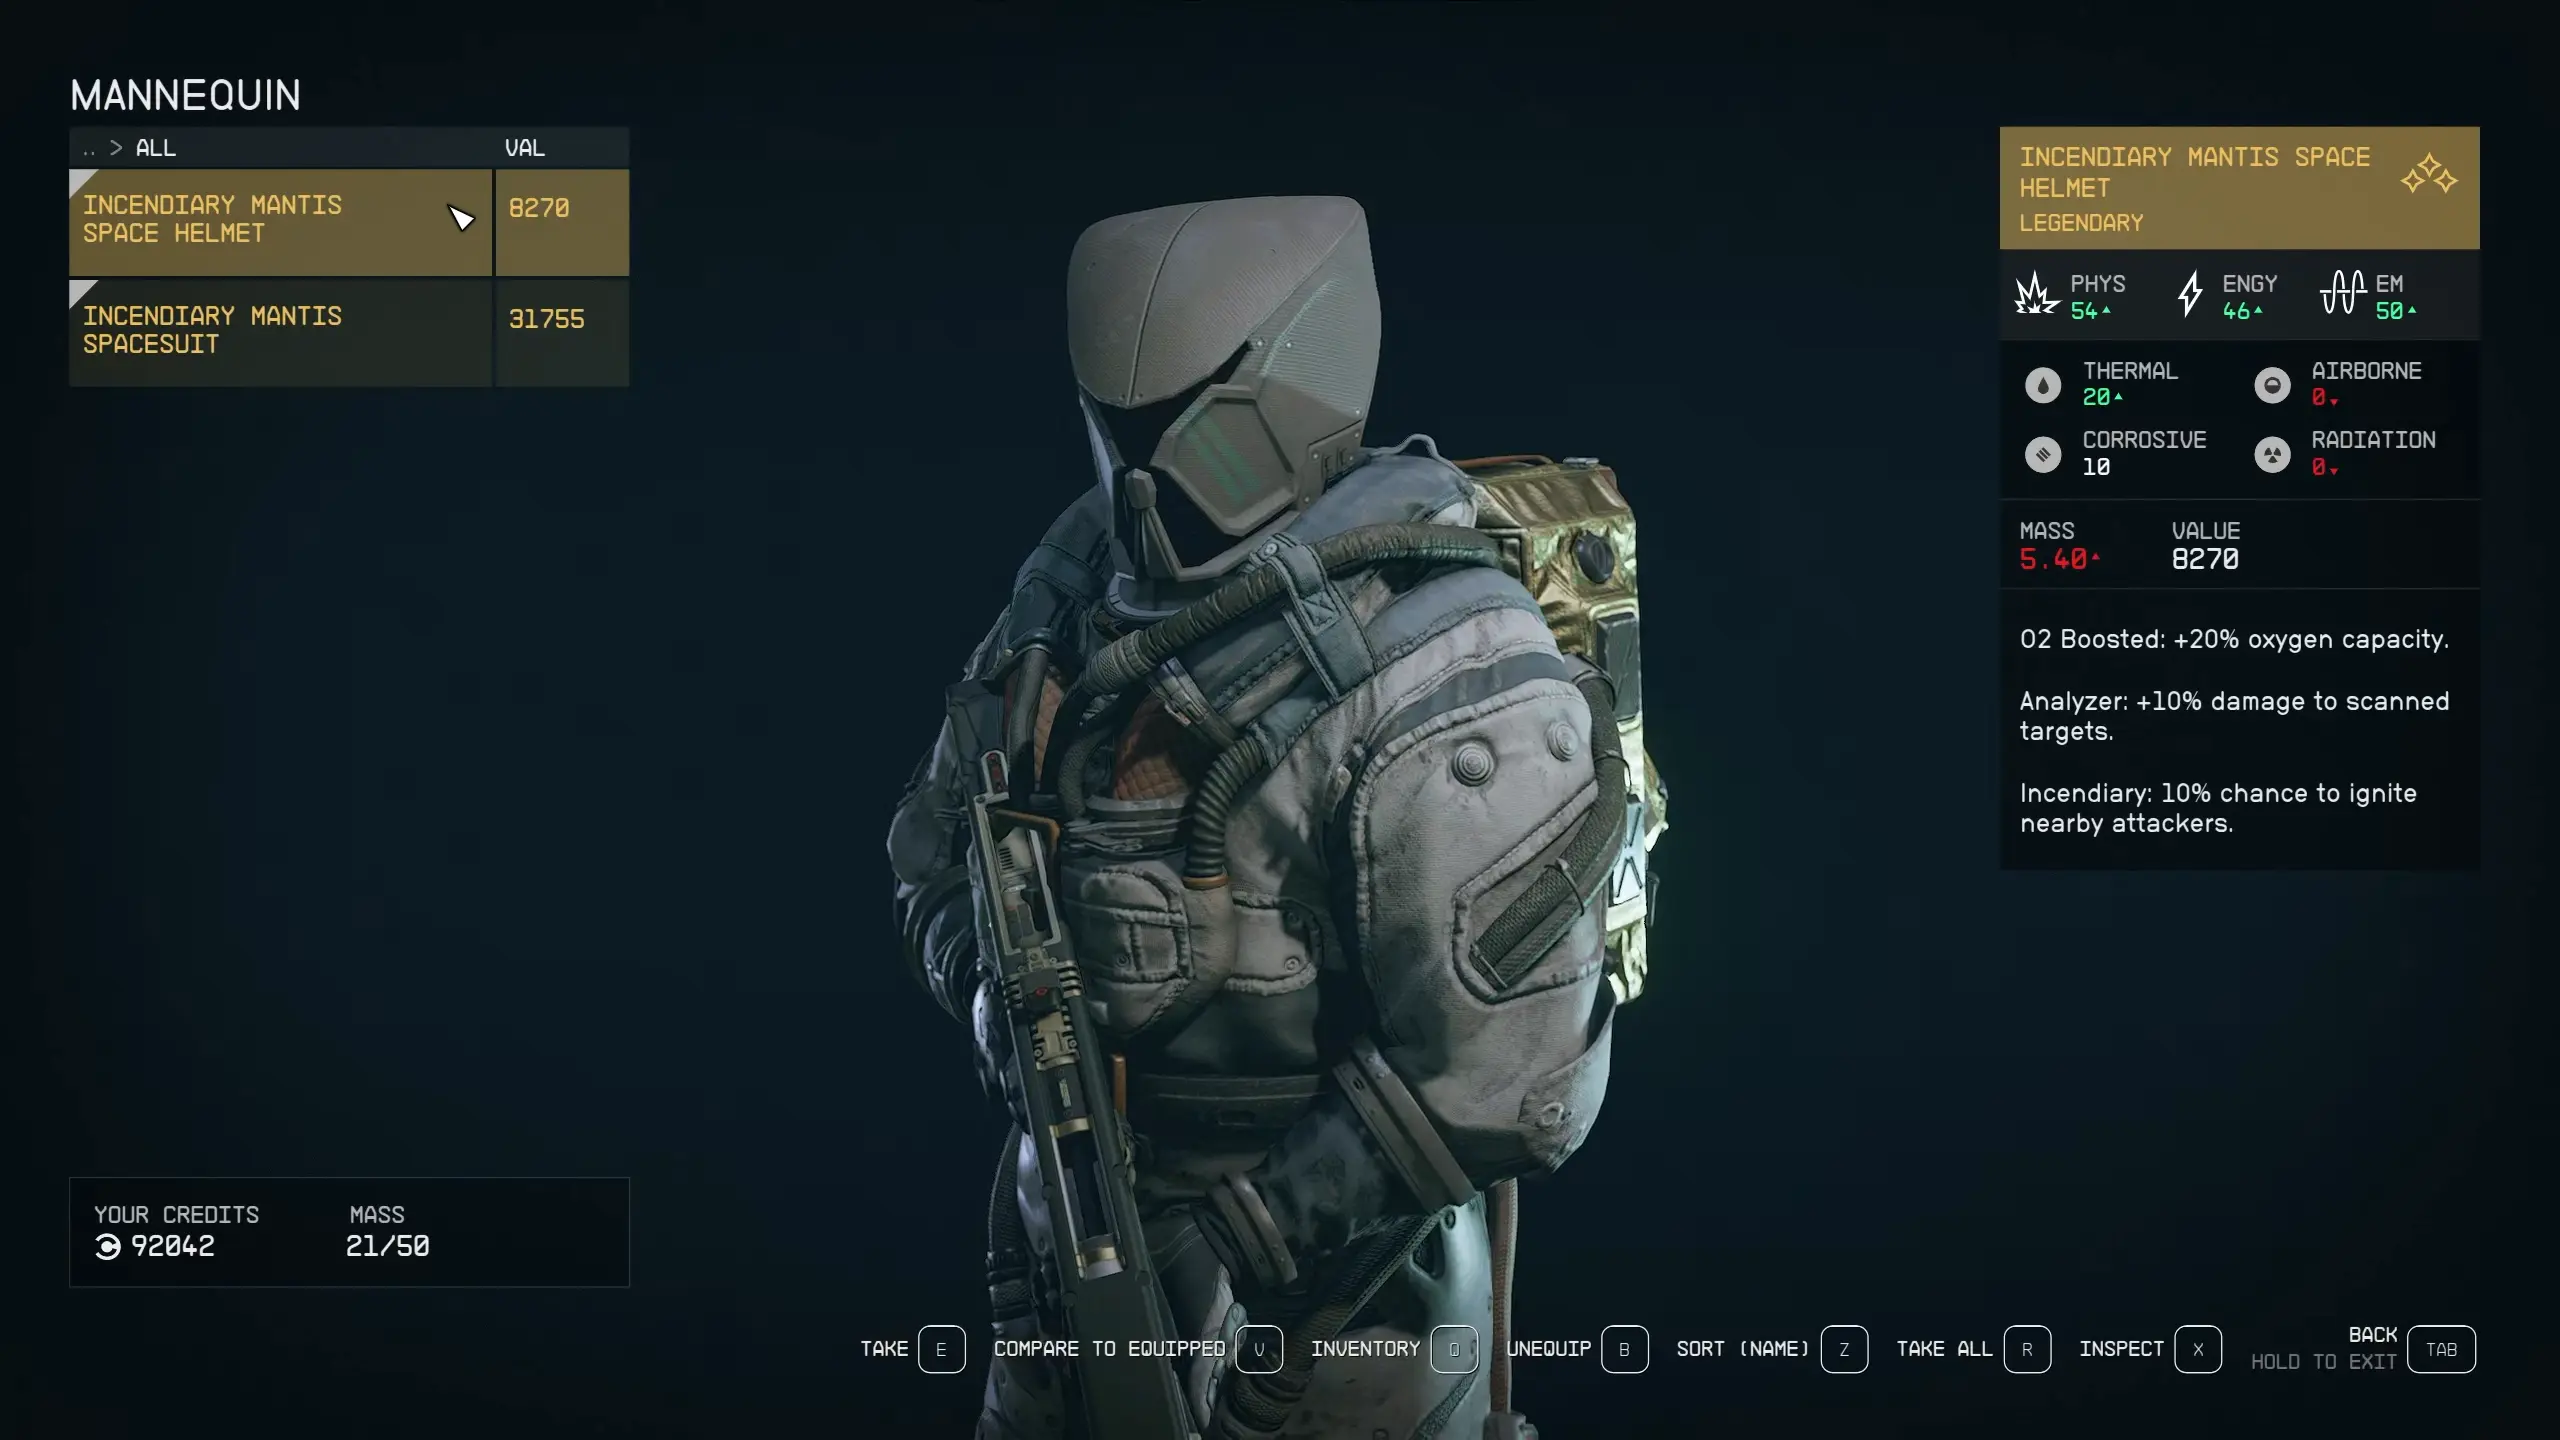
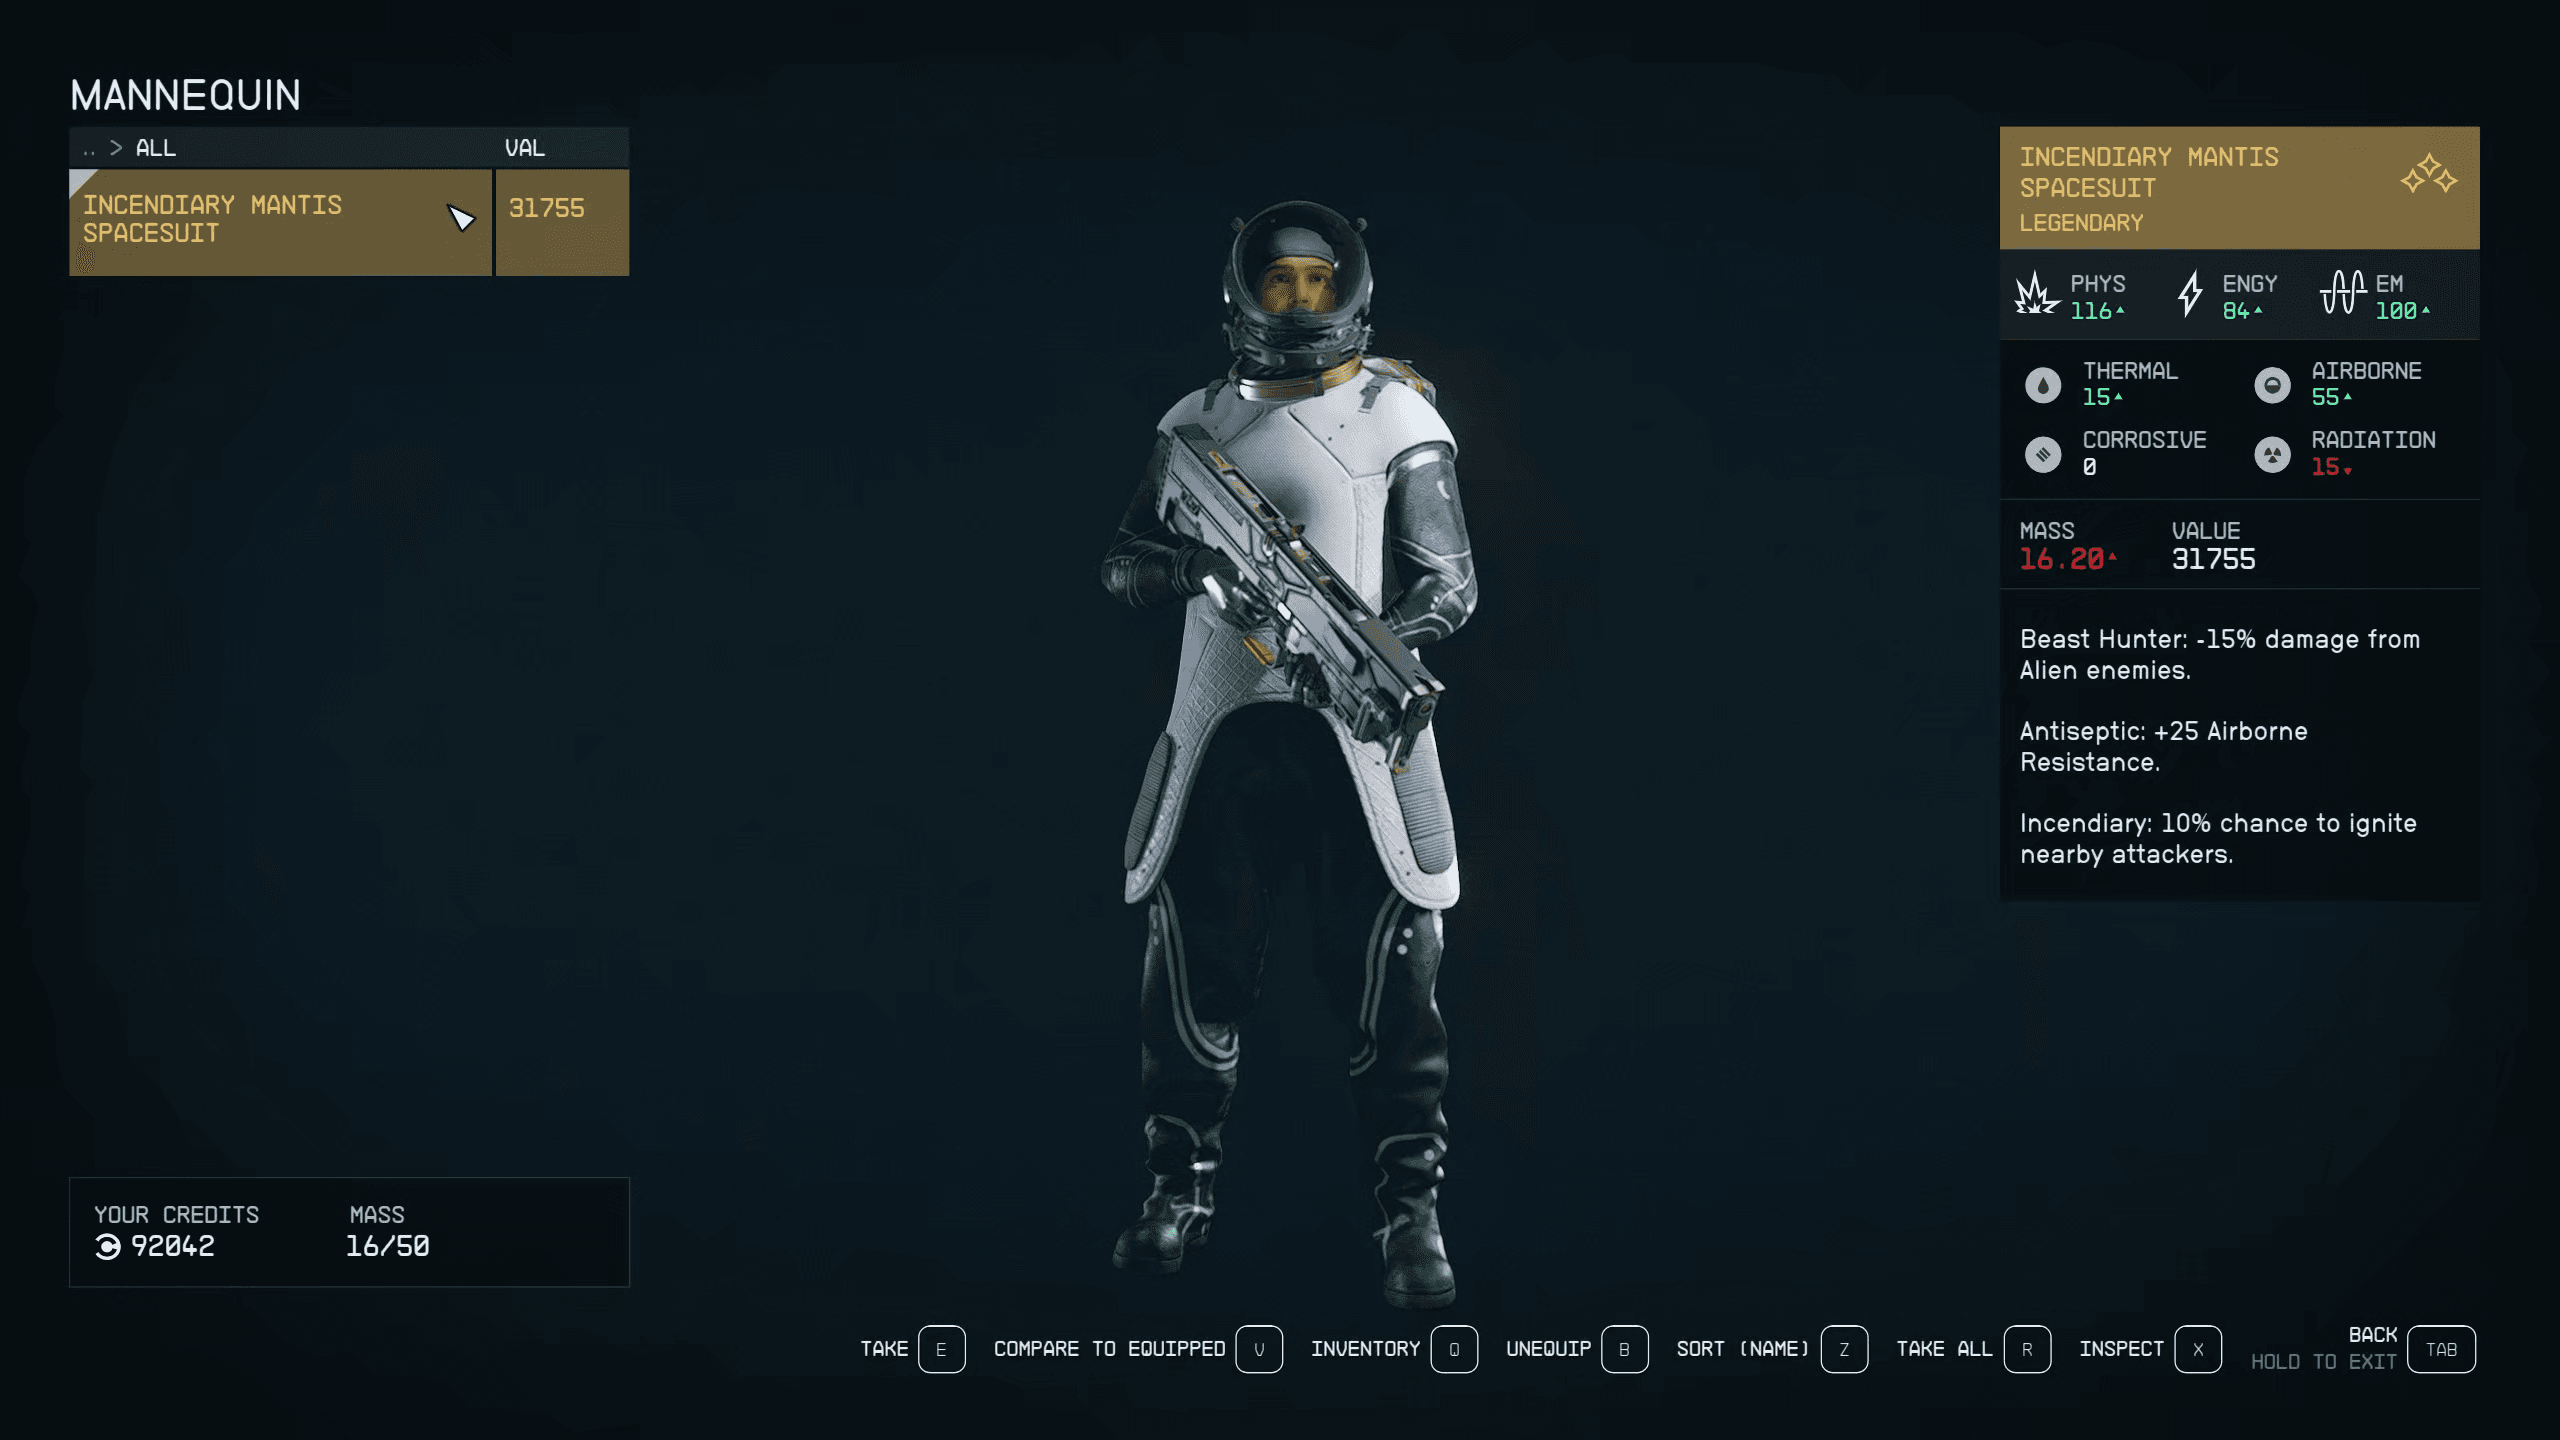
If you manage to get through the hideout you’ll be rewarded with a full set of Mantis armor, including a spacesuit and helmet. If you save right before opening the case and interacting with the mannequin, you can loot it, check what bonuses it rolled with and, if you don’t like them, load back in from your quick-save and loot the armor again until you’re happy with the bonuses.
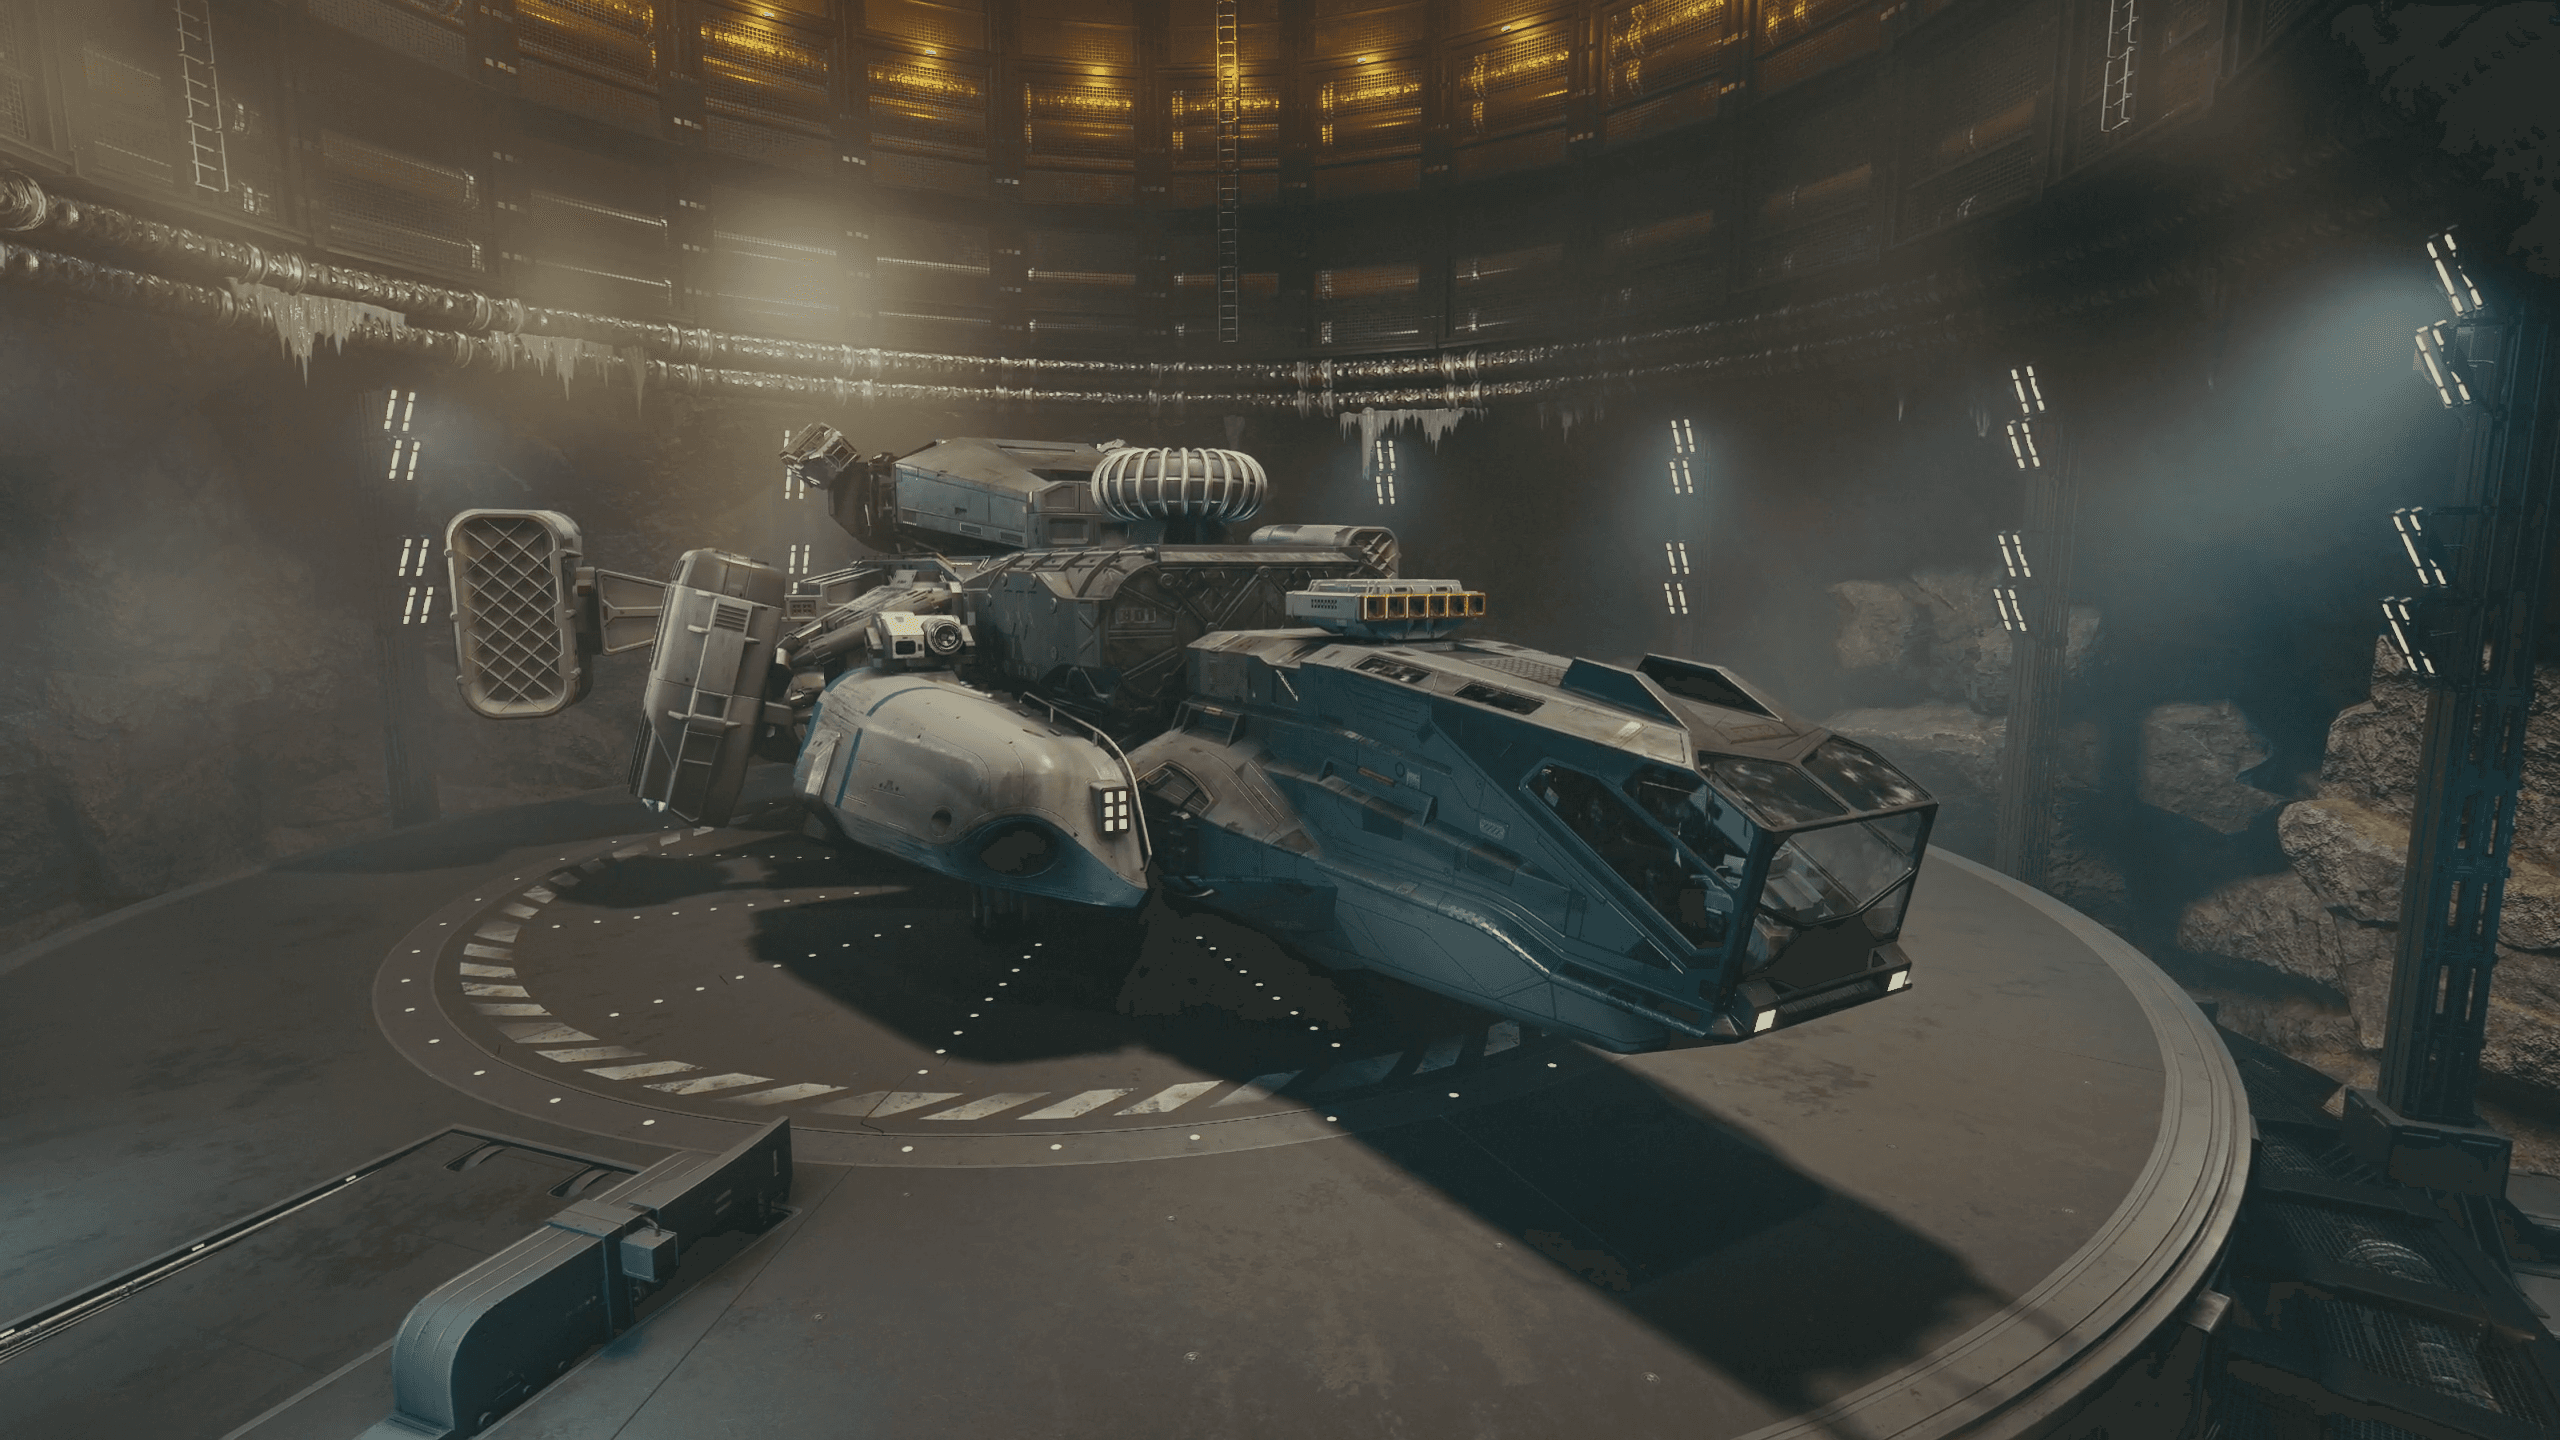
You’ll also unlock the Razorleaf, a brand new ship, leagues better than that of the Frontier. To say this thing carried me through a good chunk of the game would be a wild understatement. There’s a reason everyone is talking about this quest, because the rewards are so freakin’ good.
Now, if you didn’t get the Mantis quest to trigger during Groundpounder don’t sweat it, just go clear a few points of interest on any early-game planet and I guarantee it’ll drop after just a little time. It’s an early game drop and I’ve yet to run across anyone who didn’t get it during the first few hours of their playthrough.
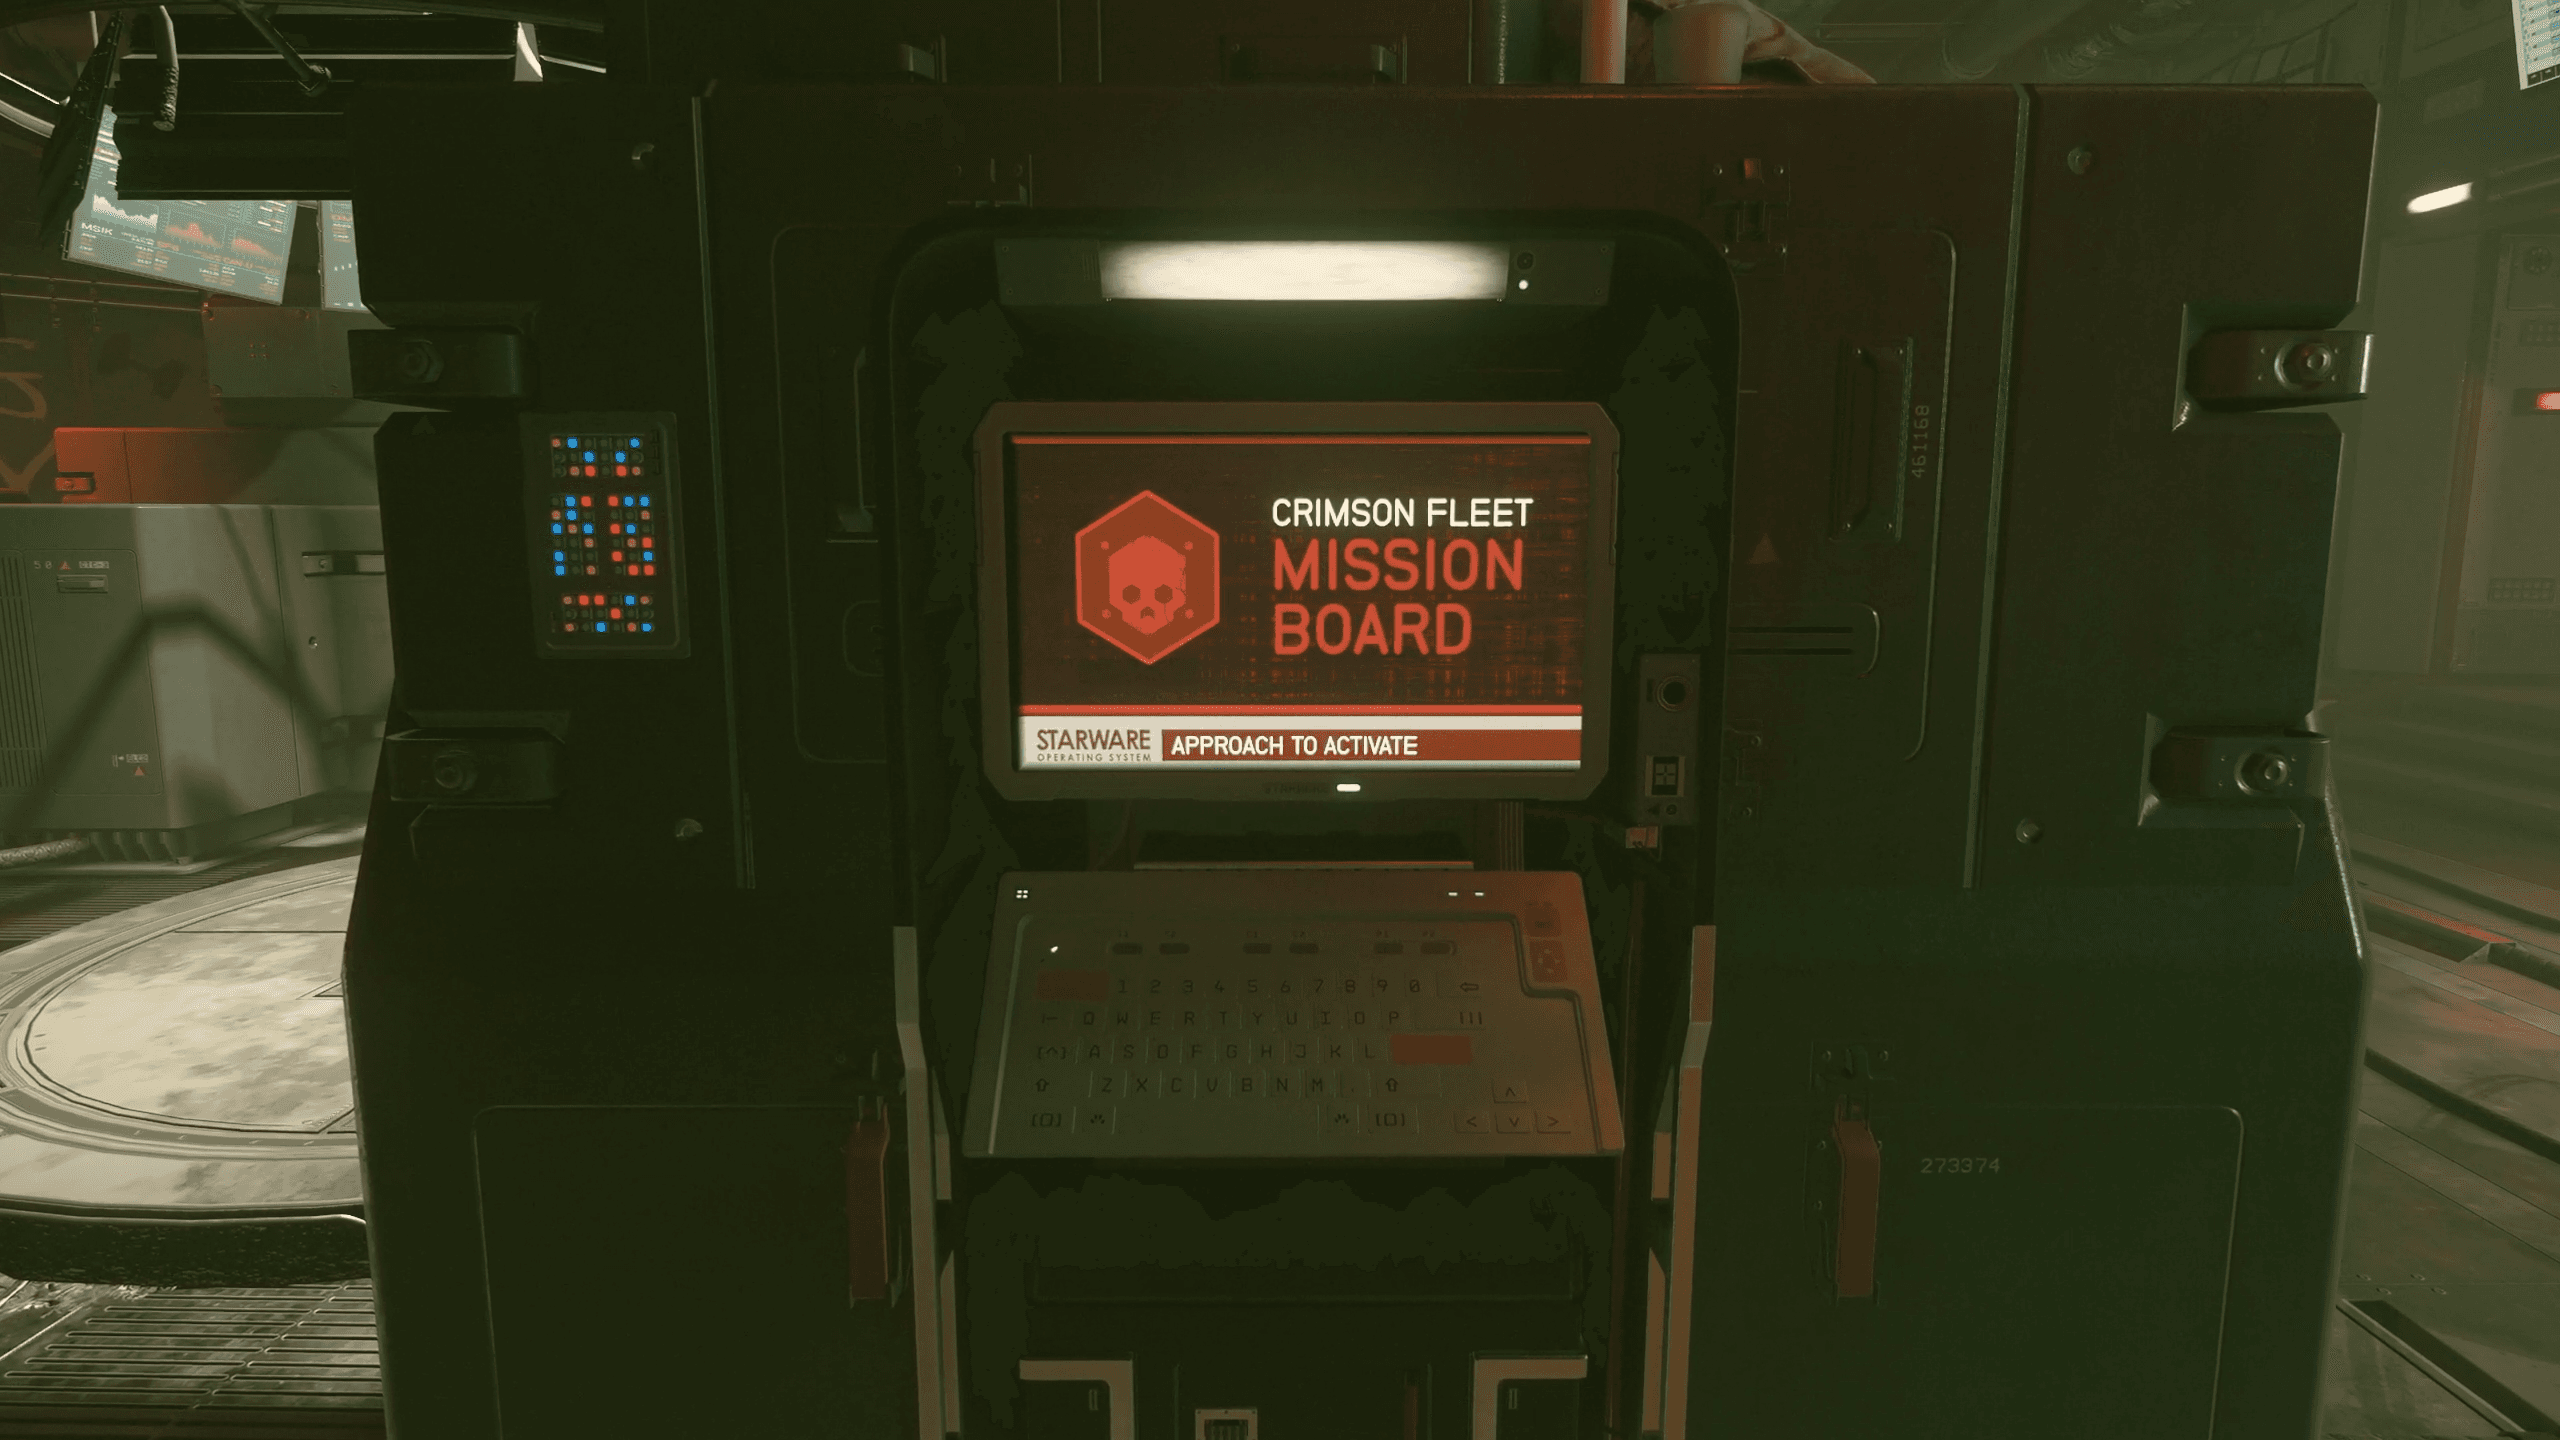
Join The Crimson Fleet
So after saving some civvies and claiming the secrets of the Mantis it’s time for us to turn to a life of crime…what a character arc. That’s right, we’re joining the ranks of the Crimson Fleet and for good reason, because a life of piracy pays handsomely.
To trigger the start of this quest line we first need to get caught breaking the law in UC space. This is most easily accomplished in New Atlantis by simply stealing a bunch of stuff in a shop until the security forces take you away.
You’ll be re-routed to the UC Vigilance the UCSysDef command ship and will be tasked with infiltrating and stopping the Crimson Fleet…yeah, we’re not gonna do that. Consider this your jumping off point into the rest of the game because for the next couple hours, few days, however long it takes you to complete this questline you’re in it.
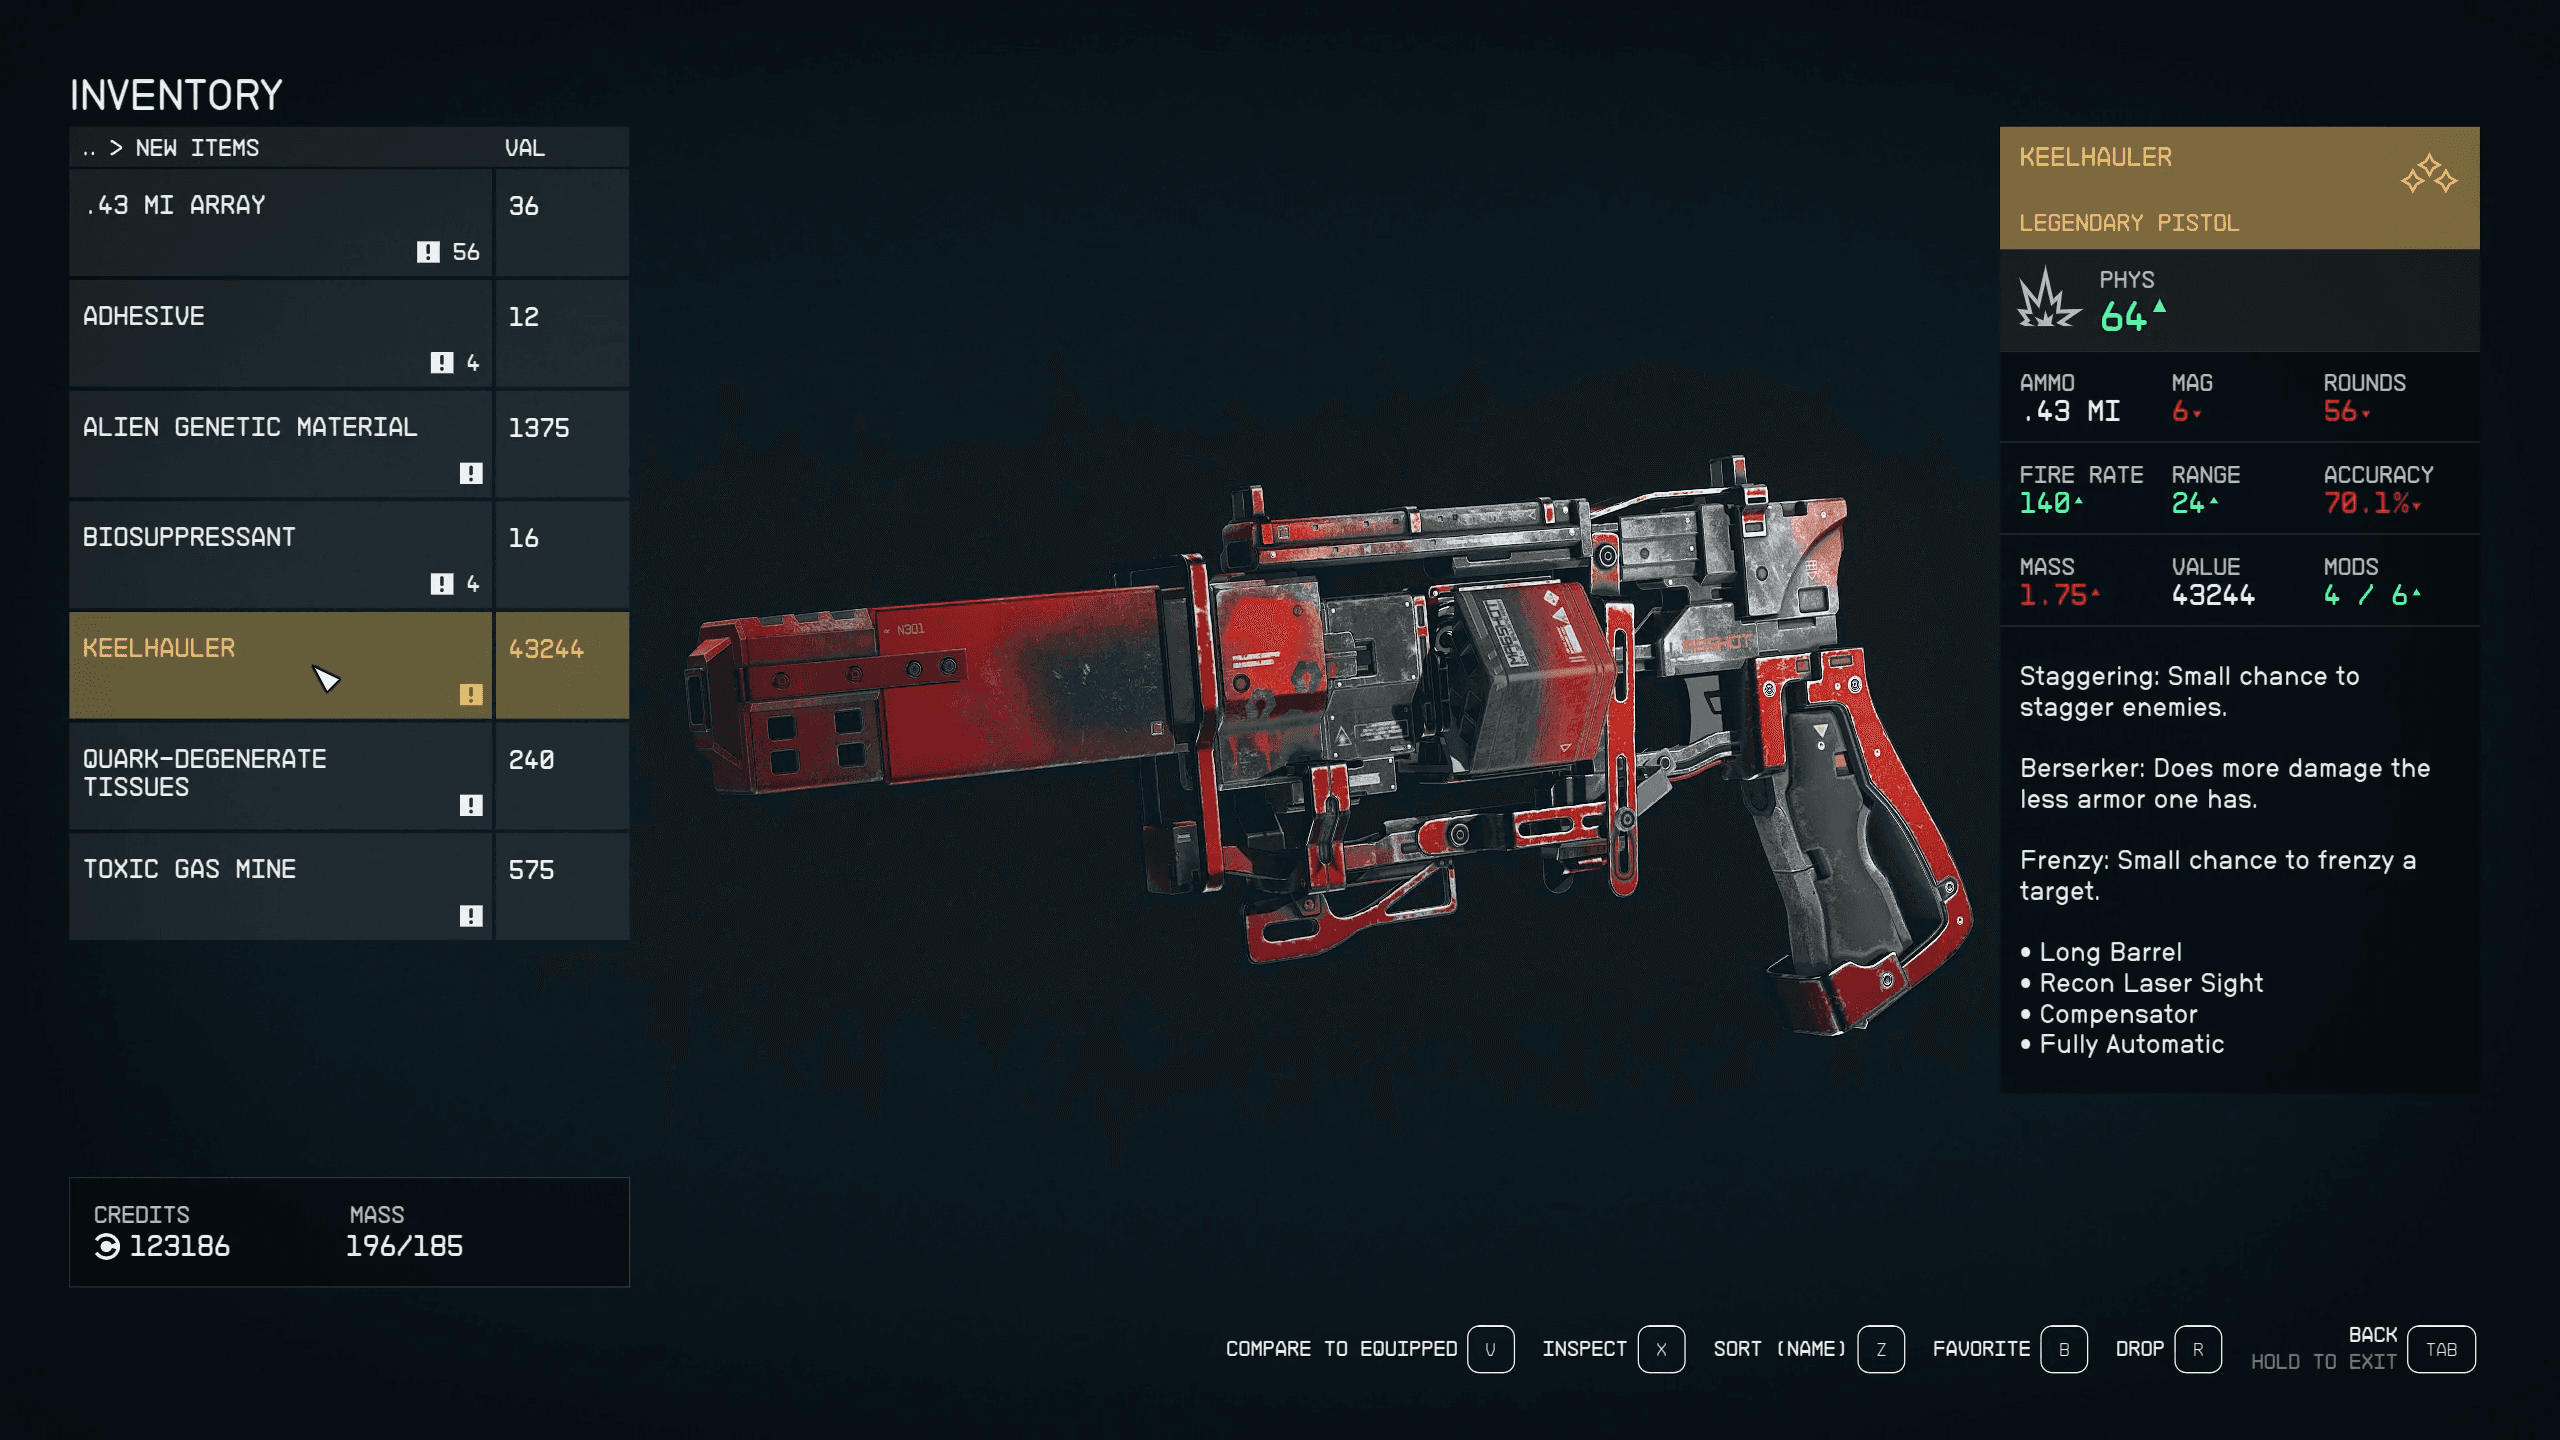
Work through the Crimson Fleet arc until you complete the Echoes of the Past mission. This will reward you with the Keelhauler, a legendary pistol with some decent mods and a few passive bonuses. However, that’s not our ultimate prize.
During the mission Eye of the Storm you have one opportunity, and one opportunity only to pick up arguably the best weapon in the game The Revenant. During the objective ‘Locate the Vault Control Center’ you’ll enter the control center. Sitting there, on the desk is this unique firearm juiced out to the max. Words really don’t do this gun justice, so be sure to pick up this item when you have a chance because once the quest is over that’s it, window of opportunity gone.

With 2 legendary guns and a load of quests under your belt finish up the Crimson Fleet storyline and you’ll be rewarded with 250-thousand credits as well as a free ship. In all honesty this thing doesn’t really hold a candle to the Razorleaf, but with the right modification you can make practically anything a good ship.
Set Up Shop
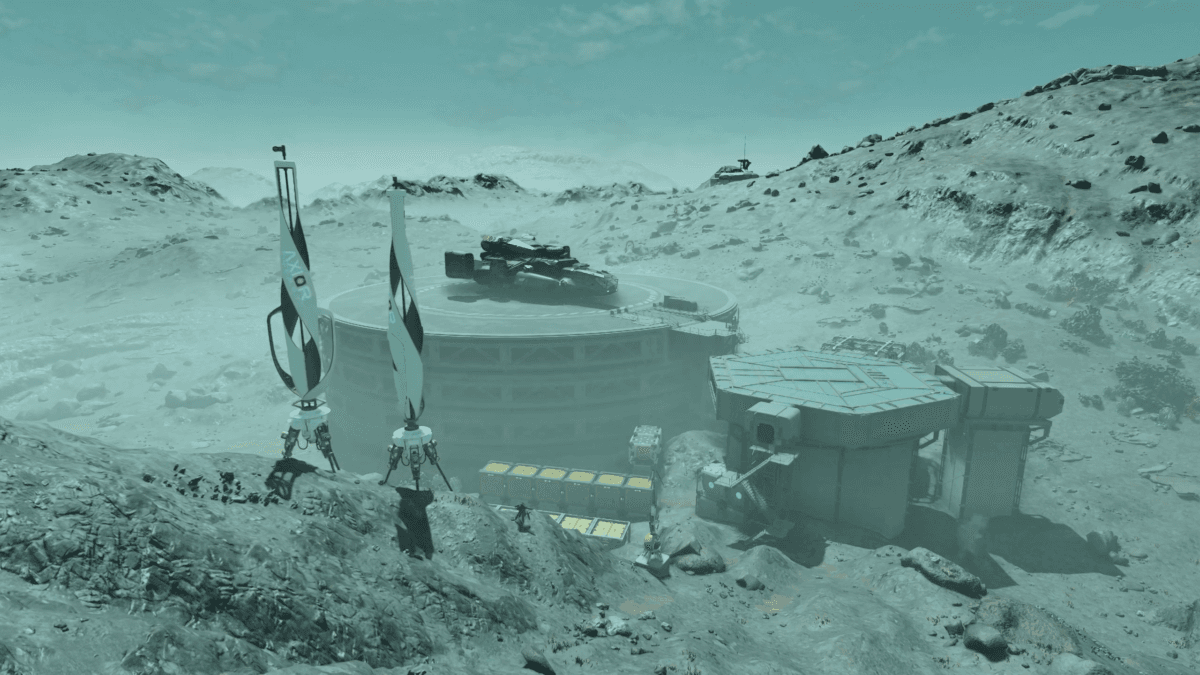
The last step to truly set yourself up for success in Starfield is to set up a base of operations. Look, I get it Outposts aren’t for everyone, but the truth is if you ignore this aspect of the game, you’re just going to be missing out on a singular place to gain resources and tweak your gear to their maximum potential. There are other ways to achieve these goals, but setting up a simple outpost is the practical option.
If you set up shop early on in your adventures you have a locked down location where you can store gear, and organize your inventory, which can be a huge burden later on if you don’t have the right ship and/or skills. To do this however there are a few key factors you need to consider.
First you want to locate a planet that has a breathable atmosphere and hospitable environment. Additionally ensure that the planet has Flora and Fauna. This will eventually feed into the greenhouse and animal husbandry systems down the line and will be monumental in automating organic resources. Without flora and fauna present on the planet you won’t even be able to even build the necessary structures.
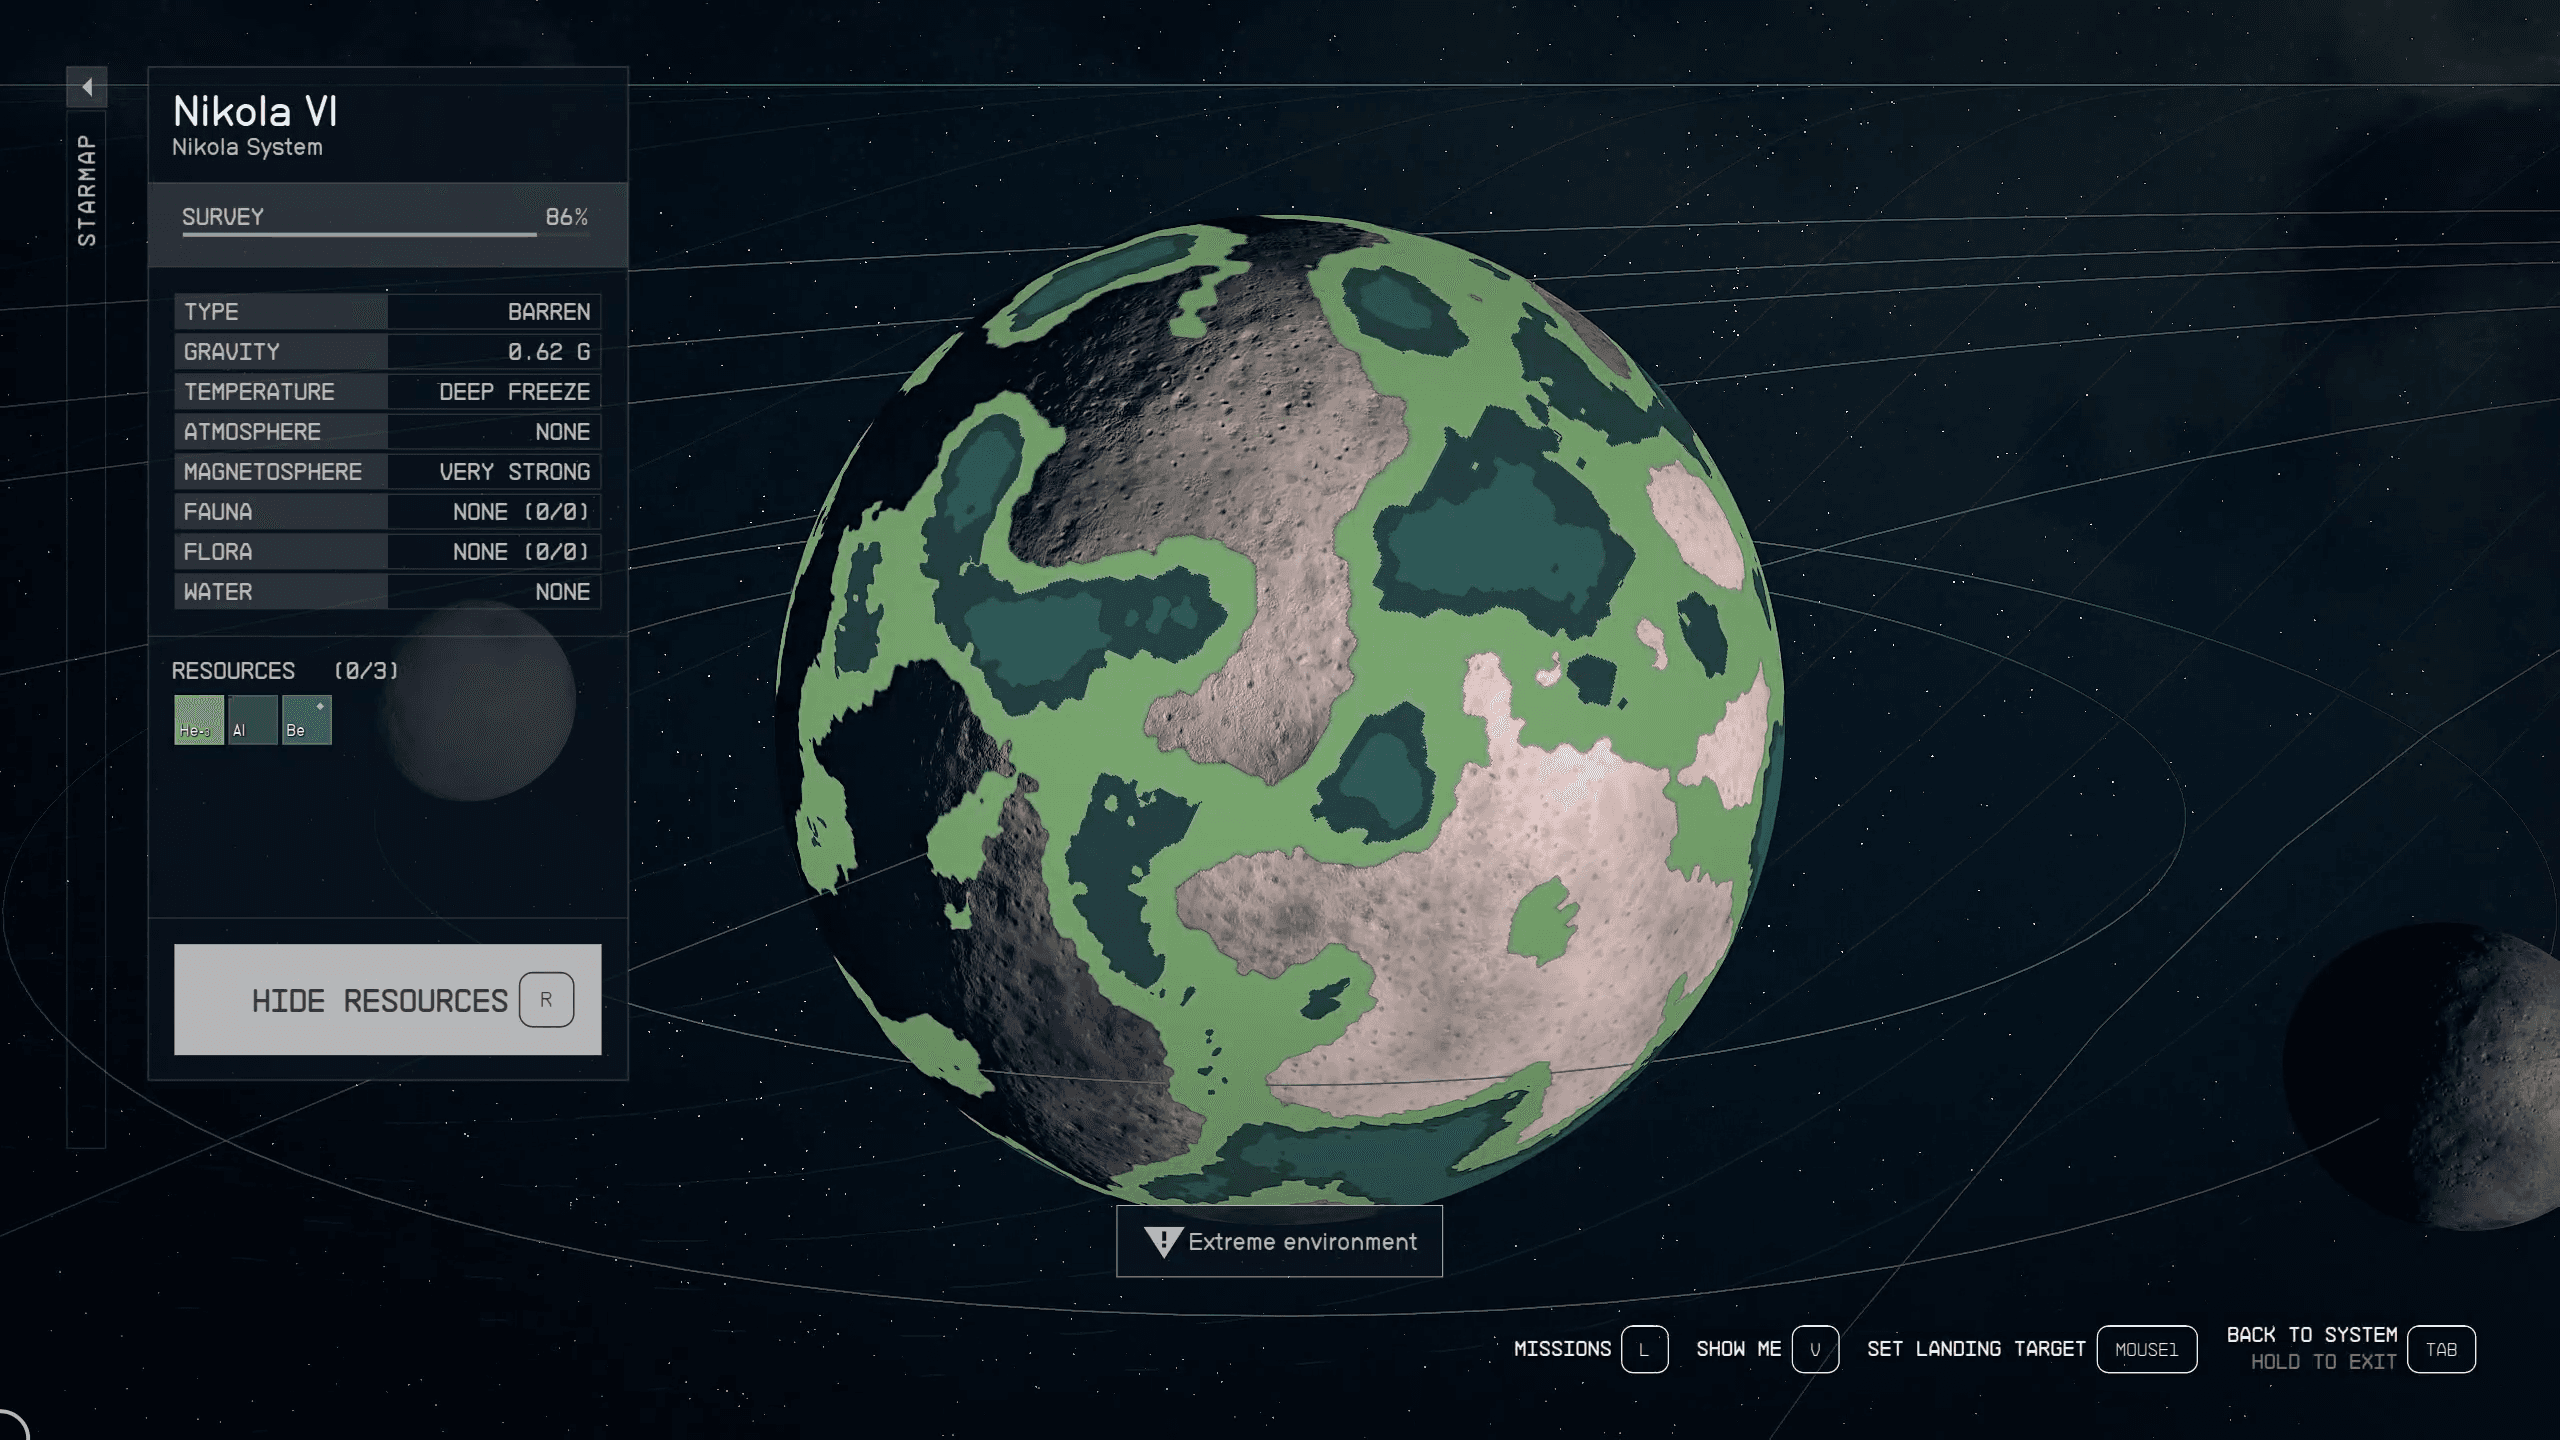
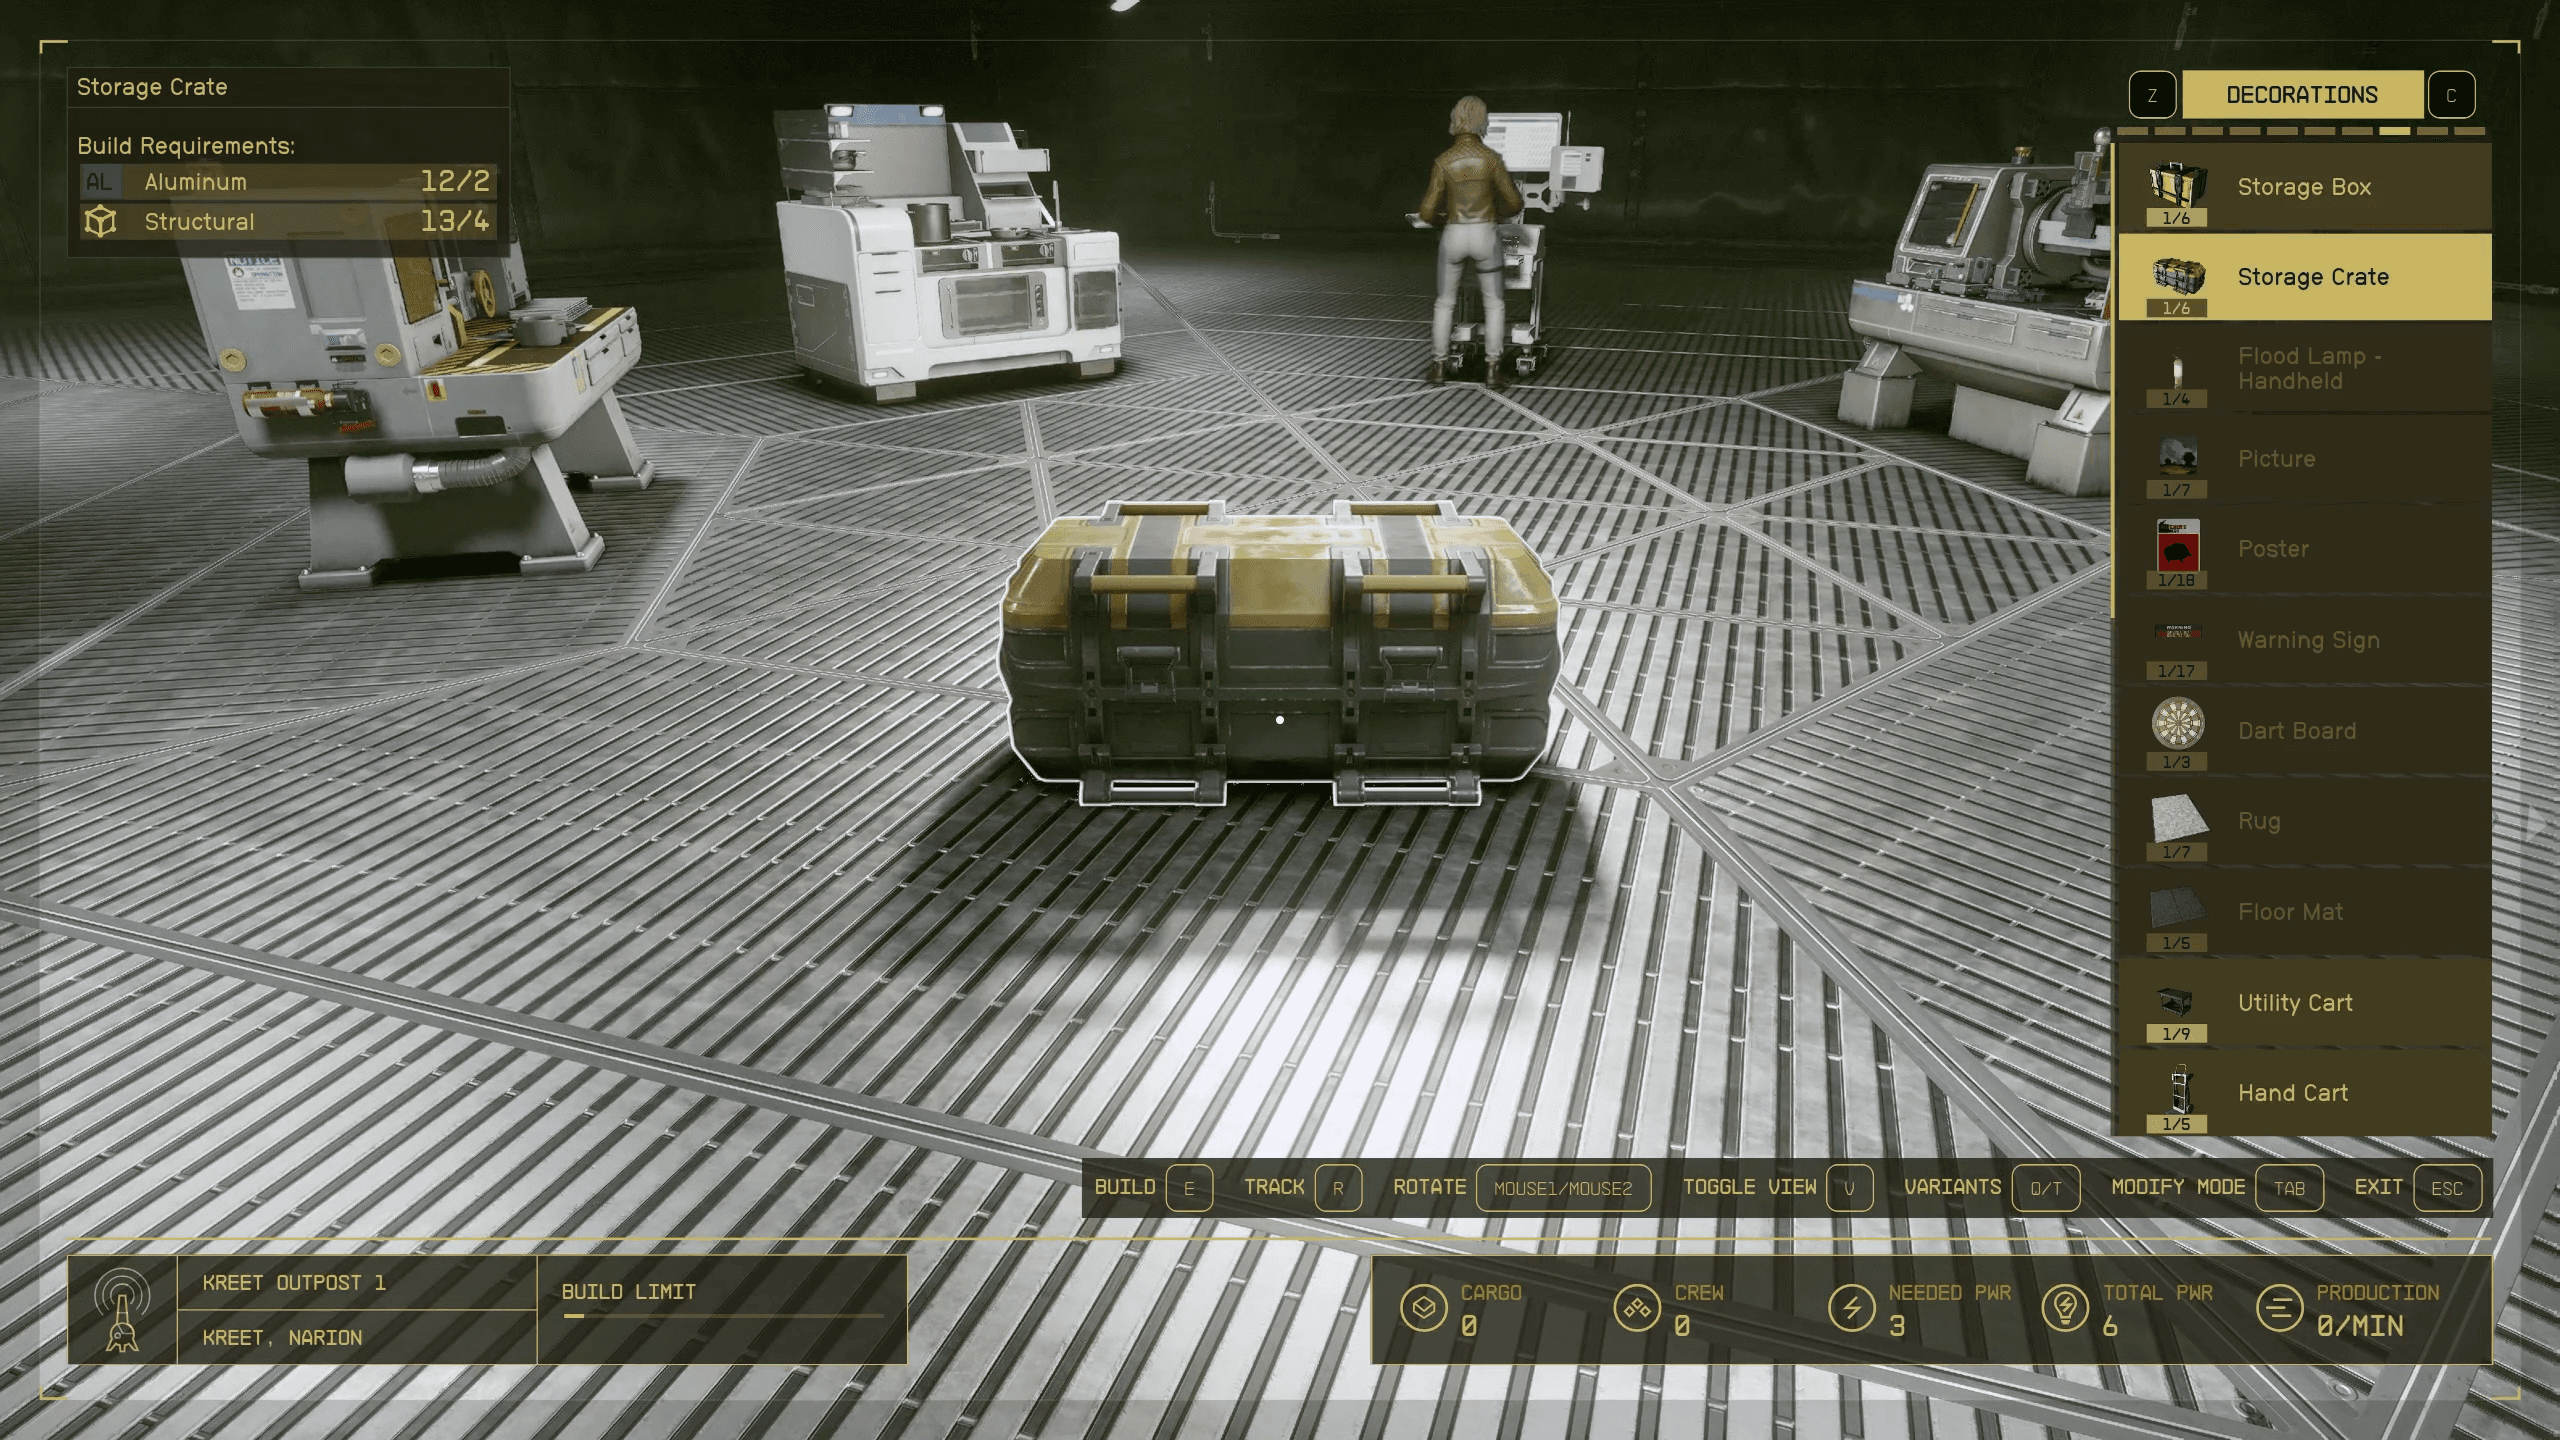
On top of this you’ll aslo want to scan numerous planetary bodies and look out for a mineral rich planet or moon. Some of the most important resources in the game are Aluminum, Iron, Copper, and Nickel, but we’d also consider Helium-3, Chlorosilanes, and Alkanes also worth mentioning.
Once you’ve found the right planet you’ll need to land in the right area. Take your time and find a location where the most important resources converge. Touching down on the planet’s surface and doing a bit of exploration with your hand scanner will allow you to see the areas where you can set up extractors. Ensuring multiple resource zones fall within your Outpost Beacon’s radius is probably the best outpost tip we can give to new players because eventually those zones will result in tons of raw materials, all of which are automatically harvested.
We mentioned Aluminum before and for good reason. It’s used in just about everything, and is even a foundational resource when it comes to manufactured components. Without a steady flow coming into your base you’ll quickly run into roadblocks, so again, preparation is key.
With a small outpost up and running you can begin to set up some storage containers, and most importantly add all of the crafting stations you’ll need to modify your gear. What you’ve collected up until this point is great, and will continue to carry you throughout the game, but with a small outpost up and running you’ll quickly be able to adjust to any and all situations.